
A few weeks ago I decided to make some British-style scones – how hard could it be? I discovered there’s a lot of art involved, which I describe in this post.
My Journey
impatient? Jump to the recipe below.
I began my research by watching a pile of YouTube videos posted by various bakers – there are a lot. They all make it look so easy!
I quickly settled on Paul Hollywood’s How to Make the Perfect Scone video, adding currants from a different video. My first attempt was a disaster: I added twice the currants I should have – because the recipe I copied the currants from was twice the size of Paul Hollywood’s recipe – then seriously overworked the dough trying to remove half the currants. The resulting scones were like bricks.
My second attempt was more-or-less successful – at least they were edible. I followed Paul Hollywood’s recipe and added the right amount of currants. The scones rose a bit more than the first batch, but still didn’t rise a bunch. Also, I’d put too much flour on the countertop, so each scone had an unpleasant amount of flour on the bottom. I’d also had an accident putting the egg wash on, resulting in a couple scones that had a bit of an omelette surrounding them. But at least they were tasty.

Realizing I was missing something important, I dug around some more and found the eye-opening British Scones Video Tutorial from Caroline’s Easy Baking Lessons. Unlike all the other videos I’d seen, Caroline’s pointed out nearly a dozen things not to do, that get in the way of perfect scones. The main tip was “work the dough as little as possible”.
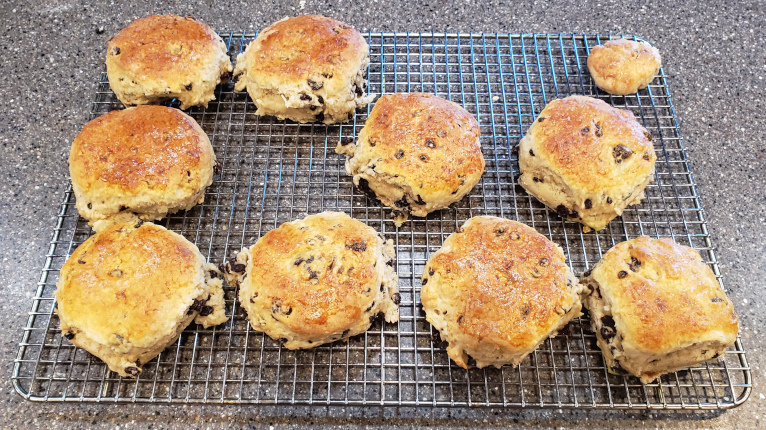
Armed with those and a few other tips (which I list in the recipe below), I went back to Paul Hollywood’s recipe, with added dried cranberries, and turned out a batch I’m very happy with.
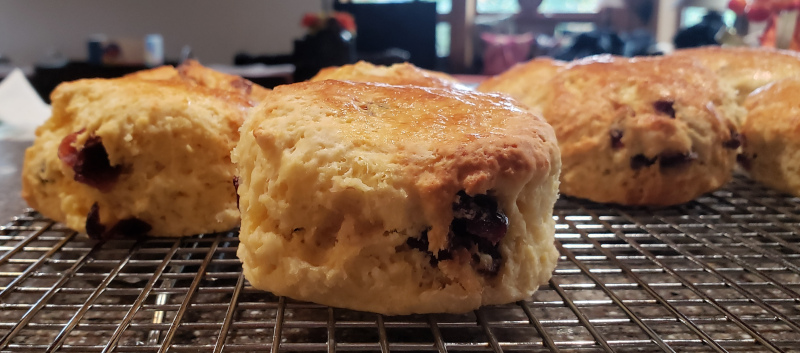
Ignoring the one later batch I baked on Air Fry instead of Bake, which turned out burned scones that were raw in the middle, I’ve successfully used this recipe three times, and to the acclaim of our friends – yum!

The Recipe
Based on Paul Hollywood’s How to Make the Perfect Scone video.
Ingredients
- 500 g strong white flour (Bread Flour) (about 2 and 1/2 cups). Sifted to aerate the flour.
- 50 g salted butter, in the refrigerator until needed [Paul Hollywood uses unsalted butter]
- 80 g granulated sugar
- 5 tsp baking powder
- 2 large eggs
- 85 g dried currants or dried cranberries
- 250 ml whole milk
- 1 large egg for egg-wash
- Jam, clotted cream, etc. for topping.
Tips I’ve Learned
Many of these tips are from Caroline’s Easy Baking Lessons’ British Scones Video Tutorial.
- The Golden Rule: Touch the dough as little as possible. Certainly mix by hand rather than machine.
- Don’t use more baking powder than called for, because the baking scones will collapse and taste metallic.
- Grate the cold butter into the dough so you won’t have to work the dough by hand.
- Flatten the dough by hand; don’t roll it.
- As you flatten, release the dough from the board by picking the edge up and turning the dough. Doing this prevents the cut scone from shrinking.
- Flatten to no less than an inch (2.5 cm).
- Flour, then tap the cutter before cutting each scone.
- Don’t twist the cutter; press straight down, then pull up. If the scone stays stuck to the countertop, wait til you collect the unused dough to free it.
- Don’t touch the sides of the cut scones; doing that interferes with the rise.
- Push the last of the dough through the top of the scone cutter to form the last scone.
- Brush the egg wash from the center outward; don’t let the wash go down the sides of the scones, because that interferes with the rise.
- Use only a small amount of egg wash; it’s there just to give color.
Preparation
(you’ll preheat the oven later, while the scones are resting)
- Sift the flour into a large mixing bowl. Sifting aerates it for a higher rise.
- Grate the cold butter into the flour, using the finest side of the grater. Mix a bit with a fork while grating to prevent the grated butter from re-forming into blobs. When all the butter is in the flour, cut it in with a pastry cutter. Don’t use your fingers to mix the butter into the flour. This grating reduces the working the flour, for a higher rise.
- With a fork, mix in the sugar and baking powder.
- With a fork, mix in the dried fruit.
- In a separate container, lightly beat the eggs, then beat in the milk.
- Pour most of the milk mixture into the flour mixture, adding more milk only if necessary to create a non-dry, not-too-sticky dough. Pour just enough that the dough doesn’t fall apart. NOTE: this is the point where the baking powder begins to react with the milk, so avoid touching the dough too much from here on.
- Use a rubber spatula to very gently mix the combined mixture. Don’t over-mix. Mix to a sticky consistency, but not so sticky as to stick much to your hands. Use your hands to press the dough a little, to pick up any dry dough.
- Turn the mixture out onto a lightly floured breadboard or counter.
- Gently hand-work the dough until it all holds together in a ball. Do not knead (stretch) it; just roll and press the edges. Do the minimum of messing with it.
- Hand press the ball out, to about 1” (2.5 cm) thick, lifting the sides of the flat dough to let it release from the breadboard.
- Cut into scones using a floured, 2 1/2” (about 6 cm) circular cutter. Flour the cutter and tap off the excess before each cut. Cut straight down; do not twist the cutter.
- Place each scone as cut onto a baking parchment on a cookie sheet. Do not touch the sides of the scones.
- Gently fold the remaining dough into a ball, then flatten it to 1” thick and cut more scones. Repeat the fold-and-cut process until you don’t have enough dough left to cut out a scone.
- Push the last leftover bit of dough into the cutter. NOTE: this last scone will not rise very much, because the dough has been worked a lot by this time.
- Preheat oven to 425° F (220° C).
- Let the cut scones rest 10 minutes, to let the baking powder react.
- Beat the remaining egg in a bowl and brush the tops of the scones. Do not brush the sides. Do not let the egg wash dribble down the sides.
- Bake for 15 minutes. At 7 minutes, rotate the tray so all the scones bake evenly.
- Transfer the baked scones to a cooling rack. They can be frozen once they cool completely, although they’re much better when fresh.
- Serve warm with jam, clotted cream, etc.
Happy Baking!
Comments? Corrections? Join the discussion on my BlueSky post.