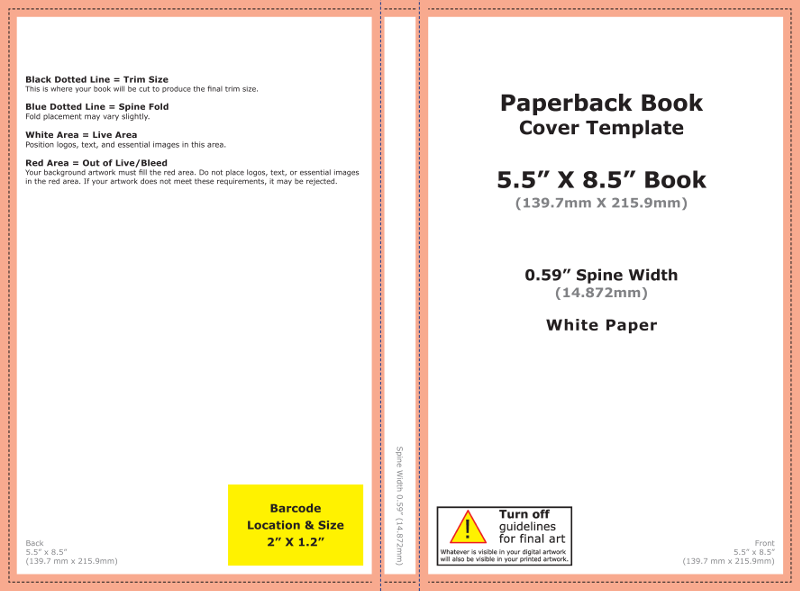
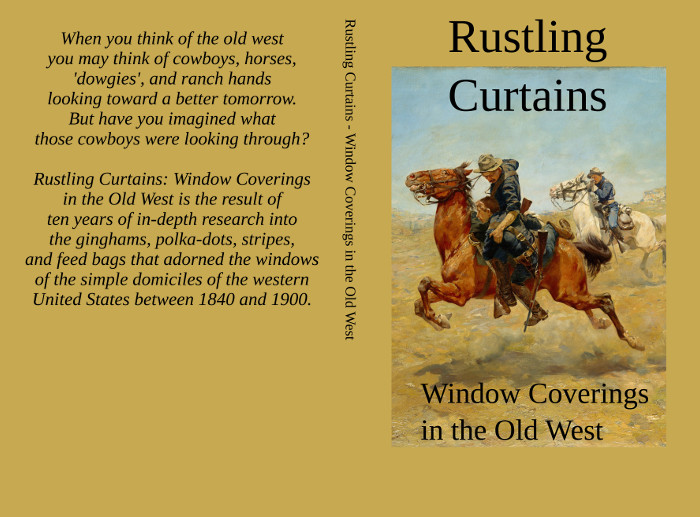
To help you design your paperback book’s cover, CreateSpace can automatically generate a template file that is custom-built for your book. That template file shows the required size of your cover image, and shows the areas to avoid putting text or crucial images in.

Unlike your eBook cover, your paperback book cover includes – in addition to the front cover – the spine, and the back cover. That is, the paperback cover artwork wraps all the way around from the front to the back of the book.

Because your cover includes the spine of your book, the width of the cover artwork will depend on the exact number and type of pages in your book. For example, a 160-page book will have a narrower spine than a 400-page book.
Because your cover art depends on the number of pages in your book, you must create and upload your book’s final content – what CreateSpace calls the “Interior” – before you create the final cover.
The following instructions assume you have already uploaded your book’s final content (“Interior”) to CreateSpace.
Write down the book interior details
Follow these steps to find the interior details of your book, that the template generator will use:
- Browse to https://www.createspace.com
- Log in
- On the resulting screen, click on the link under “My Account” labeled “Member Dashboard“.
- On the resulting screen, in the “My Projects” section, click on your book’s title. For this example, our book is titled “Rustling Curtains”.
- The resulting page – the submission information about your book – should show a set of sections, labeled “Create”, “Setup”, “Review”, etc.
- Click the “+” icon to the left of the section titled “Setup“, to expand that section to show a set of Setup links.
- Click the Setup link labeled “Interior“.
- The center of the screen should now show a section labeled “Uploaded“. If it doesn’t, you must upload your book’s final content (“interior”) before proceeding.
- Write down the following information from the Uploaded section:
- The dimensions of the book (the “Trim Size”), that you chose earlier. For our example book, we chose a Trim Size of 5.5″ x 8.5″.
- The color of the text and the color of the paper, that you chose earlier. For our example book, we chose Black and White on White paper.
- The number of pages of the book. Our example book content (“interior”) turned out to be 260 pages.
Generate your book’s template file
Follow these steps to generate a template file that is custom-built for your book:
- Browse to CreateSpace’s Artwork & Templates page.
- In the section titled Configure your Template, fill in the information you copied from the Uploaded section for your book:
- Interior Type. For our example book, we chose “Black and White”.
- Trim Size. For our example book, we chose 5.5″ x 8.5″.
- Number of Pages. Our example book has 260 pages.
- Paper Color. For our example book, we chose white pages.
- Click the large button labeled Build Template. Clicking that link should cause a section to appear labeled “Download your Template“.
- In the Download your Template section, click the link labeled Click here to begin Download.
- Wait for your template file to download. Our example book’s template file is named “BookCover5_5x8_5_BW_260.zip”.
- Uncompress (UnZip) the downloaded template. How you do this depends on the internet browser you’re using. For example, in Chrome, right-click on the downloaded filename and select “Show in Folder“, then in Windows File Explorer, right-click on the zip file and select Extract All…
- The uncompressed template will be a folder, named something similar to “5.5×8.5_BW_260”, which contains two files:
- A pdf file, named something like “5.5×8.5_BW_260.pdf”.
- A png file, named something like “5.5×8.5_BW_260.png”.
The two uncompressed files contain the same image in two different formats:
- the PDF file illustrates the format of file CreateSpace wants you to eventually upload as your cover
- the PNG file is a simple image bitmap (pixels) file that you can directly use in image editing programs, such as Gimp or Adobe Photoshop.
Now that you have the template file for your book, you can create your paperback cover using Gimp.
NOTE: If you later change your book’s interior, and the changed interior has a different number of pages, you must generate and download a new template, and submit a new cover art file.
