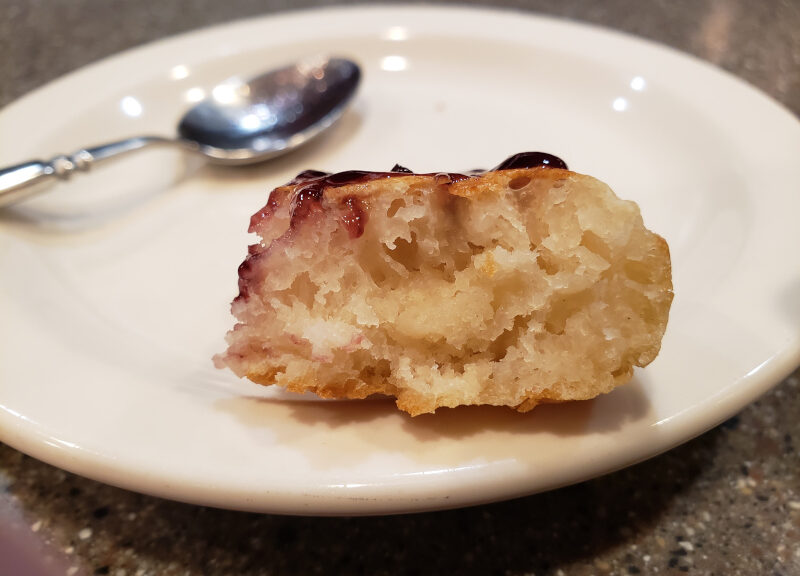
I find crumpets a bit tricky, but in the past few weeks I’ve managed to learn how to turn out worthwhile crumpets every time. This post goes through my journey, and gives the recipe I’m using now.
Continue reading Making Crumpets that Succeed Every TimeCategory Archives: Cooking
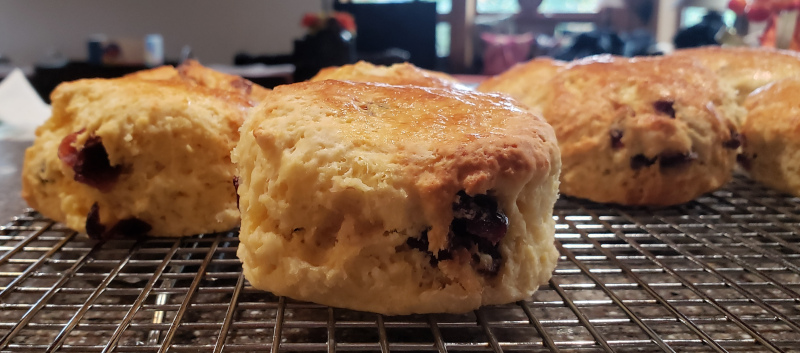
Making British Scones
A few weeks ago I decided to make some British-style scones – how hard could it be? I discovered there’s a lot of art involved, which I describe in this post.
Continue reading Making British Scones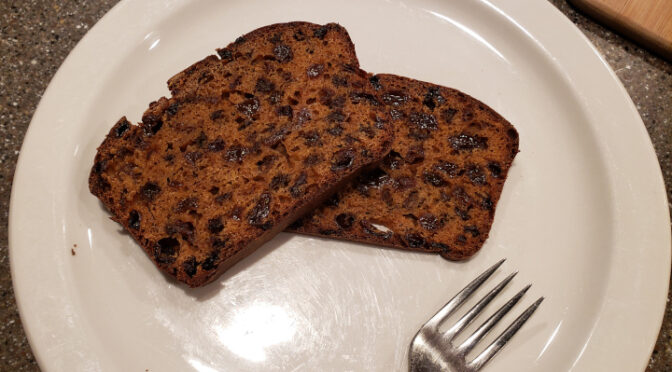
An American Version of Welsh Bara Brith Tea Bread
During our trips to Wales we found that every little tea room served a wonderful fruit bread called Bara Brith – literally “speckled bread”. Recently, after having a tough bout of Bara Brith withdrawal, I decided to make my own, by adapting the Welsh recipe to Metric-impaired Americans like myself.
Continue reading An American Version of Welsh Bara Brith Tea Bread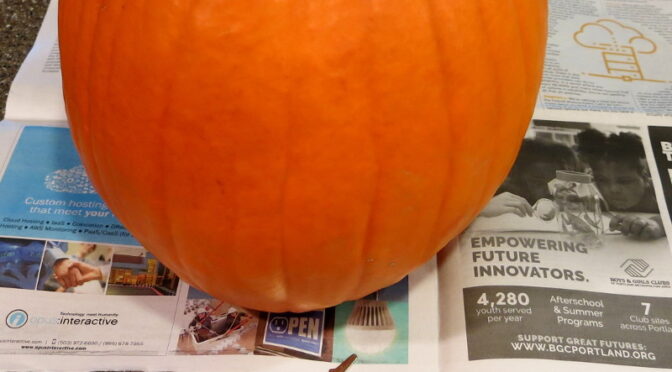
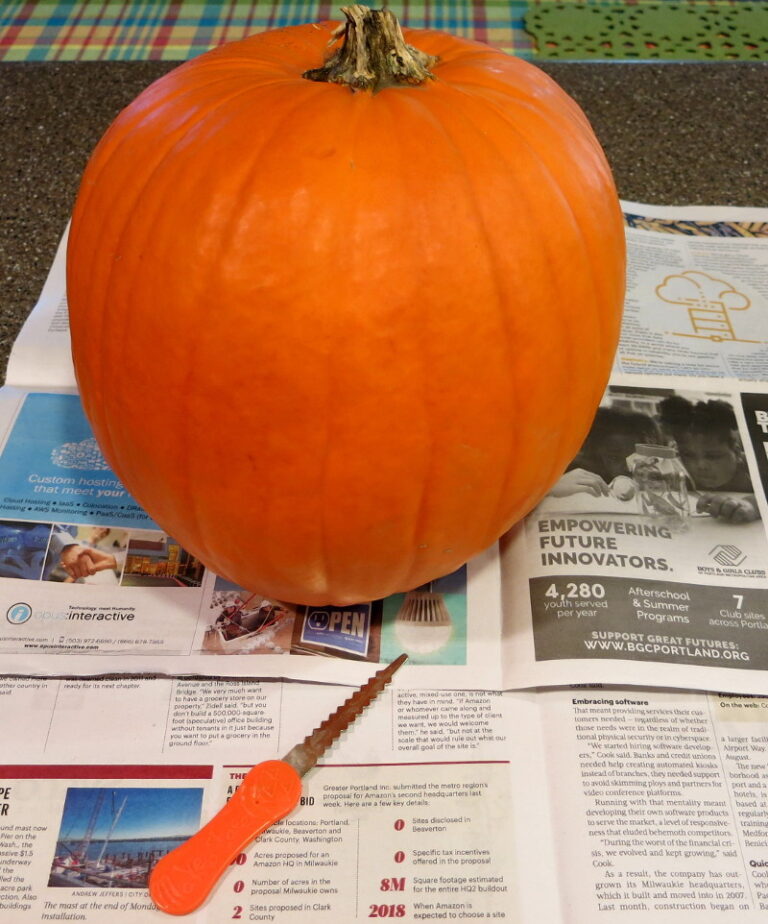
Making a Jack O’ Lantern (Old School)
At this time of year when Sparkfun, AdaFruit, and Arduino tweets are filled with high-tech Jack O’ Lanterns, I thought I’d document the making of an Old School Jack O’ Lantern.