
After you’ve successfully built a few Arduino and/or Raspberry Pi exercises, it’s time to invest in a few parts and tools to make every one of your electronics projects a pleasure to develop. Use the lists below as shopping lists for your new electronics workbench.
Places I like to buy parts from
Everyone has their own taste when buying parts: some folks like getting rock-bottom prices on closeout parts. Instead, I’m more interested in parts that other Makers can still find a few years after I’ve published my Open Source project.
SparkFun and AdaFruit are good places for small-quantity Maker electronics parts and circuits. I’m a big fan because of their orientation toward Open Source designs and toward educating Makers.
Digikey is a good place for larger quantity electronic parts. For example, when I need a couple resistors I buy from Sparkfun, but when I need 100 resistors, I buy from Digikey. They’re also my go-to place for Molex-brand connectors.
Jameco is a good place for larger quantities of inexpensive servos, stepper motors, and solenoids, fans, and hobby-oriented analog parts.
McMaster-Carr is a good place for nuts, bolts, washers, springs and other mechanical parts. Again, I use Sparkfun when I need 5 nuts, but McMaster when I need 50.
Servo-City is a good place for robotics parts: servos, hubs, gears, etc.
The Big Bearing Store is a good place for quantities of… you guessed it… bearings. You’ll use bearings in most plotter or CNC (Computer Numerical Control: robotic machines) projects.
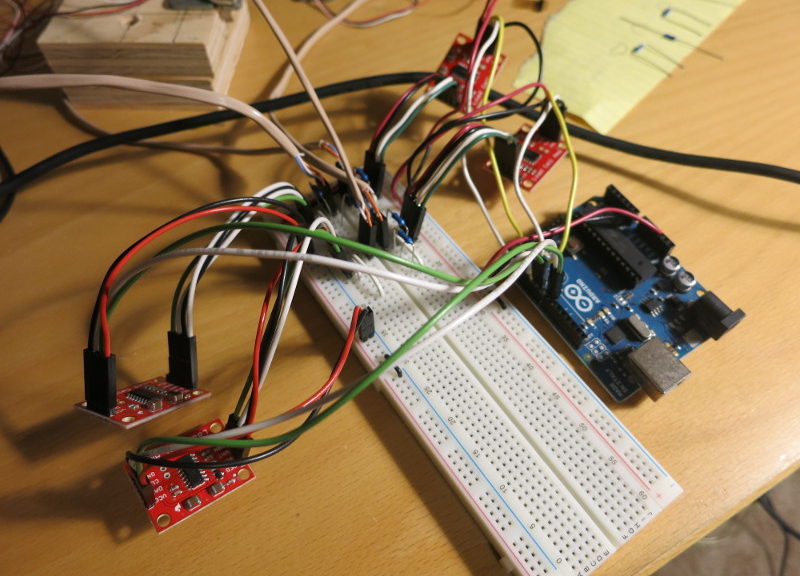
The Essentials for Solderless Breadboards
This is my list of electronics parts every Maker’s workbench should have for creating breadboard-based circuits.
Tools
- Safety glasses. There are so many unexpected ways that stuff can fly into your eyes, so wear safety glasses when working on your circuit. I’ve linked to Sparkfun’s stylish and inexpensive safety glasses; for those who wear glasses (like I do), you can buy a nice pair of safety glasses at your local hardware store. Tip: keep a second pair so a friend can safely work with you.
- Wire cutters/strippers, for cutting hookup wire and for stripping off the wire insulation, for solderless (breadboard) or soldered (perf board) connections. So much better than using a hobby knife. I’ve linked to Sparkfun’s nice pair of cutter/strippers.
- Needle nose pliers, for bending wire and pushing wires into a solderless breadboard. So much better than using your fingers when wires are close together. I’ve linked to Jameco’s pliers because they’re thinner than most. If you’re on a tight budget, Sparkfun’s needle nose pliers are a good way to go.
- Digital Multimeter. You’ll use this all the time to debug circuits and test batteries. I’ve linked to Sparkfun’s basic multimeter; later on you might want a fancier one, such as one of the literally hundreds of multimeters that Digikey offers.
Parts
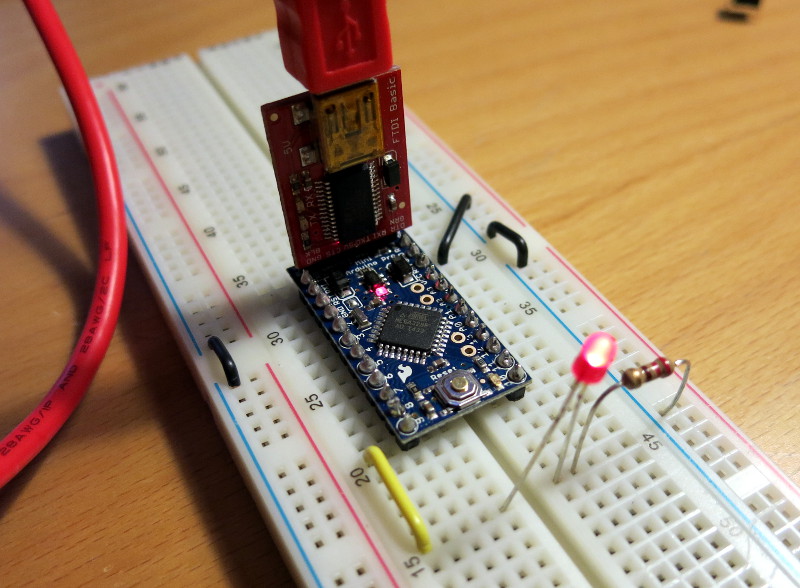
- Solderless breadboards, for wiring up your circuits. For many one-off projects, I leave the circuit in the breadboard and never make a soldered board. It’s helpful to have a few of these boards so you can work on multiple projects at once.
- 22 gauge, solid core hookup wire, in at least Red, Black, and White. Green and Yellow are useful as well. I use Red for signal power (for example, the Arduino’s 5 Volts), Black for signal ground (0 Volts), White for general connections, Green for other power (such as 12 Volt motor power), and Yellow for Arduino/Pi inputs and outputs.
- 5mm diameter LEDs in assorted colors. You might start with 10 each of Red, Green, Yellow, and Blue. Every project needs LEDs, to let you know what’s happening inside.
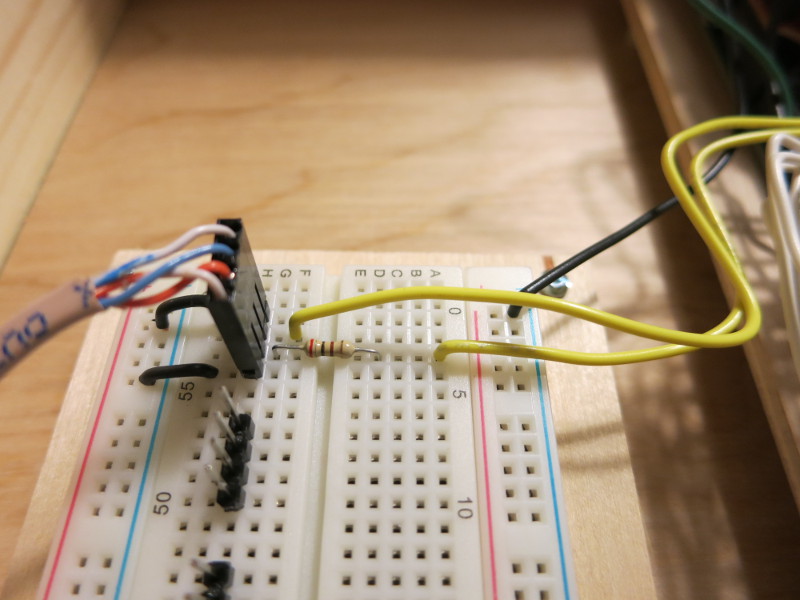
- 220 Ohm resistors. For general breadboard work I prefer 1/4 watt, 5% accuracy, axial, through-hole, carbon-film resistors. Buy 100 of the 220 Ohm ones, because you’ll use them all the time as Current-Limit resistors for LEDs connected to Arduino outputs.
- 1K Ohm resistors. Buy 100 of them, because you’ll use these all the time.
- 10K Ohm resistors. Buy 100. These are popular pull-up resistors.
- Breadboard-friendly tactile switches. You’ll need buttons as input to your Arduino/Pi programs. You can plug these switches directly into your breadboard.
The Essentials for Soldering
Once you’ve built a few circuits on breadboards, you’ll want to start soldering wires and headers to off-breadboard components such as LEDs and breakout boards. Soldering is a basic electronics skill that you’ll use to assemble kits, solder connectors onto devices, and solder your own circuits.
- Soldering station. If you’re on a budget, you can start with an inexpensive soldering iron and stand. A good soldering station like the Hakko one I’ve linked to makes soldering a pleasure, because you have precise control over the iron’s temperature and the Brass Sponge is kinder to your iron’s tip than a wet sponge,
- Lead-free solder. Some people recommend starting out with leaded solder because it’s easier to solder with, but I like to avoid toxic chemicals like lead.
- Diagonal Cutters, to clip off the excess wire and solder from the circuit board.
- Solder tip tinner and cleaner. The secret to good solder connections is to keep your soldering iron tinned (coated with a thin layer of solder) and yet free from old solder, flux, and oxidation (rust). I love this tinner+cleaner, especially when working with lead-free solder.
- Solder vacuum, sometimes called a desoldering tool. You’ll use it to remove soldered parts, either from a circuit you’re reworking or from a household device that you’re scavenging parts from.
- Heat shrink tubing, for protecting soldered connections that might touch other bare wires or metal. You’ll need an assortment of sizes.
- Heat gun, for shrinking heat-shrink tubing. So much better than trying to use a hair drier or matches.
- Third Hand. When you solder, you need one hand to hold one part that you’re soldering, one hand to hold the other part you’re soldering, one hand for the soldering iron, and one hand for the solder. Most people use some form of “Third hand”: a stand that holds the parts for you so you can hold the soldering iron and the solder. I’ve had poor luck with the screw-tight style, and prefer the goose-neck style I’ve linked to here. If you want a lower-cost alternative, Sparkfun sells a goose-neck style Third Hand Kit.
- Stranded hookup wire, 22 gauge. I like Red for power, Black for ground, and White for signal wires. Solid hookup wire is perfect for short wires in breadboards, but when you need longer wires that will flex or handle crimped connectors, stranded wire is the thing to use.
The Essentials for Crimp-on Connectors
I’m a fan of Molex brand crimp on connectors. Using this type of connector instead of soldering external components onto pins, you can replace a failed component in your project without desoldering. They’re great for connecting box-mounted things like buttons, switches, leds, sensors, etc. to your main breadboard or perf board.
- Molex 22 gauge crimp tin sockets. Buy 100, because you will use a lot of these. This is the part that crimps onto the wire.
- Crimping pliers, for crimping a socket onto a wire. Be sure to get ratcheting pliers that automatically release when you’ve pressed hard enough, to minimize the risk of Repetitive Stress injuries to your hands. Even in small projects I find I do a lot of crimping.
- Molex 2 Position Rectangular Connector Receptacles. Buy 25. The crimp sockets push into these connectors to make a complete socket side of a connection. 2 position connectors are good for LEDs, Switches, and any other component that has just a power wire and ground wire.
- Molex 3 Position Receptacles. Buy 25. These connectors are good for components that require separate power, signal, and ground connectors, as many sensors do.
- Molex 4 Position Receptacles. Buy 25. Useful for connections to more complex components or circuits.
- Long-pin break away headers. Unlike standard headers, these headers can be plugged into a breadboard and still have enough pin length to plug in a connector. Use needle nose pliers to snap off the number you need and to move the plastic spacer to the middle of the pins. Buy a few of these sets of headers because you’ll use a lot of them.
- Standard-pin break away headers. Solder these into PCB or perf board circuits so you can push connectors onto them. Again, buy a few sets because you’ll use a lot of them.
Now you’re ready to really have fun with electronics!