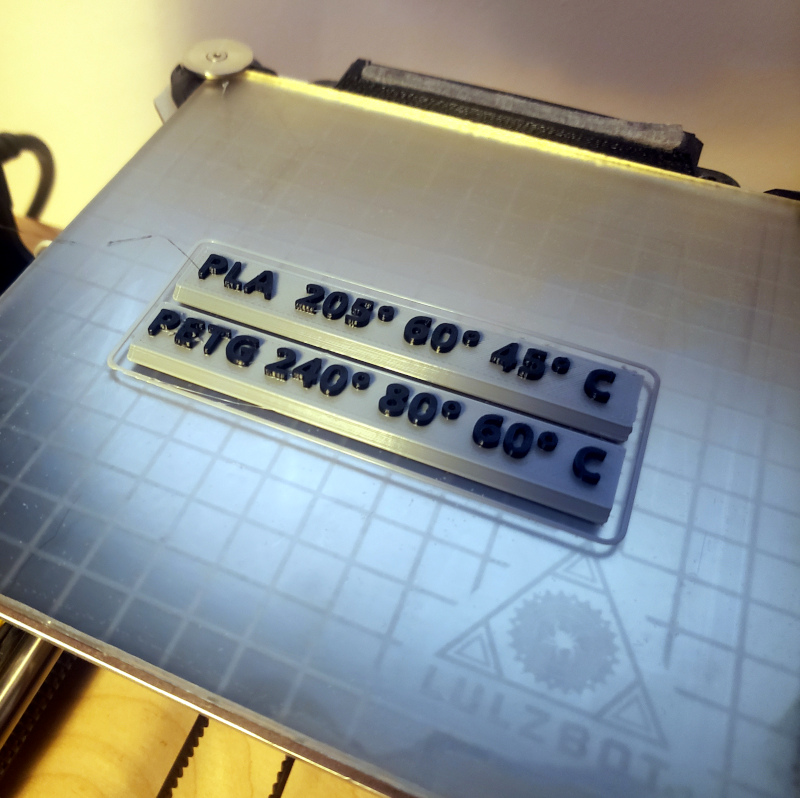
I had such good luck swapping filament mid-print on my Prusa i3 MK3 that I thought I’d try the same on my Lulzbot Mini… with much less good luck.
This post lists the ways I’ve tried to swap filament colors at a specific point in the print, using my Lulzbot Mini and CuraLE 4.13.4 and OctoPrint 1.9.3. Your experience may be different – I hope so.
CuraLE Pause at Layer
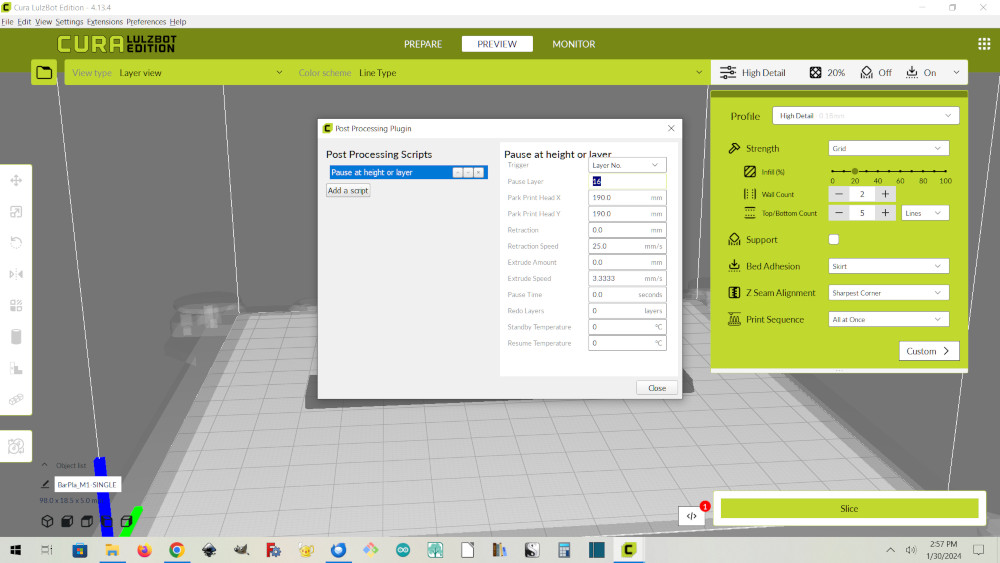
Back in March I had tried Pause at Layer and found the CuraLE version at the time lowered the nozzle before resuming, causing the nozzle to crash into the print. Yuch!
Recently I upgraded to the latest CuraLE, 4.13.4, and tried again: after slicing my STL file, I selected Extensions / Post-Processing / Modify G-code, clicked Add a Script, and selected Pause at height or layer. I then selected a Trigger value of Layer No. and a Pause Layer value of 16. I then sliced a second time to generate the final G-code file.
When printed the .gcode file, two unexpected things happened:
- OctoPrint gave a warning that the M0 (pause) command was not sent to the printer. After a little research I found I could ignore that warning: OctoPrint is just telling me that it, rather than the printer, is handling the pause.
- After clicking Resume in OctoPrint, the print continued… with the nozzle about 10 mm to the left of where it should be. I’ve seen other complaints about Cura’s Pause at Layer not working, and for this test I didn’t swap filament and didn’t touch the printer, so it sounds like there’s a Cura bug.
CuraLE Pause at Height – Maybe
When I used a Trigger value of Height instead of Layer, things seemed to work: the print resumed at the correct X, Y, and Z. So I thought I was on the road to success. But the Pause at Layer and the OctoPrint warning left a bad taste in my mouth, so I thought I’d try something else.
OctoPrint @pause Command
It turns out you can skip the CuraLE .gcode scripts method by manually adding an OctoPrint @pause command. Using a text editor (I used Geany) you add a line that reads (without quotes) “@pause” at the point in the .gcode file where you want to change filament.
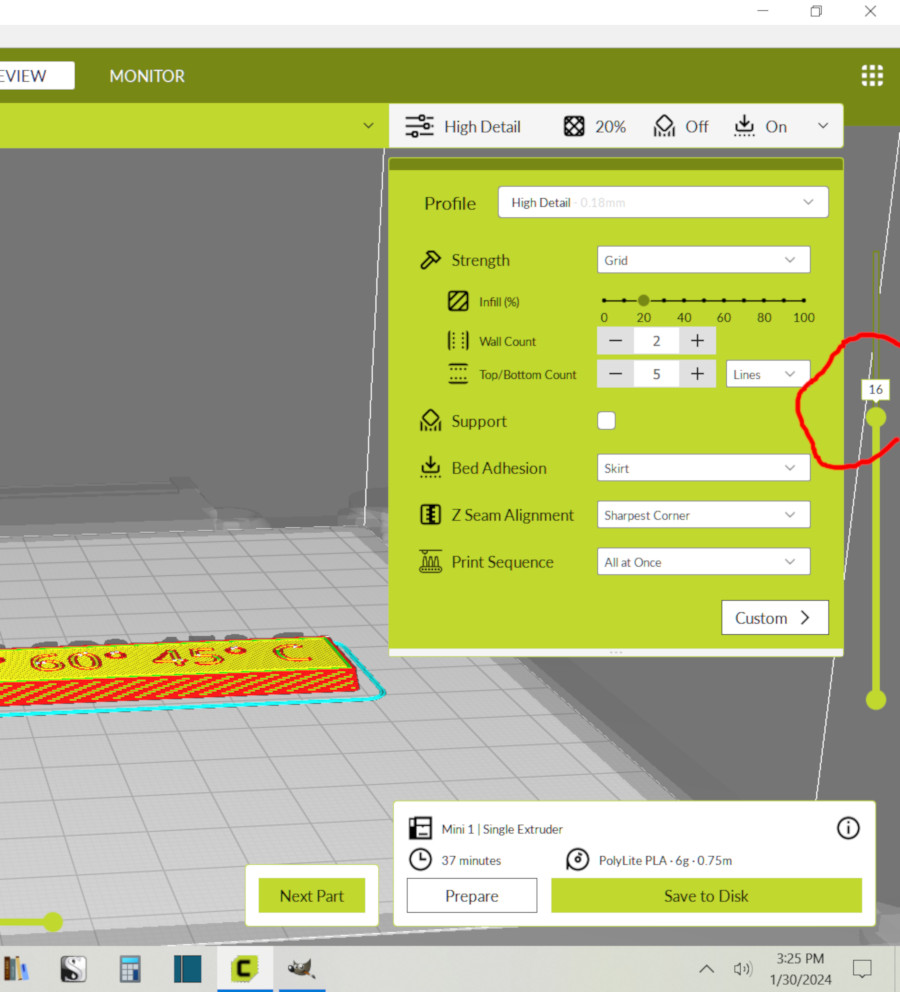
The only trick, which isn’t so hard, is to know where to insert the command. After slicing in CuraLE, I used the bar on the right of the Cura window to slide down to the first layer of text in my model, and noting the layer number, which was layer 16 in my print.
I then opened the resultant .gcode file in Geany, and found that Cura conveniently adds comment lines that say what layer is starting. So I searched for the line containing “Layer:16“. I then added a line after that, reading (without quotes) “@pause” and saved the file.
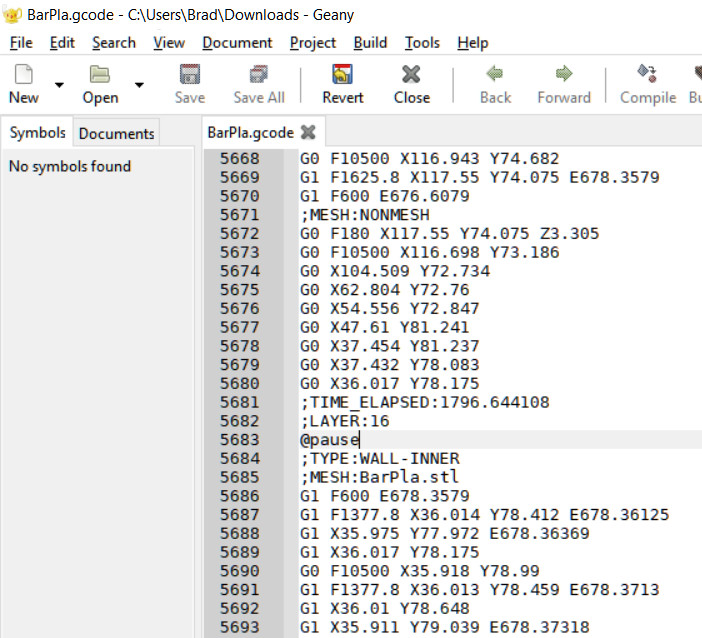
You would think I’d be in the clear now, but as they say, “There’s many a slip ‘twixt the cup and the lip.” The @pause command simply stops the nozzle right where it is; unlike the CuraLE Pause at Layer script, it doesn’t park the nozzle well away from the print. I have to do that manually, which has its own issues.
OctoPrint @pause Z axis issue
In my first attempt to use @pause, I used the OctoPrint UI to move the nozzle in the Z direction so I’d have plenty of room to extrude the new filament before resuming the print.
…unfortunately, the print resumed without restoring the Z height. It printed in mid-air.
OctoPrint @pause Extrusion issue
I then tried the print again, using the OctoPrint UI to move the nozzle only in the X and Y directions. Luckily, the print resumed at the correct X and Y. In the .gcode file you can see that in the first few commands after the @pause the head is moved to the correct X and Y (but not Z).
…unfortunately, I had used OctoPrint’s UI to execute several Extrude commands after changing the filament, to make sure the head was extruding the new color filament. On resuming printing, the printer retracted all of the filament, until the filament popped out of the extruder head completely.
My theory is that the printer was trying to resume at the extrusion point it left off at; that it tried to undo all the manual extrusion commands I had done while the print was paused.
Success: OctoPrint @pause Without Extrusion
It wouldn’t be fair to take you all this way without explaining what finally worked for me:
- In CuraLE, after slicing, use the bar on the right to find the layer number of the layer just before the one where you want to change colors. In my model it was layer 16.
- Open the saved .gcode file in a raw text editor, such as Geany.
- Find the comment Layer:n in that file, where n is the layer number you want to change colors at.
- Insert the OctoPrint command @pause after the Layer:n comment line.
- Save the modified .gcode file.
- Print the file using OctoPrint.
- Wait for OctoPrint to pause, as indicated by the OctoPrint Pause button changing to “Resume”.
- In the OctoPrint UI, move the nozzle out of the way of your print, in X and/or Y only. Do not change the nozzle’s Z location.
- Release the Lulzbot Mini extruder tension and gently lift the filament out of the extruder.
- Gently push the new filament into the extruder. If you want the color to change immediately, gently push until the new color comes out of the nozzle. If you’re not that picky, just push until any filament comes out. Do not use OctoPrint’s UI to Extrude filament.
- Close the Lulzbot extruder.
- Click the Resume button in the OctoPrint UI.
There’s still a little sloppy filament at the start of the second color, but I could probably take care of that by wiping the nozzle just before clicking the Resume button.
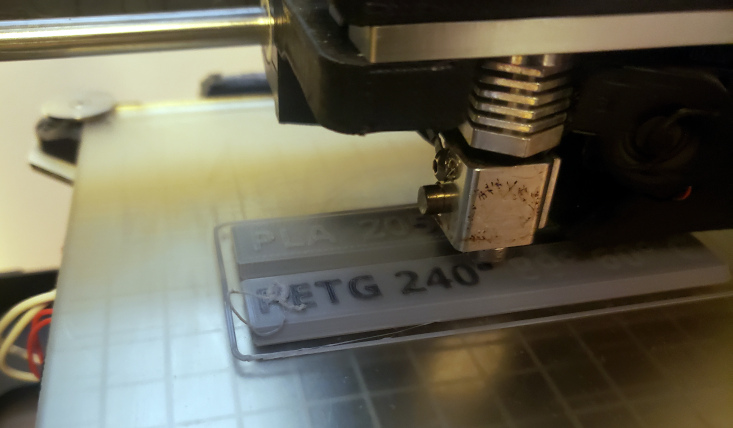
So after all this, I have a way to do 2-color prints on my Lulzbot Mini!
