
In my previous post I covered the dangers of mainsprings, and bought the minimum of tools required to safely handle mainsprings. In this post I disassemble my junker clock.
Using my new mainspring clamps and Let Down key, I Let Down (unwound) the chime mainspring and time mainspring, following the process I’d seen in the videos:
- Wind the mainspring until it has the same diameter as the clamp.
- Slide one end of the clamp onto the spring, then feed the rest of the clamp in until the clamp encircles the spring. Make sure the clamp is roughly centered up-down on the spring, and the end of the clamp near the end of the spring has lots of room.
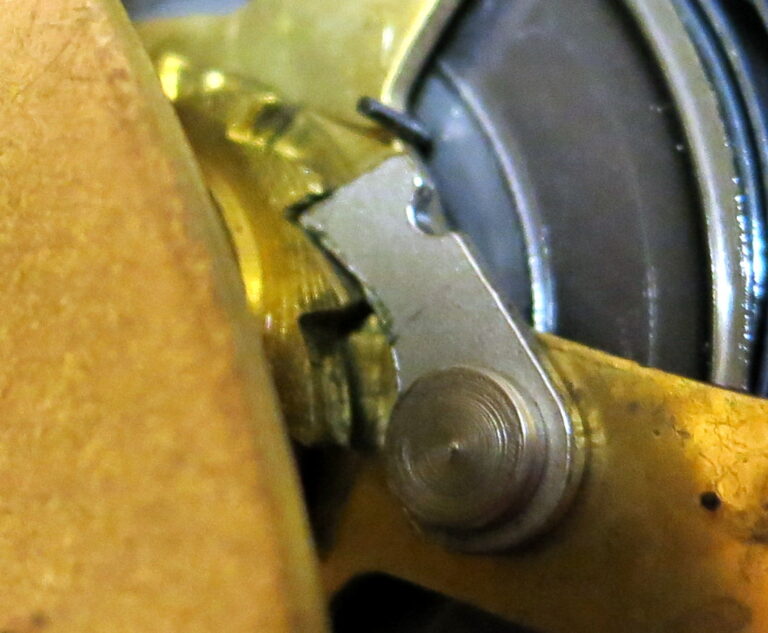
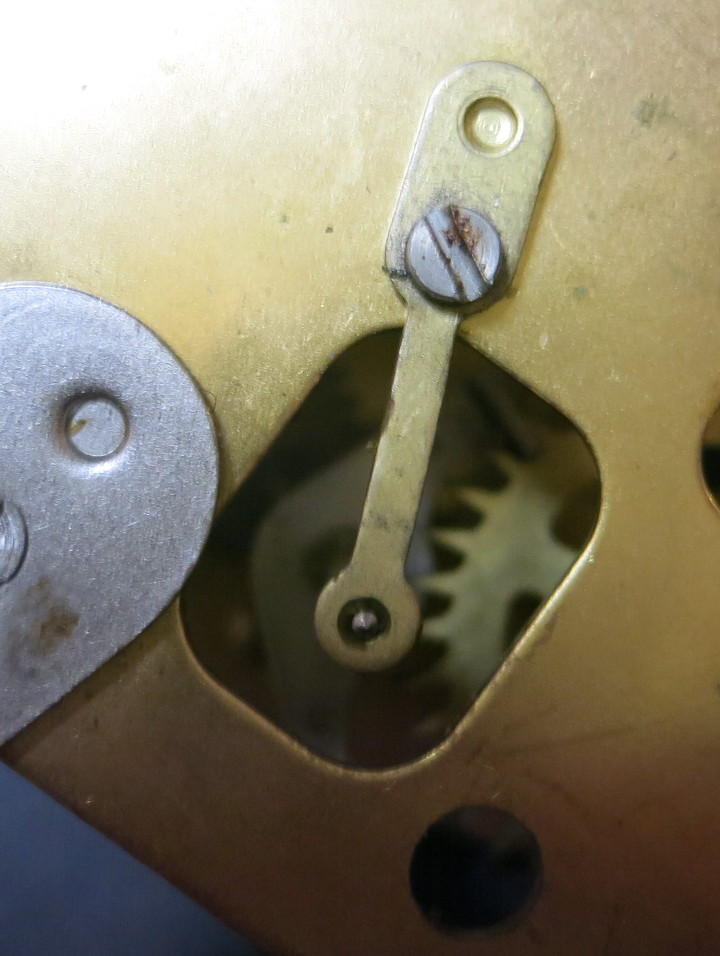
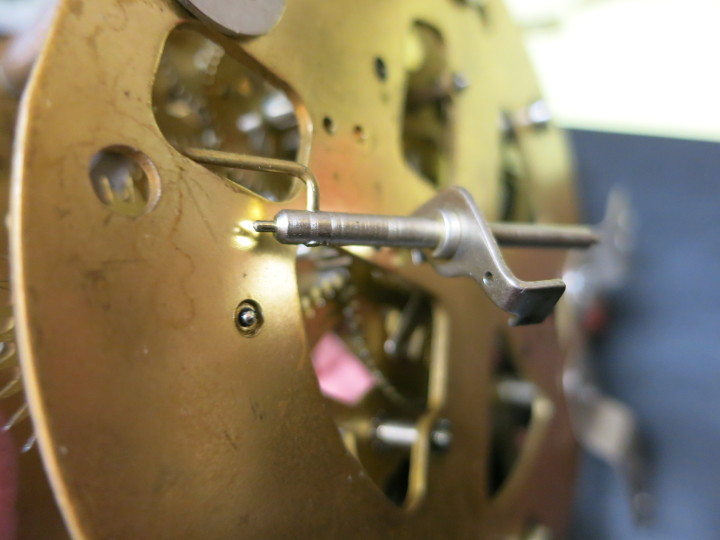
- Using needle-nose pliers, very carefully remove the holding spring from the click. The mainspring is now a time-bomb, because the slightest turn of the winder will release the click, leaving nothing holding the spring wound.
- Firmly holding the Let Down Key, place it on the winding stem and tighten the spring just a little. This action releases the click that holds the ratchet in place.
- Slowly release your grip on the Let Down Key, bit by bit allowing the spring to expand. With your other hand, make sure the spring clamp stays in place as the spring expands.
- Keep releasing your grip on the Let Down until it won’t turn by itself any more. At this point, the mainspring has been Let Down, and all the power of the mainspring is pressing against the clamp instead of the winding key and gear.
In the photo below you can see that I’ve pulled the click’s spring (the little gray wire above the click) away from the click (the silver-colored part that rests in the ratchet).
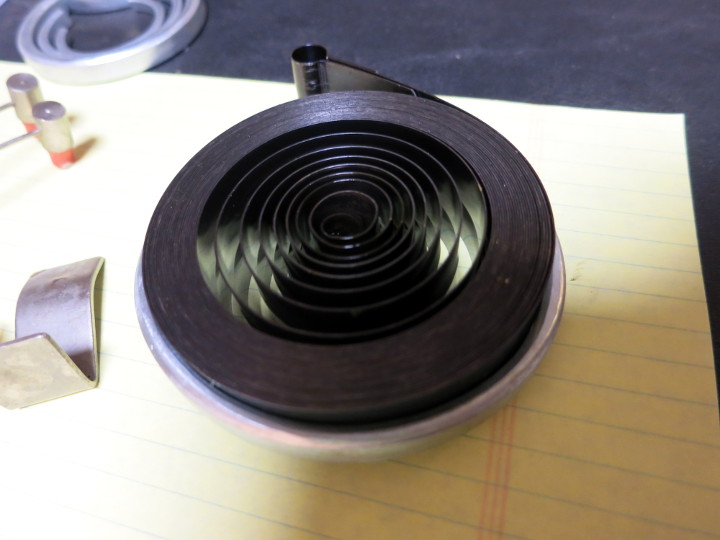
In the photo below you can see the difference between a normal spring and a spring that has been let down: the wound spring on the left looks normal, and the silver-colored spring clamp is loose on it; the spring on the right – let down – is tightly pressed against the spring clamp (on the outside of the spring), and is loose at the inside of the spring.

Newbie tip: Don’t turn (vs. let slip) the Let Down key in the unwinding direction. If you do that, you run the risk of detaching the spring from the winding stem – which you don’t want to do because you need the winding stem to manage the spring further in the disassembly process.
It’s no big deal if this happens, because it’s relatively easy (or so I hear) to reattach the winding stem to the spring. Normally, you use a spring winder to safely remove the spring from both the winding stem and the clamp – more on that in a later post.
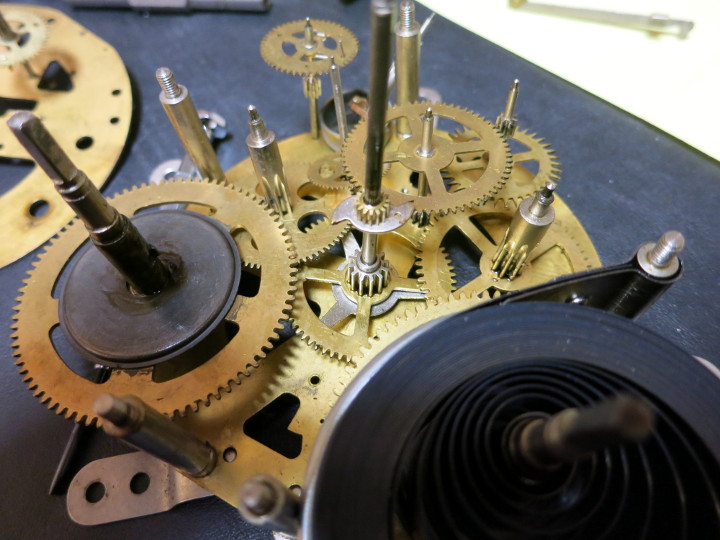
Backing up a bit in time, Once I’d let down the springs, I started to disassemble the clock, first removing all the delicate wires, clips, and springs that I could – taking photos all the while. Then I unscrewed the plate that holds the escapement in – something you’d never do before the mainspring is let down – and threaded the escapement and crutch (the part that moves the pendulum) through its hole and out of the clock.
During the disassembly process I took loads of photos so that I can – in theory – put everything back in its place and in order. We’ll see about that.
At this point I ran into a snag: the videos I’d watched all dealt with clocks that have snaps and pins holding the parts together. Instead, my Goodwill clock had a few parts that I still don’t know how to remove. So I decided to throw caution to the wind and undo the front plate – making all the gears fall into a meaningless heap.
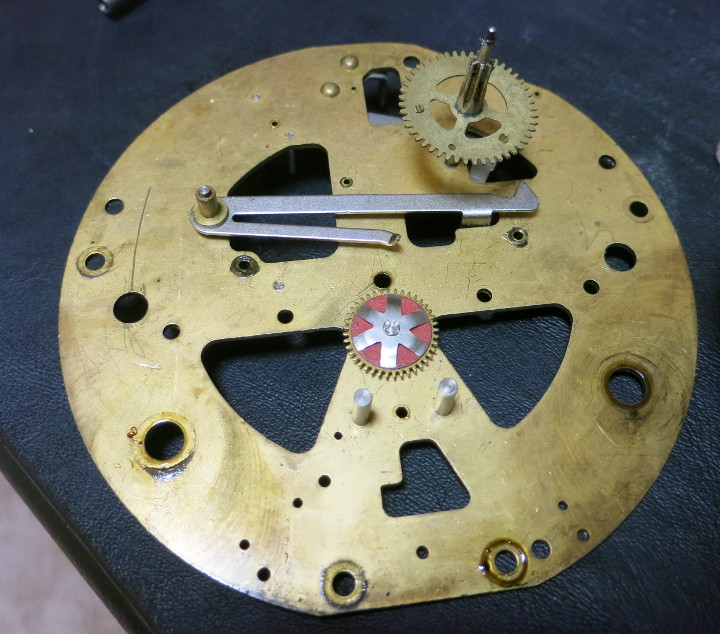
At this point, I sort of despair of ever getting this clock together again, because several parts came off at once when I removed the front plate. But that’s the point of this Goodwill clock: to learn how to do this stuff correctly.
In my next post I clean this clock – or try to.