
I recently decided to try out the Sparkfun Arduino Pro Mini 5V board. It has almost all the I/O that an Arduino Uno has, in a much smaller board. It comes without connectors, so you can solder in whatever style connector you need. For my uses, I needed to solder on male headers that allow it to plug into a breadboard.
So I tried out a new way of soldering male header pins onto a board. First I snapped off two 12-long headers from a strip of break-away male headers. Then I plugged those headers into a breadboard and laid the Arduino Pro Mini board over them. To keep the flux and solder spatter from getting into the breadboard holes, I put a piece of paper over the unused parts of the breadboard.

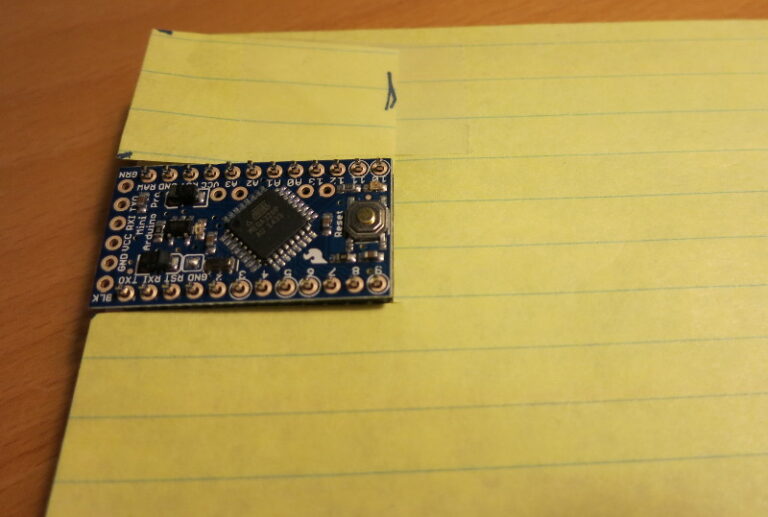
With the pins plugged into the breadboard, the Arduino Pro Mini dropped onto those headers, and the paper protecting the breadboard, I soldered the pins. I then unplugged the board from the breadboard, and used my regular QuadHands to hold the programming pins to the board, because those pins point “up” instead of down.
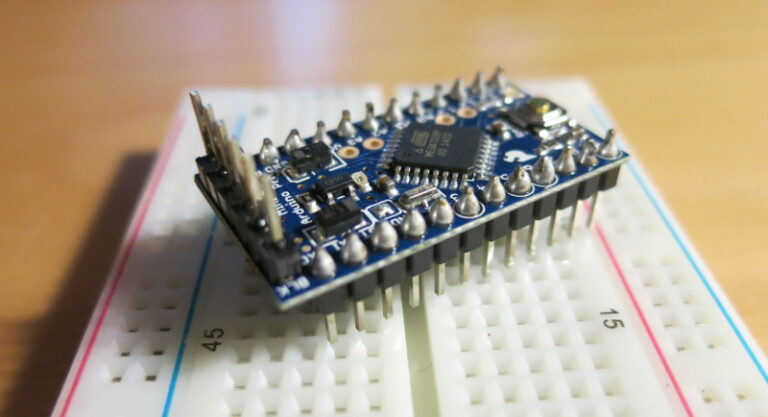
The result was fine. I did have a little trouble with the solder, but I just need a little more practice, and I need to clean the soldering iron’s tip better.
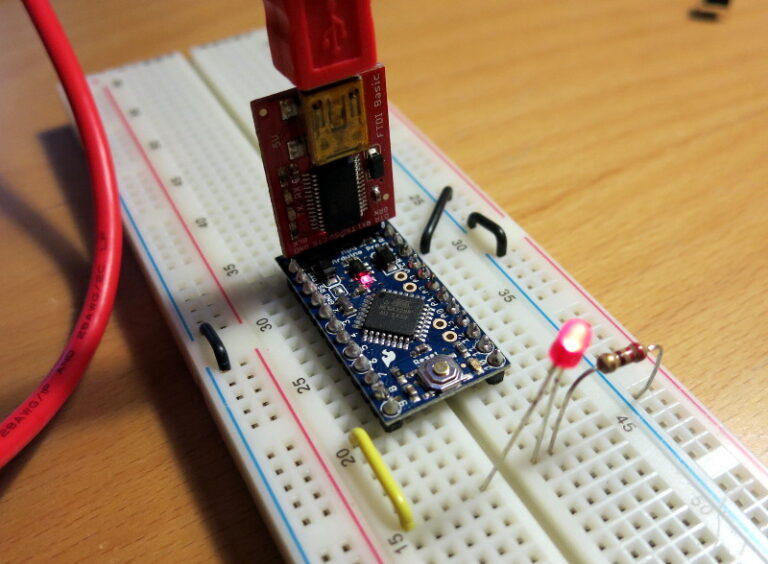
Next I tested each of the pins. Notice in the picture that I’m using the Sparkfun 5V FTDI breakout to connect the Arduino to the laptop. It works like a charm!
Now all I need to do is decide what to build with this tiny, easily-battery-powered Arduino – whee!