
In my previous post, I covered the mechanical construction of the scale. In this post, I finish assembling the scale, calibrating it, and installing it.
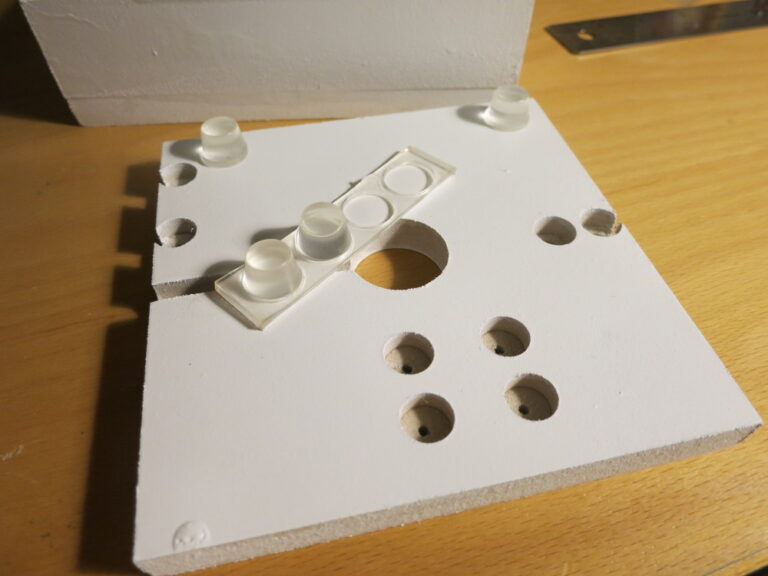
After painting I put feet on the scale so it won’t soak in water spilled on the floor.
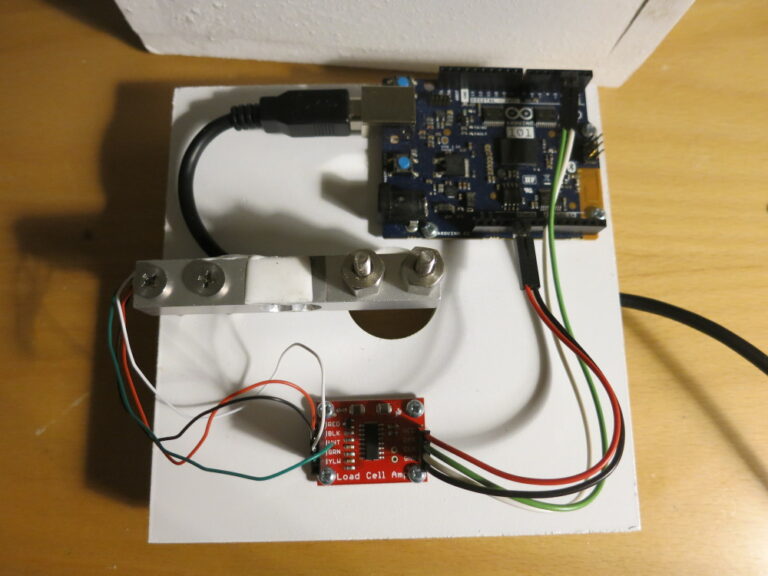
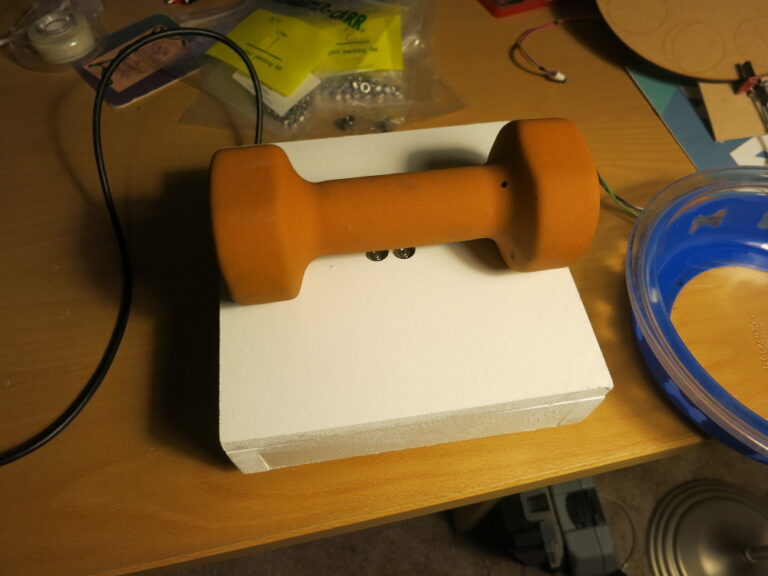
…then bolted the Arduino 101, Load Cell, and Load Cell Amplifier to the bottom plate.
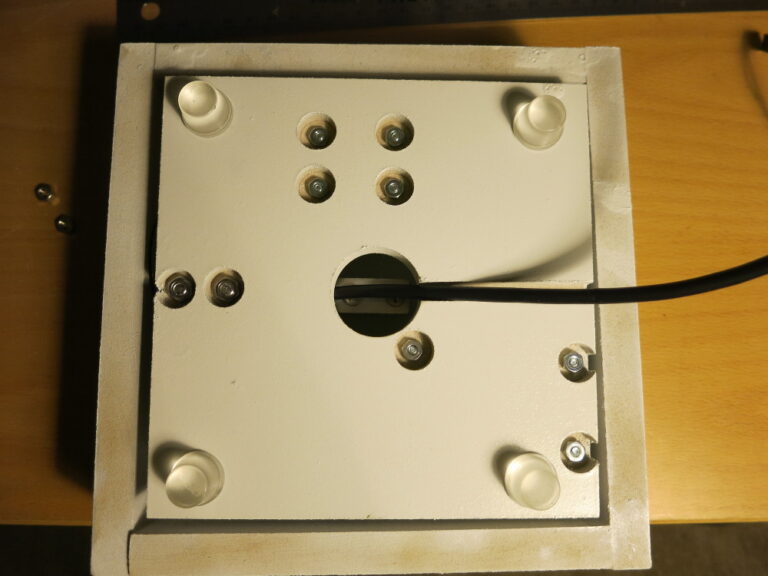
Here’s what the bottom looks like, with the USB (power, really) cable snaking out of it.
Next step: calibration. I read out the scale value for the empty scale; that’s the Offset. I then weighed a nominally-5-pound exercise weight on a food scale, then placed that weight on the scale and calculated the difference in value divided by the measurement from the food scale – that’s the Scale; the Slope; the second calibration to perform. With those two measurements complete, the calibration was complete (ignoring Creep, which is a topic of its own).
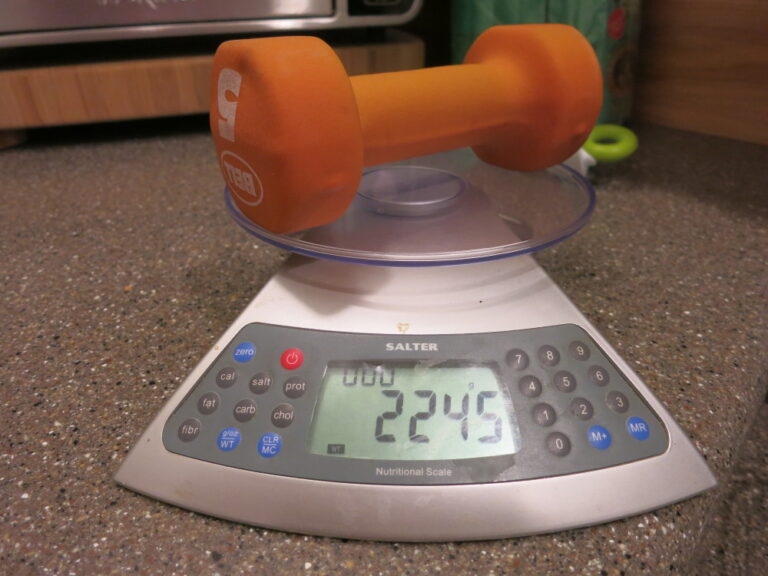
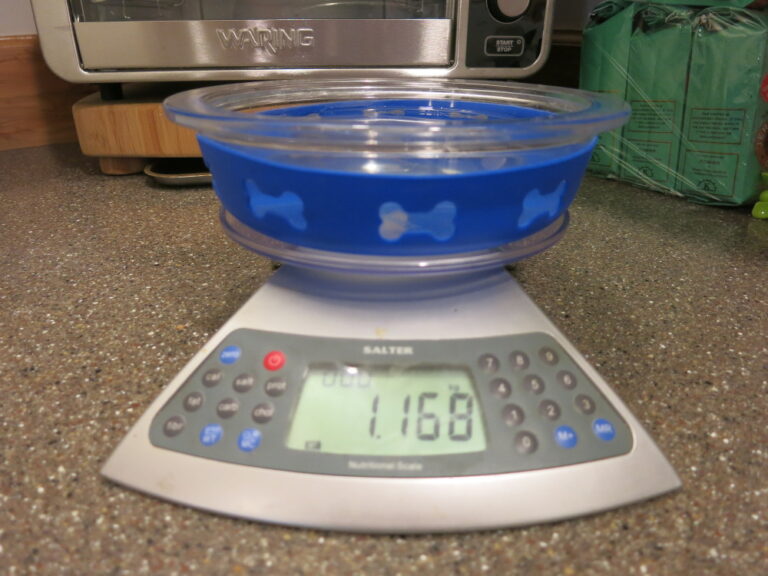
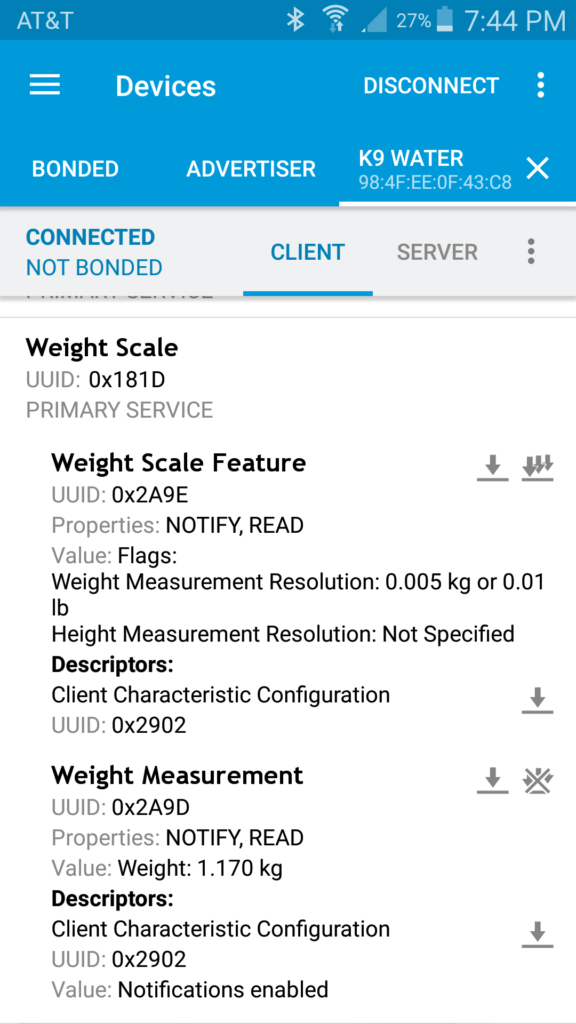
Then to test the calibration, I weighed the partially-filled water bowl on the food scale, then weighed it on the bowl scale, and read the BLE (Bluetooth Low Energy) Arduino 101 output on my phone. Happily, the two readings were close: 1.168 kg vs. 1.170 kg.
I then modified the Raspberry Pi Node.js Service from my Dog Bed Scale to read the one weight from the bowl scale rather than the five weights from the dog bed scale.
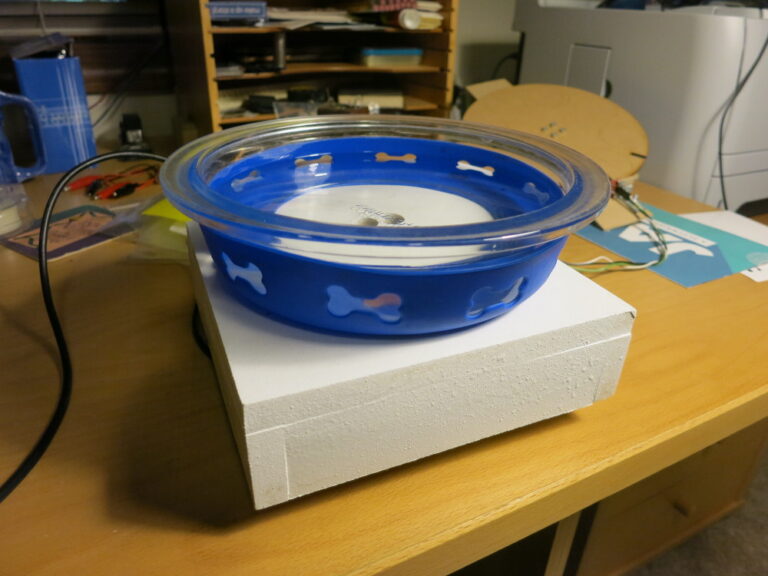
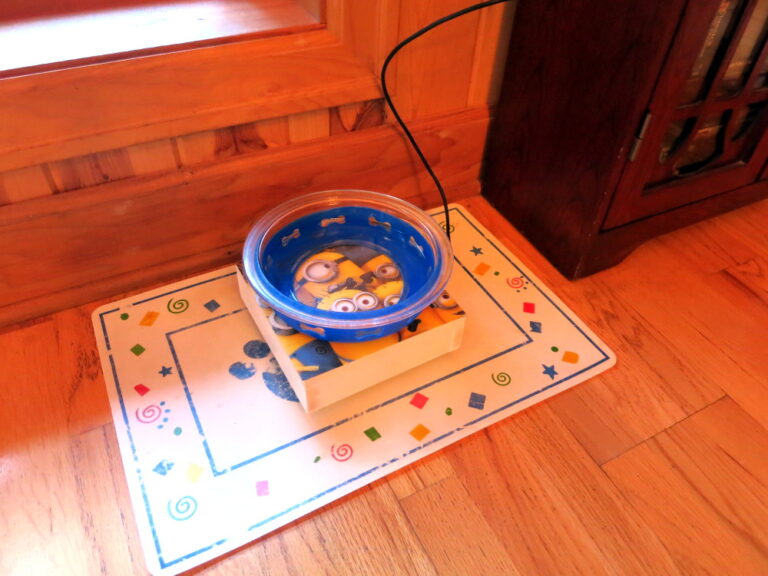
With everything working, I created a stream on data.sparkfun.com, finished off the scale with a cutout from a waterproof placemat and placed the scale and the Raspberry Pi in the family room – score!
You can view the stream of data on Sparkfun’s data warehouse, at https://data.sparkfun.com/streams/ZGaqKmR75DtQrx80a4vW (Update: gone by 2021). All the source, mechanical notes, materials list, etc. are Open Source, on my CurieBLEBowlScale Github repository.
What might you make from this sort of scale? A dog food scale, a scale under your cat’s favorite sleeping spot, a scale under your coffee cup at work? Have fun!
Next, I’ll see what the scale says about Pippa’s drinking and when we fill her bowl.