
In my previous post, I started working on the scale. In this post, I finish the woodworking, and painfully re-learn the woodworker’s adage: “Measure twice; cut once”.
I was so excited about the progress I’d made, and so eager to finish the drilling that I carefully measured, drilled the holes for one half of the Load Cell, then counterbored the hole for the first Load Cell nut… then discovered in my haste I’d counterbored the wrong side, and ruined the bottom plate of the scale.
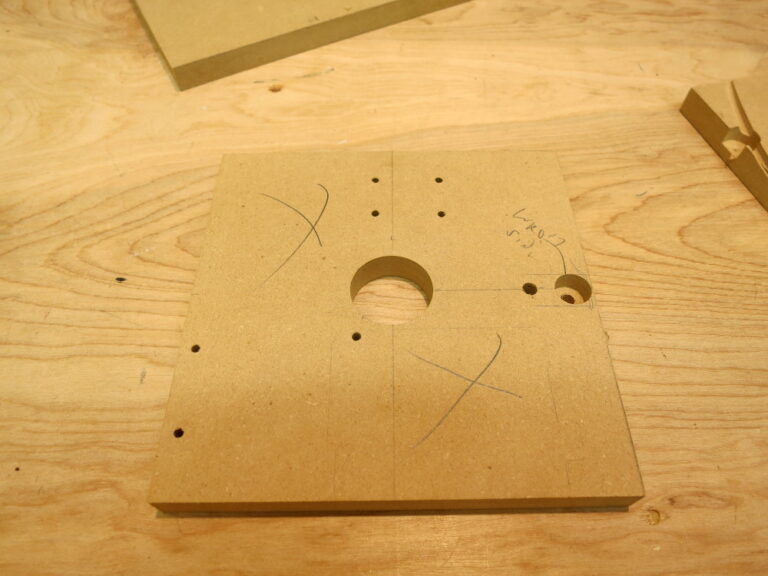
Oops. So I started over, and 1 and 1/2 hours later I had finished the drilling… correctly this time.
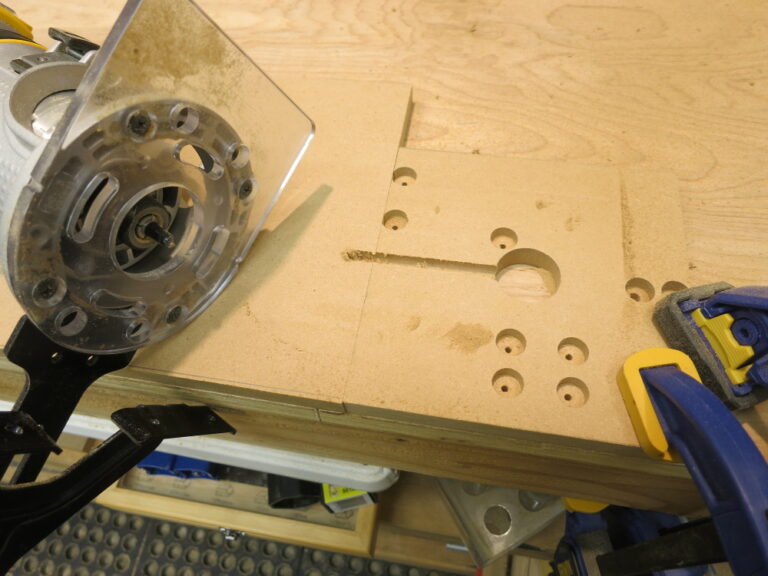
Next I changed my mind about how to get the USB or power cable from the electronics to the outside of the scale without creating a path for spilled water. I decided to route a path on the bottom of the bottom plate so the cable will go from the Arduino 101 through the center hole, and out the routed path.
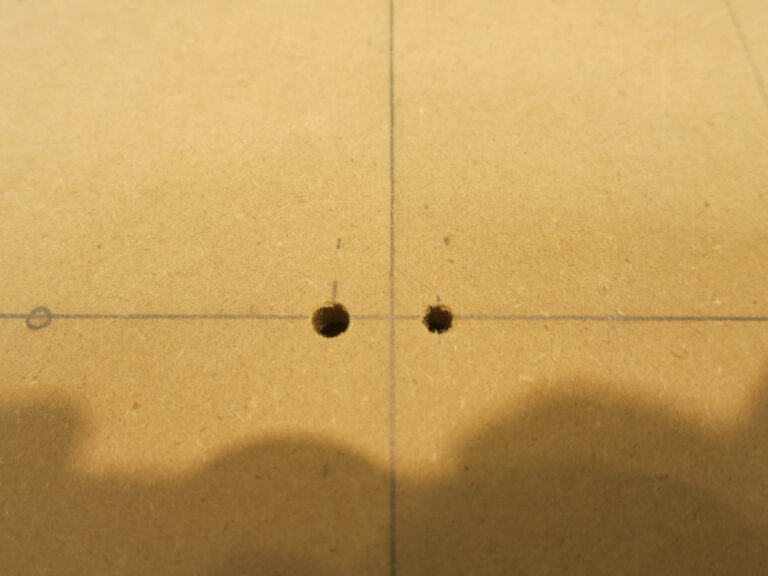
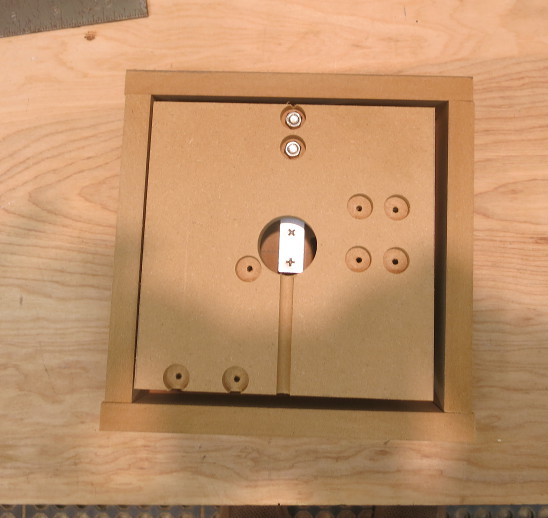
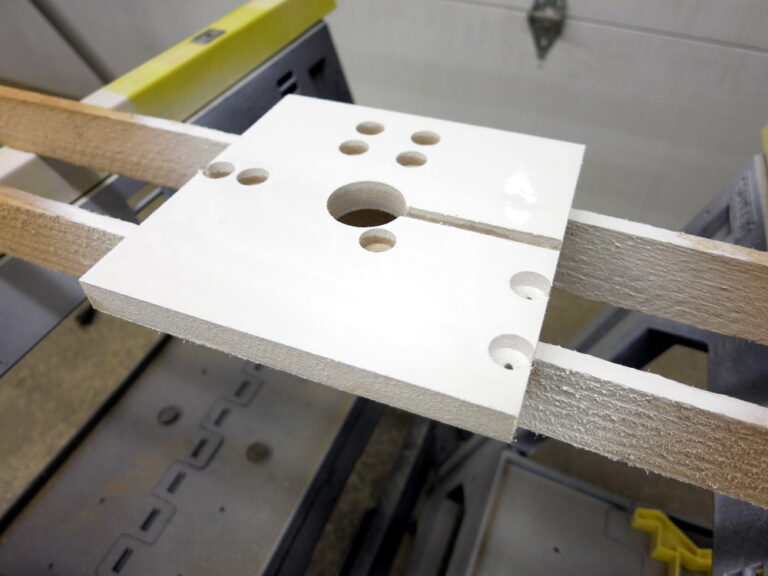
“Measure Twice; Cut Once” part 2: Again I was trying to save time as I drilled the holes in the top plate for the upper bolts of the Load Cell… forgetting that the four bolts of the Load Cell are not the same size: the Load Cell bolts to attach the bottom plate are M5 bolts, while the bolts to attach the top plate are M4 bolts – they’re smaller.
Look carefully and you’ll notice that the left hole is larger than the right one – that’s because I used the same drill bit for the first of the two top holes as I made the bottom plate holes with… DOH! Luckily I can ignore the not-too-serious problem rather than cutting a new top plate.
So the lesson of woodworking is to double-check before each cut into the wood, because you can’t undo a cut: “Measure Twice; Cut Once”
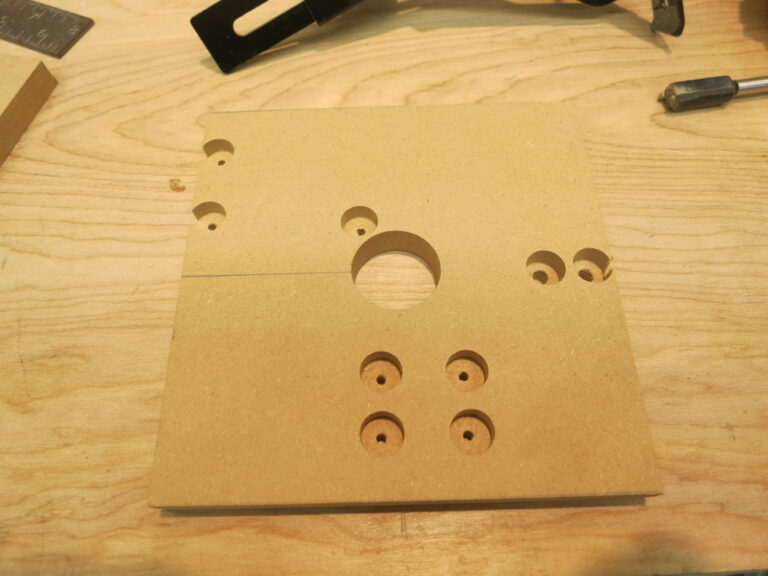
With the holes drilled, I test-mounted the Load Cell to the top and bottom plates of the scale. It’s turning out well.
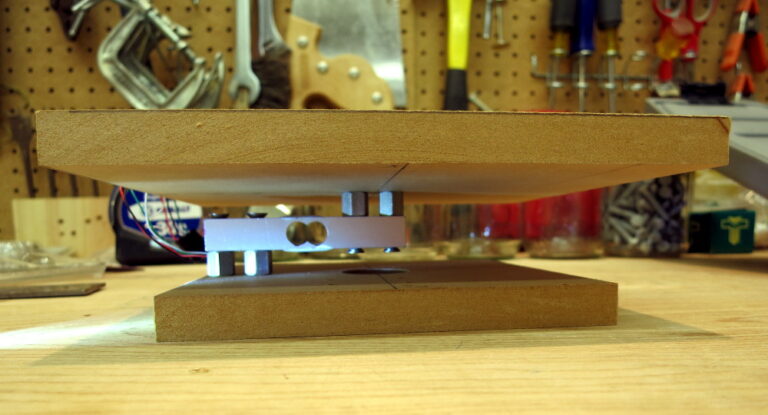
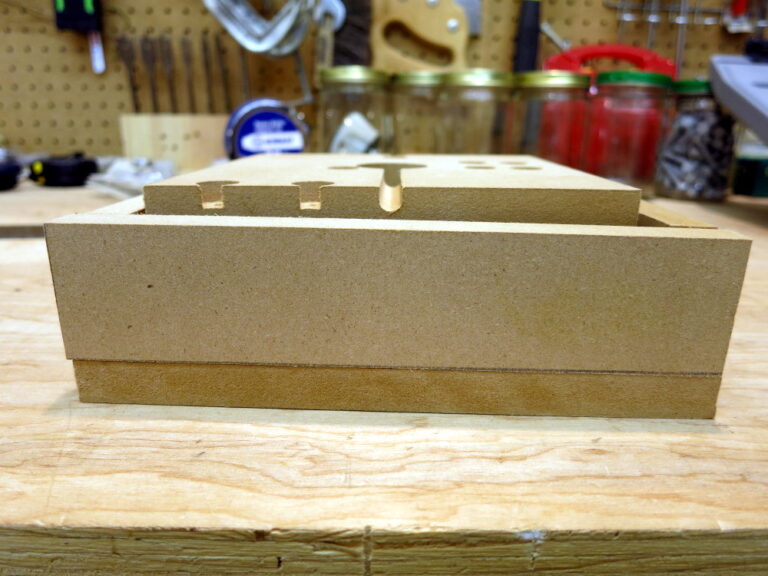
I then test-placed all the wooden parts and the Load Cell, to double check the left-right and top-bottom clearance of the bottom plate and the sides that will be attached to the top.
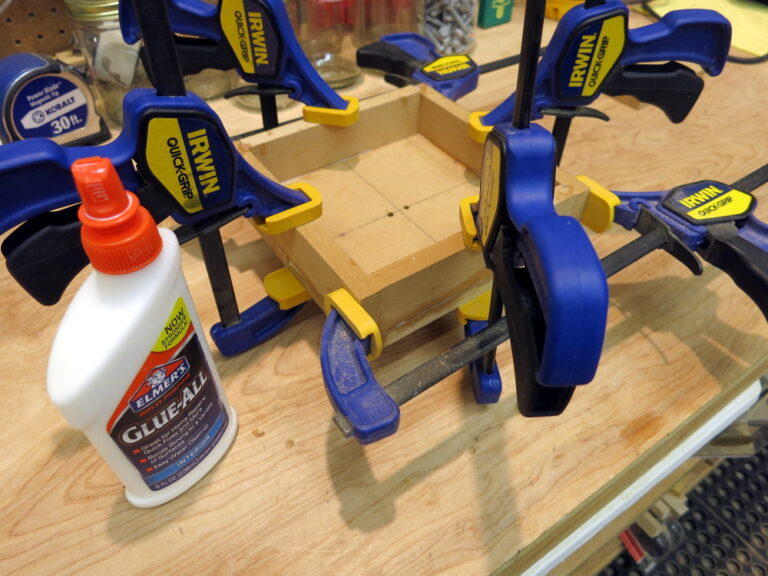
Next I glued the sides to the top plate.
While the top glue dried, I spray-painted the bottom plate with a waterproof paint. This will keep moisture from causing the wood to warp and swell.
In my next post, I finish the scale and install it.