
For some time we’ve caught rare glimpses of small, rabbit-like animals who seem to be living under our front porch. We’ve seen little, round ears bobbing past the window, footprints in the snow, and during one hot summer I found a dead chinchilla in the garage – the poor thing couldn’t take the heat.
So I’ve decided to capture photos of the little fellows – or at least try – using a Raspberry Pi, motion-detecting Webcam. The project as it unfolds is stored on my ChinchillaCam Repository on github.
Step 1: install the camera module. I luckily purchased a Raspberry Pi case that holds the camera and its ribbon cable well. Here’s the result:
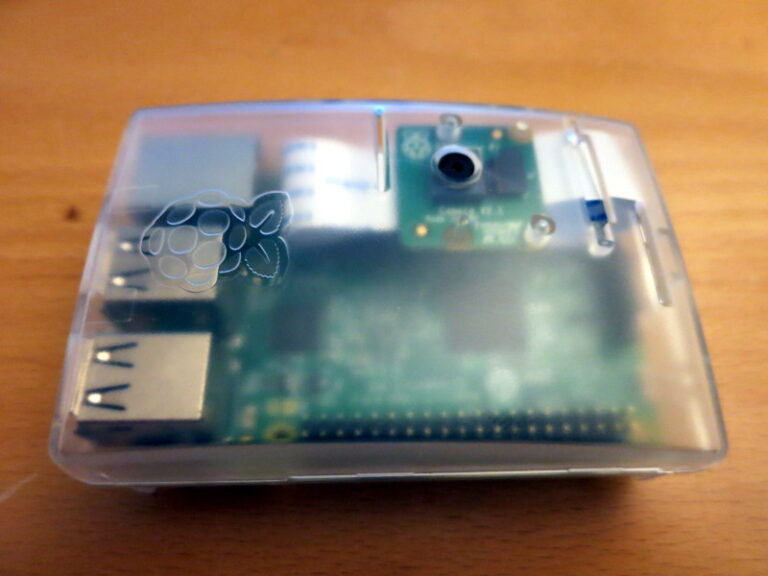
The installation instructions I found were very simple, and as I said, the enclosure made it easy to install the camera. First I used the screws included in the enclosure to fasten the camera to the top of the enclosure…
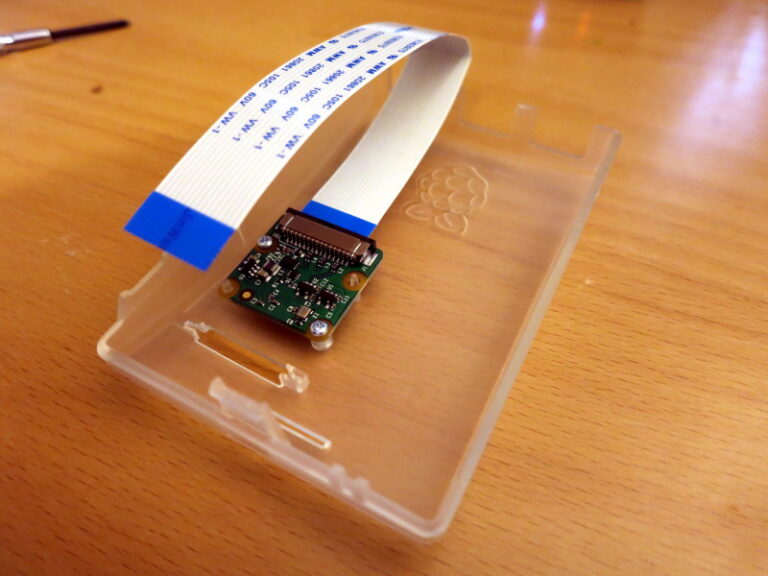
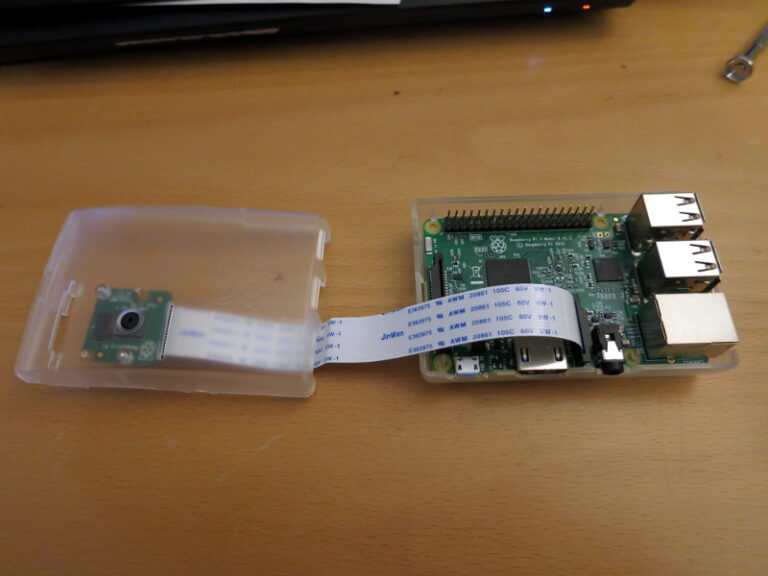
Then I slipped the ribbon cable into its connector (the video from the installation link above goes into detail on this step), and voila!
I did have to play a bit with the folds of the ribbon cable to make it fit into the enclosure, but it wasn’t hard.
Once I’d installed and tested the camera, the next step was to install OpenCV (Open Computer Vision) for Python development. Luckily, Adrian Rosebrock has a wonderfully detailed and accurate set of instructions for that installation. A day later (it does take a while), I was all set.
Next step, writing some software….