
I’ve been designing 3d printed parts for a while now, and thought I had the process down to a science.
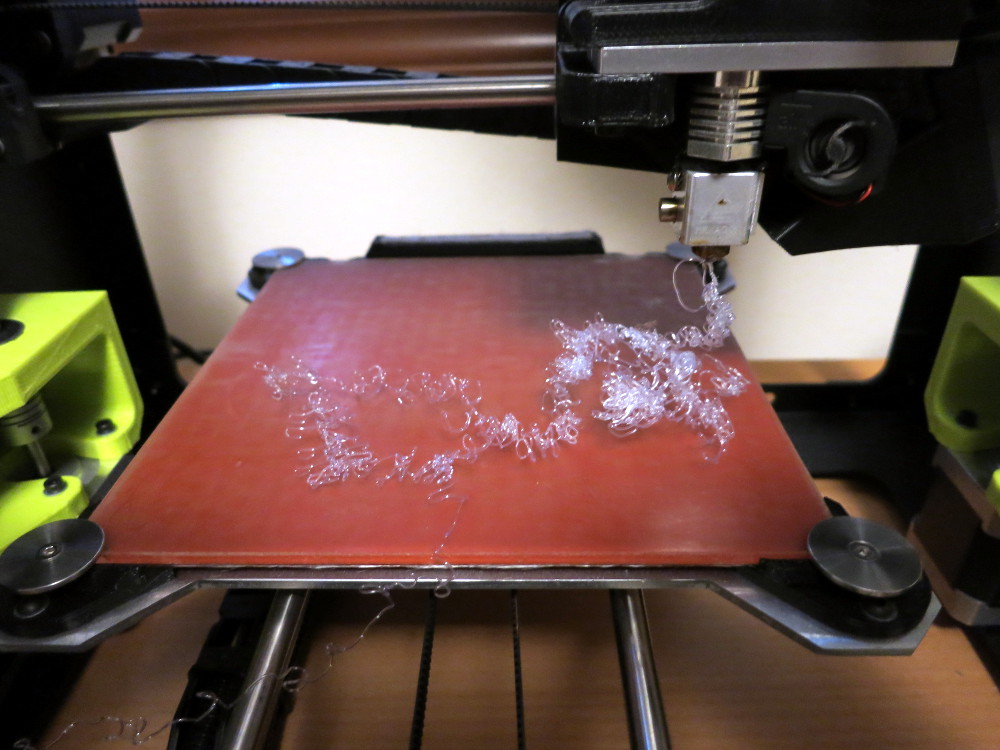
Then this print happened:
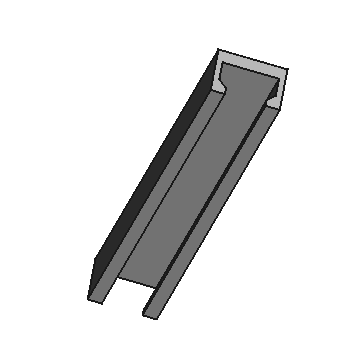
I was trying to print a rail design for an earbud case. It was supposed to look like this:
Because I printed my earbud rail on end (to increase its strength), the amount of plastic that contacted the print bed (the cross-section of the rail) was too small. As the print proceeded, the print head tugging on the print caused the print to pry away from the bed. Once the print broke loose from the bed, the printer could to nothing but extrude plastic into the air, producing something that looks like steel wool.
Which brings me to what a Brim is and what it’s for.
A Brim is a wide layer of plastic – something like the brim of hat – that your 3d print Slicer program can automatically add to the first layers of your 3d print. The Brim increases the area of the print that touches the print bed, making the print stick better to the print bed.
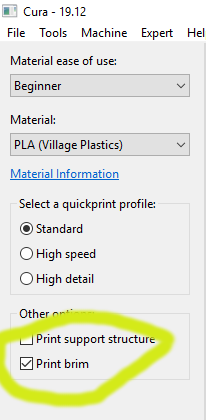
I use Cura as the slicer for my Lulzbot Mini printer. In Cura, you add a Brim by checking the option labeled “Print brim”.
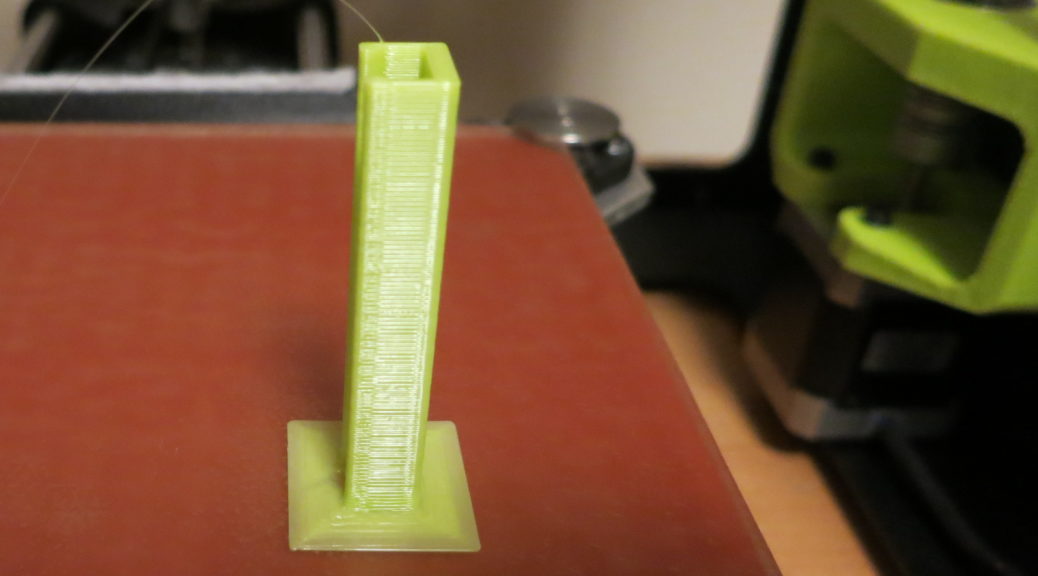
Retrying my print with the Print Brim option checked produced a fine print.
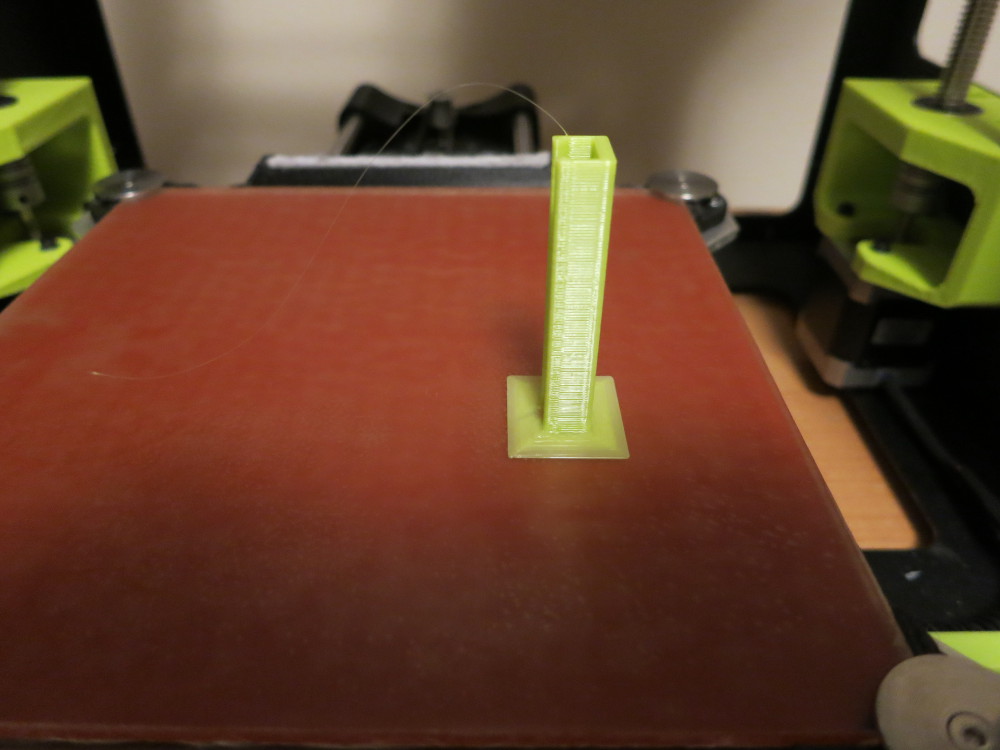
Once the print is completed, it’s easy to peel off the thin Brim and enjoy your cool printed thing.