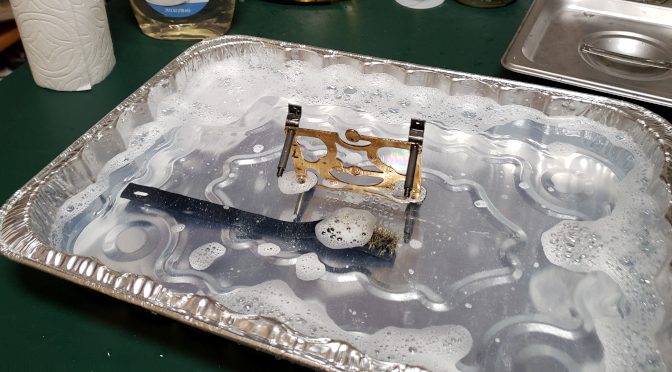
Each clock repairer seems to have their own favorite method for cleaning their clocks. Some prefer mineral spirits; some like ammoniated cleaners; some like dish detergent. Because I’m just starting out, my particular cleaning process is evolving. This post covers my current process and recipes.
Disassemble the Movement
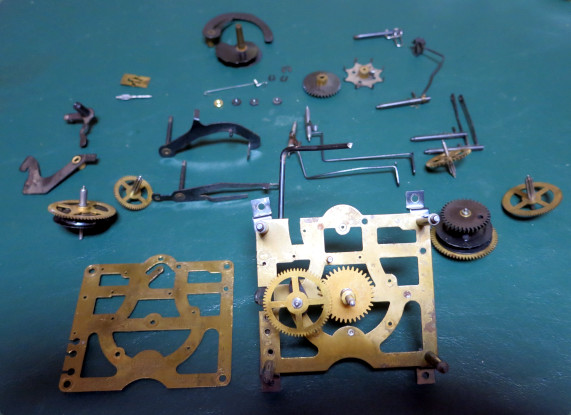
I begin by completely disassembling the movement, leaving only riveted parts and staked-on (wedged) parts in place. There is a lot of dirt and grit in a dirty clock movement that can’t be removed until you take the movement apart.
Soak Rusty Parts in Evapo-Rust
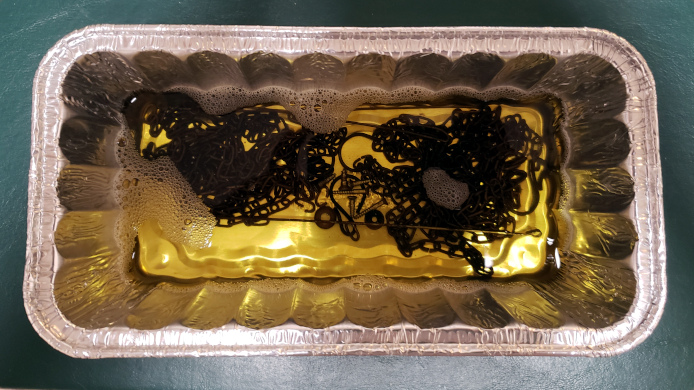
I place the rusty parts of the movement in Evapo-Rust for a day or so. Evapo-Rust is a non-toxic fluid designed to bond to and remove rust, but not harm steel or other metals. It works great!
Unfortunately Evapo-Rust also removes bluing, because bluing is a form of oxidation. Luckily it’s easy to later re-blue parts using either cold bluing or hot bluing.
Clean with Detergent
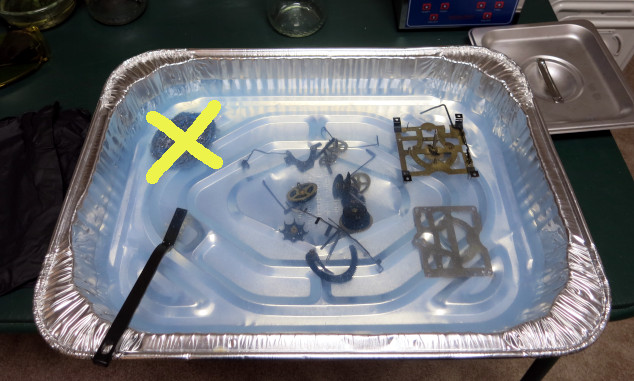
I wear ordinary kitchen gloves for this part, to protect my hands and to keep skin oils off the parts.
I place all the parts in a tray of about 2 Tbsp (30 mL) mild dish cleaning liquid and about 2 quarts (2 Liters) of water. I currently use an aluminum tray, but I want to move to a plastic tray. I don’t use a steel tray because it might scratch the brass parts (steel is harder than brass).
I brush each part with a nylon toothbrush. I don’t use steel wool pads such as SOS pads because they scratch the brass parts (steel is harder than brass).
For stubborn dirt I brush the part with a brass brush.
Once the parts are tolerably clean, I thoroughly rinse them in water, then pat them dry with paper towels. If I’m not putting the parts in the ultrasonic cleaner right away, I pat the parts with paper towels soaked in Isopropyl alcohol, then pat dry. The alcohol drives out water that soaked into the parts’ crevices and joints.
When rinsing the parts in the sink, and when pouring the used detergent down the drain, close the sink stopper to avoid losing parts down the drain. It’s very easy to miss a small washer or screw in soapy, dirty water.
Clean in an Ultrasonic Cleaner
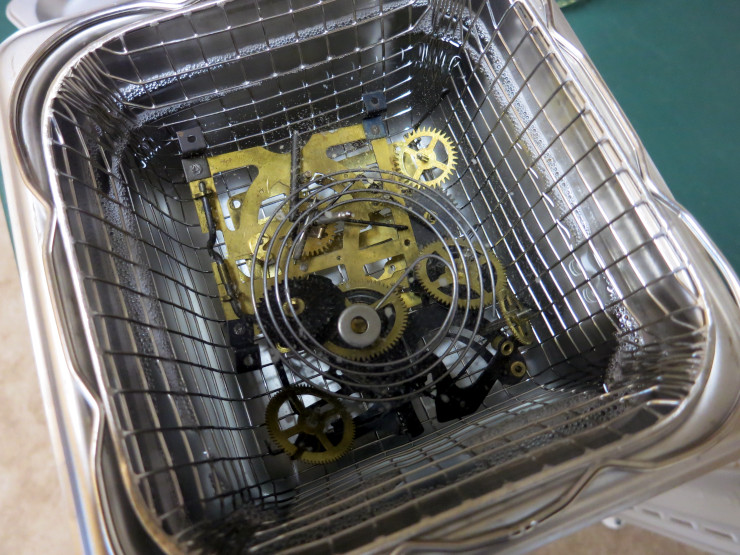
At this point there is still grit and dirt hiding in the parts’ crevices. I place the parts in an ultrasonic cleaner, in a mixture of about 2 Tbsp (30 mL) Vigor ultrasonic cleaning fluid to about 1.1 quarts (1.1 L) of water, with the ultrasonic cleaner set to 25° C for 25 minutes.
Unfortunately, I can’t seem to find a supply of Vigor. I liked it because it was non-toxic and septic-tank safe: I could pour it down the drain. I’m in the process of finding a suitable replacement.
Some people like to use an ammoniated cleaner, because it brightens the parts, sometimes to a like-new shine.
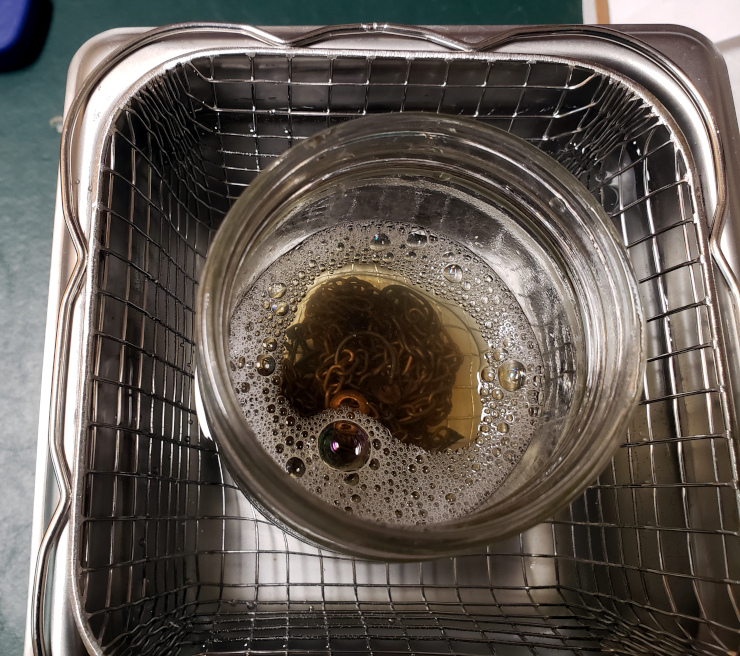
I put small parts (ones that would fall through the cleaner’s basket) into a clean, lidless peanut butter jar with Vigor and water in it. I then fill the ultrasonic cleaner with water. The ultrasonic waves move through the water in the tank, through the glass wall of the jar, and into the cleaning mixture inside the jar.
I DO NOT put clock music barrels in the ultrasonic cleaner. The heated fluid can melt the shellac that holds the pins in the barrel, ruining the barrel.
After ultrasonic cleaning, I thoroughly rinse the parts in water, pat dry with paper towels, then wipe with alcohol-soaked paper towels, then pat dry again.
Peg Out the Holes
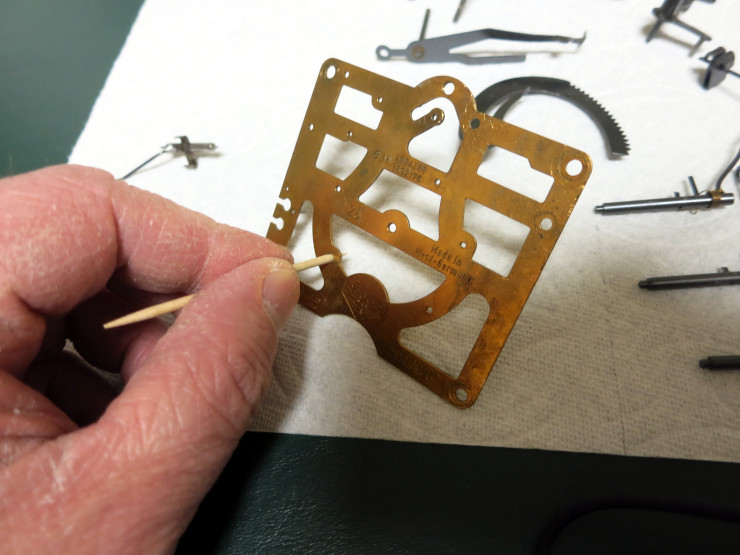
Even after all this cleaning, dirt remains in the pivot holes and pinion leaves, and sometimes in gear teeth. To remove this dirt I take a wooden toothpick (wooden cocktail stick) and turn the end in the pivot holes, and drag the end along the space between pinion leaves or gear teeth.
Pro clock repairers use sharpened pegwood sticks to peg out holes. I find toothpicks less expensive.
Be sure to clean the end of the toothpick after each hole, with a paper towel or hobby knife.
Start repairing the clock
After all this work, your clock movement is ready to be worked on, or just reassembled.
Alternatives Other Clock Repairers Use
As I said, every clock repairer has their own tastes when it comes to cleaning. Here are just a few examples from people I trust:
The very first clock repair video I watched advocated using SOS pads: steel wool pads with embedded detergent. I don’t do that anymore because I found that steel wool scratches brass.
Just Mike sometimes just soaks the assembled clock movement in an ammonia-based clock cleaner. I see a lot of folks using this method to quickly get a dirty clock running without the significant time and skill required to disassemble and reassemble the clock. I don’t use this method because it doesn’t remove the dirt that can cause the parts to wear or stick, and because I enjoy the disassembly and reassembly process as a hobby.
Don Perry prefers ammoniated cleaners to detergent, because they can make the parts shine like new; his repaired movements look beautiful. I don’t like ammoniated cleaners, because they remove lacquer (which can be easily reapplied) and any Witness Marks which may help me reassemble and adjust the clock.
Matthew Read, a clock conservator, prefers mineral spirits to any detergent-based cleaning, because the detergent removes all the oils from the movement, making it “dry”. Water is also an enemy of old clocks. I don’t use mineral spirits because I don’t like working with flammable, toxic liquids, and I’ve never worked on a rare clock.
So take a look at what other clock repairers are doing and why, and develop your own style of cleaning a clock.

