During the wildfires of 2020 I saw many instructions for how to quickly duct-tape air filters to a box fan, to remove smoke from household air. Years before that I was interested in buying a woodworking shop air filter that would remove fine sawdust that otherwise floats in the air for days or weeks.
This post describes my experience making a air-filter-box-fan design, using 3D printed clips instead of duct tape to hold the filter to the fan.
CAUTION: I have no idea how safe it is to clamp an air filter to a box fan. Such a filter may reduce the air flow to the fan’s motor, which might result in overheating and fire. Always supervise the running fan. You’re responsible for your own safety.
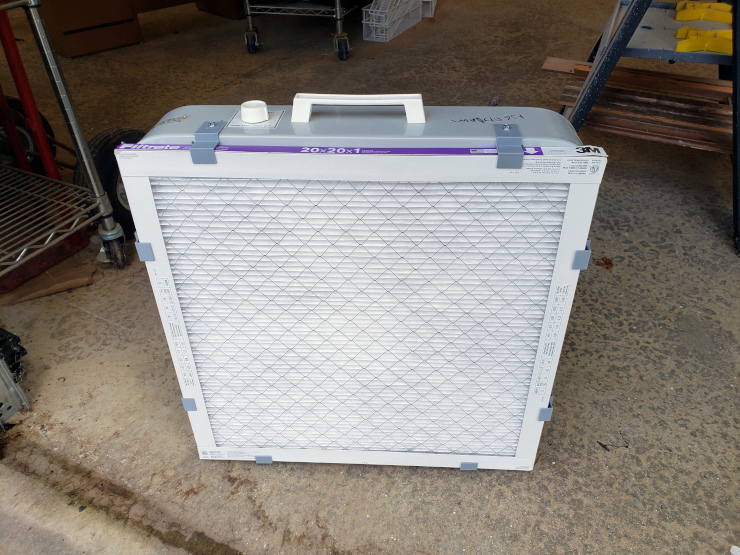
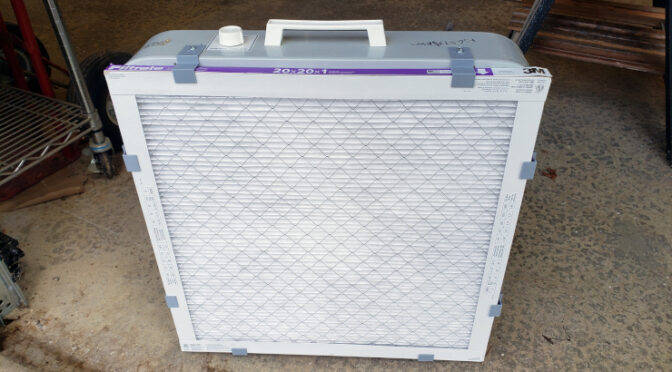
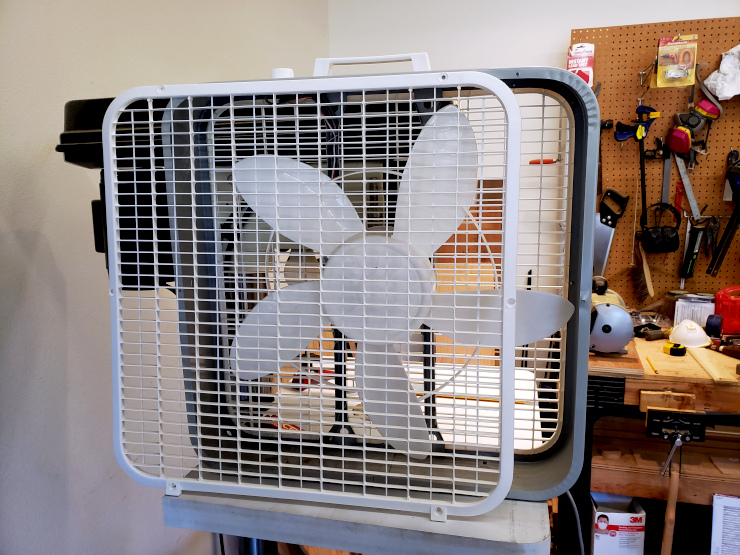
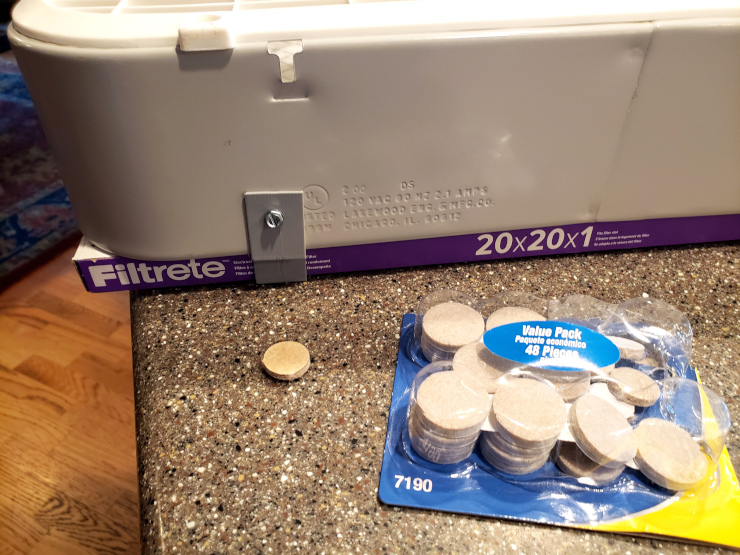
I began with a nominally 20-inch (about 510 mm) box fan, and unscrewed the front cover. I then measured the fan and chose an air filter (20″ x 20″ x 1″) slightly smaller than the outside of the fan.
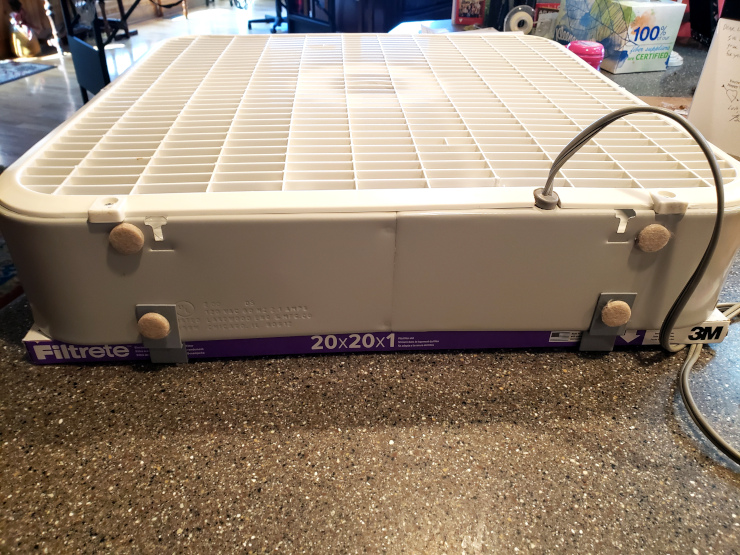
Centering the air filter on the front of the fan, I designed a simple 3D printed clip, posted on Cults3D, to hold the air filter to the fan.
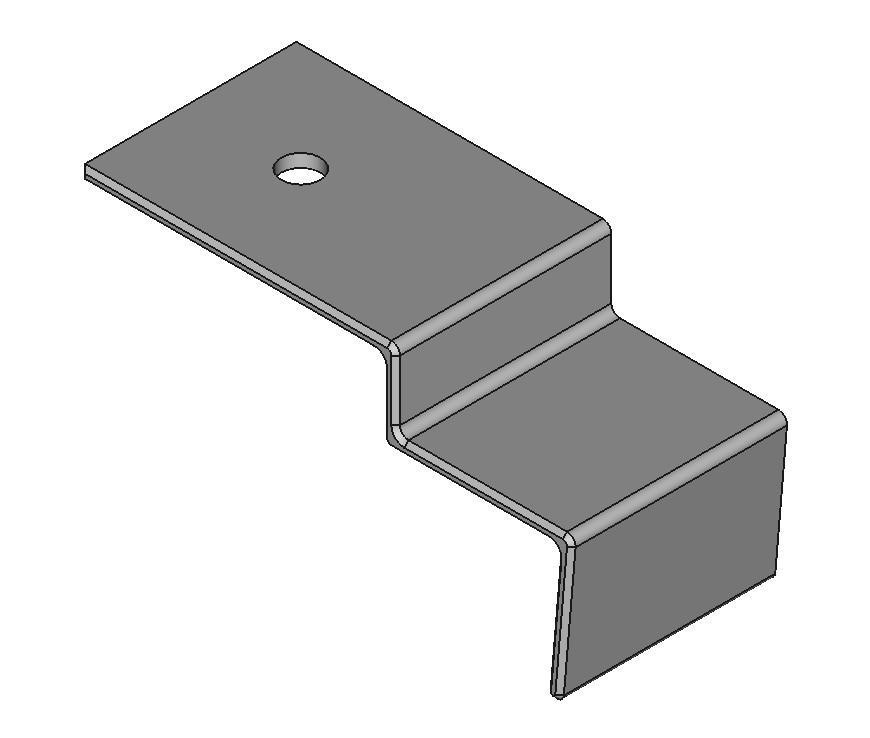
My plan was to print eight of these clips, and attach two per side of the fan, using sheet metal screws (8 x 1/2″).
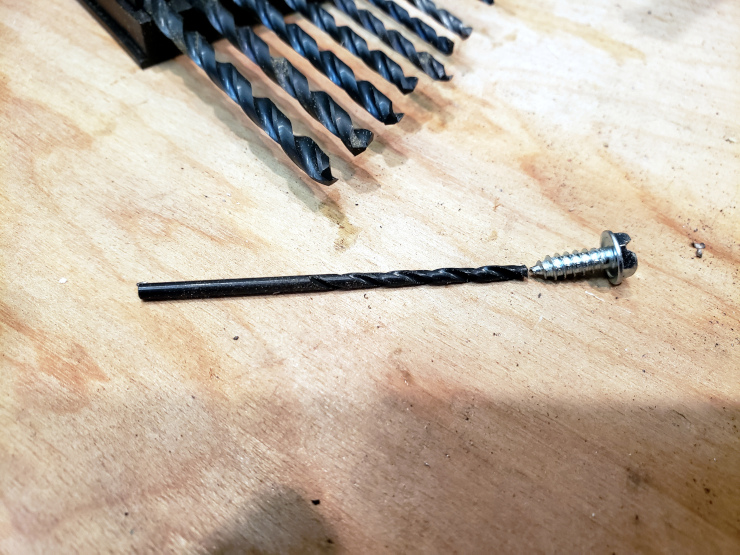
Drilling the pilot holes for the screws proved a little challenging. I started by choosing a drill bit about the same diameter as the inside of the screw.
I then marked the spot to drill by positioning the clip and marking the hole with a felt tip marker.
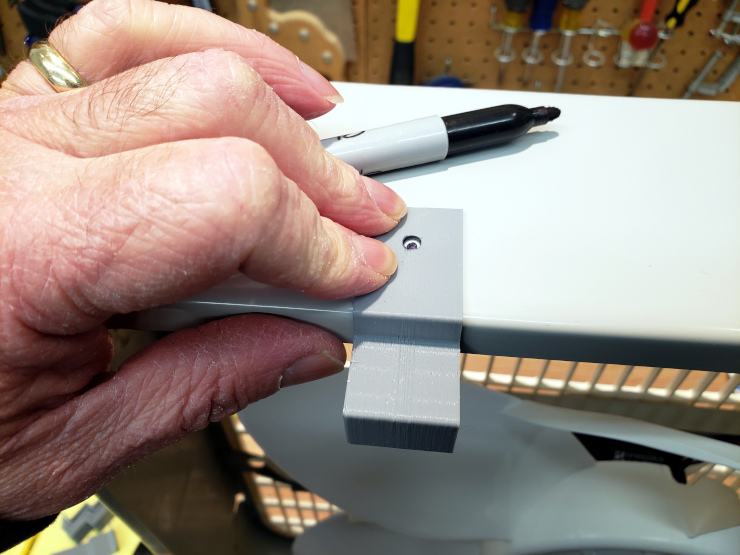
I then tried to drill a pilot hole, but found the drill wandered all over the sheet metal.
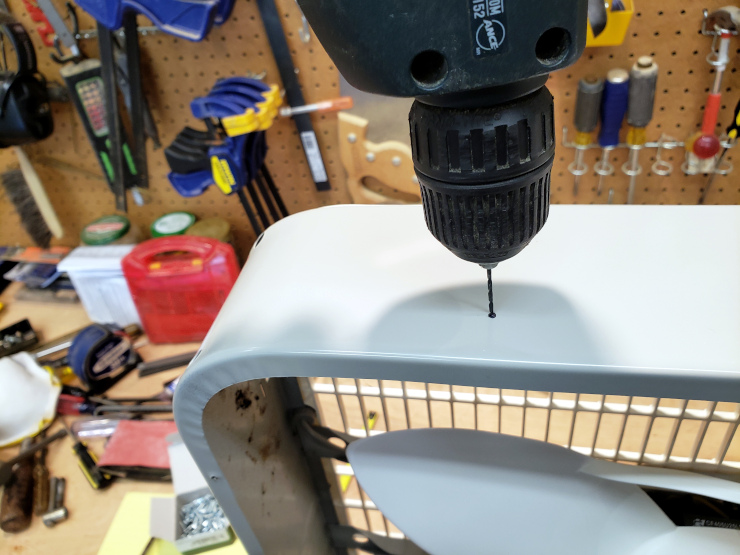
I should have used a center punch to dent the metal, but I don’t have one. Instead I drilled a hole through a block of wood, then used the block of wood to keep the drill bit in place. It’s a bit of a McGyver job, but worked for me.
I found drilling right on top of the mark is very important. I accidentally drilled one hole too far backward of the mark, and the clip almost didn’t fit.
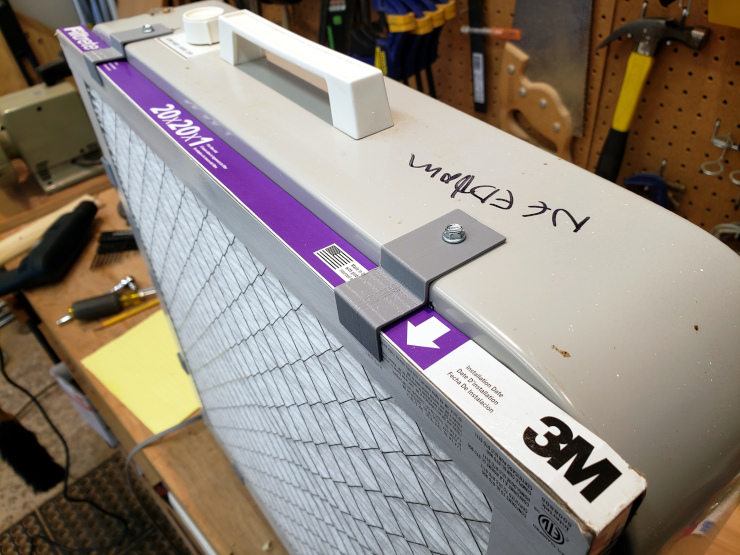
Although sheet metal screws are self-tapping, I found they needed more help than a screwdriver offered. So I used a socket wrench, which let me hold the screw upright while tightening. I put the screw in once to tap the hole, then removed it and screwed the clip on.

I positioned the top two clips so the screws wouldn’t interfere with the power switch – I didn’t want any electrical problems.
Before screwing in the final two clips, I slipped the air filter onto the front of the fan, making sure that the air flow direction arrow pointed outward.
To replace the filter once it’s dirty, I plan to remove two clips from one side, slip the old filter out and the new filter in, then replace the screws. As long as I don’t tighten the screws too much they should last through many filter replacements.
Finally I placed four felt pads on the fan’s bottom face, to prevent the screws from scratching the counter or floor.
I’m really happy with how the project turned out!