

In my previous post about this clock I ordered a replacement pendulum suspension rod and bob, because the originals were missing. In this post I cut the suspension rod to length and adjust the speed of the clock, using audio recording to measure the timing of the tick-tock.
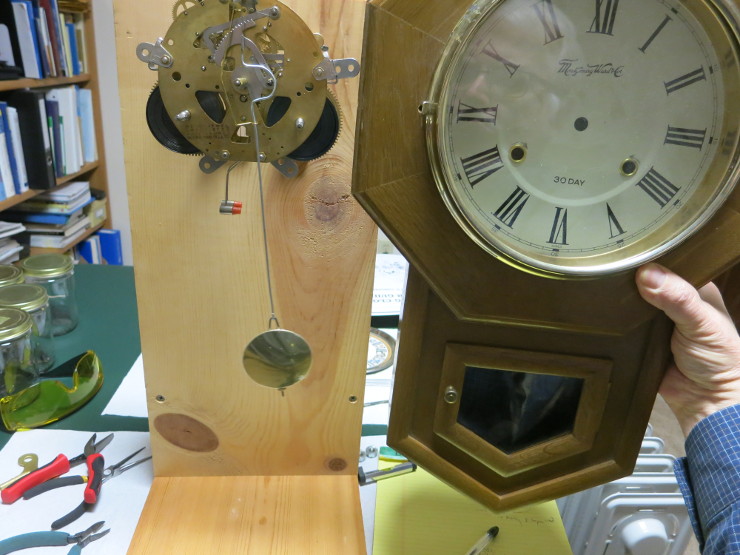
Since my last post I’ve reassembled and oiled the clock. I was planning to post a video of the reassembly, but since then I’ve found quite a few videos of that sometimes time-consuming process. Being inexperienced, it took me about 2 hours to reassemble this clock’s movement.
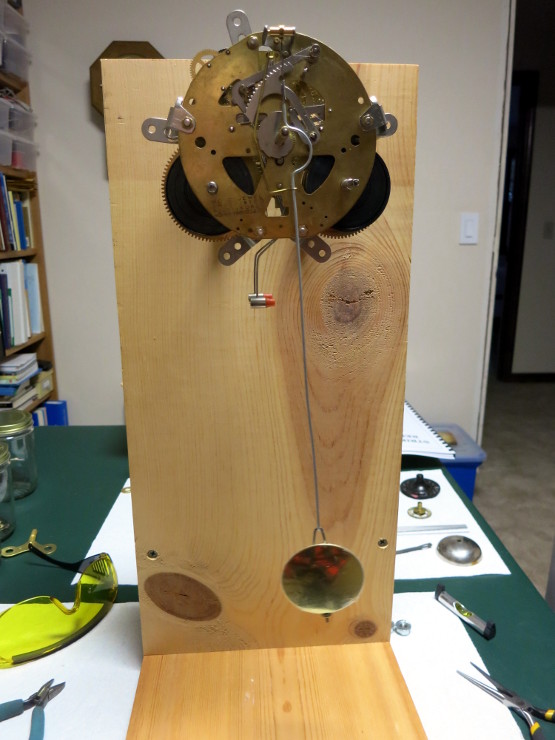
Now that the movement is oiled and assembled, the next step was to cut the pendulum to length. The pendulum on this clock consists of a suspension rod and a bob (weight) that hangs on the end of the rod. The top of the rod is fastened to a short strip of spring.
You may recall in an earlier post I calculated the desired period of the clock, 1.03434 seconds per period, based on the number of teeth on the gears in the time train. In that post I also calculated the theoretical length of the pendulum, 265.6 mm, based on a formula for calculating pendulum’s period given its length.
The difference between the theoretical and real length of the pendulum is very difficult to calculate. Luckily, there is a much more practical way to cut the pendulum suspension rod to the right length: to calculate the difference between a longer pendulum and the desired one:
- Set the rating nut (the bob height adjustment) to half way between its extremes.
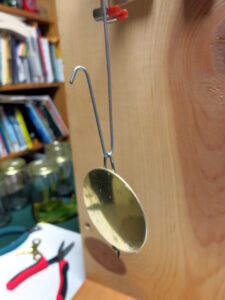
- Cut off just the tip of the pendulum suspension rod and bend the end into a hook.
- Hang the bob on this over-long suspension rod, then measure the pendulum’s period.
- Calculate the theoretical length of this longer pendulum, and the difference in millimeters between it and the desired theoretical-length.
- Shorten the suspension rod by the difference you calculated.
- Measure the period of this new pendulum. Confirm that it’s close enough to the desired period you calculated.
Following this method, I mounted the clock movement on a test stand, bent the end of one of the suspension rods I ordered, and set the clock running with this over-long pendulum.
To measure the period of this pendulum, I used a Zoom H4n audio recorder, set to record at 44K samples per second, and used Audacity, an open source audio editing application, to measure the time between ticks. I plan to one day buy a TimeTrax timer, which can measure the pendulum period directly, without messing about with the recorder and Audacity.
To Measure Pendulum Period using Audacity
- Record at least 10 tick-tock periods of the pendulum. 20 is better. Store the recording as a raw .wav file.
- Read the audio file into Audacity.
- Select all, then Amplify. Use the default amplification it offers; that amplification will make the loundest sound max out the audio levels.
- Select all, choose Effect / Bass and Treble…
- Turn the bass all the way down (-30dB).
- Click Apply, then click Close (of the dialog).
- Delete the noise, if any, from the start and finish of the recording.
- Once again Select All, Amplify, and choose the default amplification it offers.
- Now the ticks and tocks should be clearly visible in the waveform display.
- Select a range of time that covers 10 good tick-tock sequences in order. That is, the last tick or tock before the end of the selection should be 10 periods (tick+tock) from the first tick or tock in the selection. Put another way, the selection should start and end on either a tick or a tock, but not start on a tick and end on a tock.
- Repeatedly Zoom In (Ctrl+1) until you can see the waveform of the tick or tock.
- Find the first tick-tock sequence in the selected range. Shift-click on the loudest part of that first tick or tock.
- Do the same for the last tick or tock in the sequence.
- Play the selection to confirm you’ve selected 10 tick-tock pairs.
- See the numbers under “Start and End of Selection” in the middle bottom of the screen.
- Select, in the pulldown next to those words, “Start and Length of Selection”.
- Now the second number in the Start and Length is the length, in seconds, of the selection. For example 10.337 seconds.
- Divide that number by 10 to find the time per period, in seconds. For example, 1.0337 seconds per period.
Cutting the pendulum to the right length
Using Audacity, I measured the over-long pendulum period at 1.128 Seconds per period. Using the formula I explained in the earlier post: L = ( T / (2 * pi)) ^ 2 * 9.8, I calculated the theoretical length of the over-long pendulum to be 315.8 mm.
The difference between the current theoretical length of 315.8 mm and the desired theoretical length of 265.6 mm is 315.8 – 265.6, = 50.2 mm, so I needed to shorten the pendulum suspension rod by about 50 mm. Just in case I’d miscalculated, I simply bent the pendulum 50 mm higher than the current bend, leaving the extra length attached for the moment.
I then measured the period of this new pendulum, again using Audacity, and saw a period of 1.030 seconds per period. That number was close enough to the desired period of 1.03434 seconds. To double-check the length, I compared the new height of the pendulum bob to the height of the window in the clock’s case: they were close enough; math works!
As a last step in regulating the clock movement, I repeatedly measured the pendulum period (using Audacity) and adjusted the bob’s height using the Rating Nut at the bottom of the bob, until the pendulum had a period of 1.0343 seconds per period – very close to the right value.
By the way, in a nearly-1-second-per-period pendulum, an error of 1 ms (0.001 second) per period translates into an error of 60 * 60 * 24 ms per day, or 86.4 seconds per day, which is about 1 and 1/2 minute per day, which is terribly inaccurate! In contrast, an error of 0.1 ms per period translates to 8.6 seconds per day, or about 1 minute per week, which is about the best you can expect from a spring-driven clock like this one.
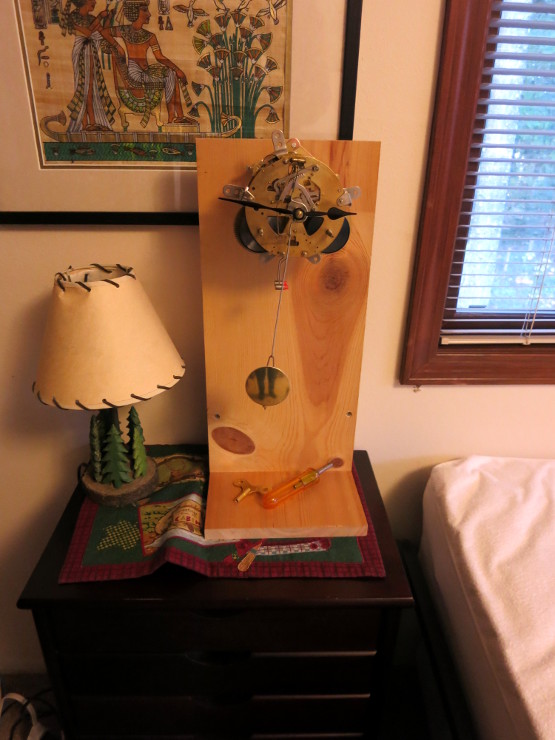
Happy with the pendulum period, I set up the test stand in a back bedroom where it can run undisturbed for a month, wound the strike and time mainsprings fully, set the time, and started the clock.
Because it’s a 30-day (31-day) clock, a month from now the clock should still be running and striking. If it isn’t, the clock probably needs new mainsprings. We’ll see in a month.
Spoiler: it didn’t make it. In my next post, I discover there was a dangerously-loose part in the clock.