
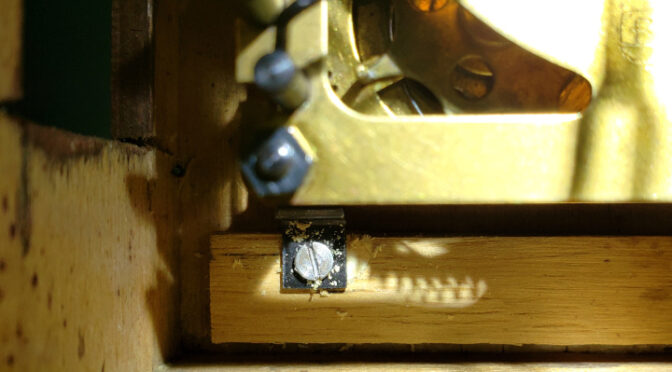
I’m repairing a cuckoo clock that has a commonly-seen problem: one of the screws mounting the movement to the case has stripped its hole. Normally, I’d try filling the hole with a wood filler, but this time I tried something different: “Bushing” the hole with a plug of new wood.
In digging around for clock case repair advice, I found a wonderful book, Extreme Restoration by T.E. Temple, which covers many clock case restoration methods. Its section on repairing stripped nail and wood screw holes in clock cases inspired me to try using a wood plug to patch the stripped hole, because that author has found wood plugs to be an excellent long-term repair.
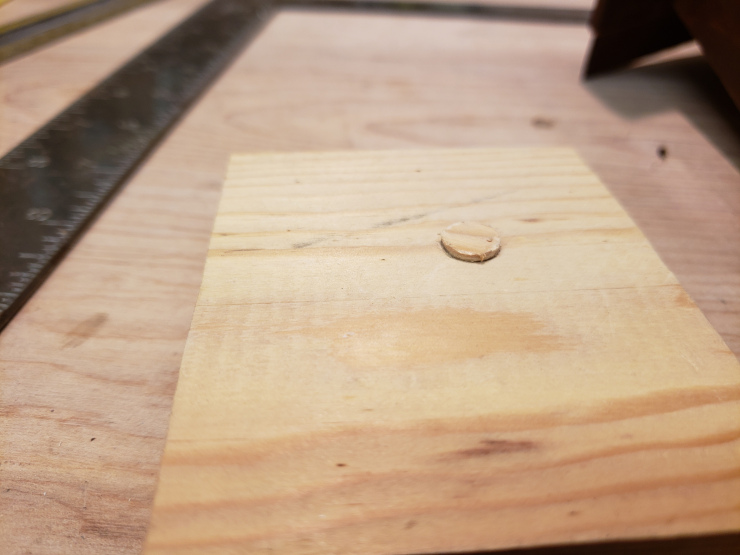
The idea is similar to how to fix worn pivot holes in a clock movement: drill a hole larger than the worn hole, then plug the hole with new material. For pivot holes, the material is brass; for worn clock case holes, the material is new wood. The first photo below shows a test plug in a block of waste wood, before I sanded the plug down. The second photo below shows the same plug after sanding it flush with the test wood block.
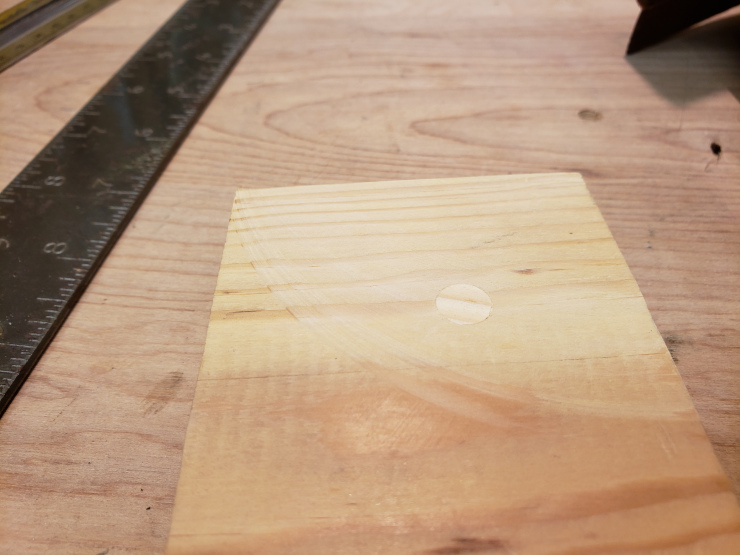
As you can see, the sanded plug matches the wood well. If I had aligned the grain in the plug with the grain of the wood block, it would match even better. And, of course, the new wood is far stronger than filling the old hole with toothpicks or wood filler.
I cut the test plug with a 3/8″ Plug Cutter and used it to cut a few replacement plugs (even though I planned to use only one plug). In retrospect, I also should have bought a 3/8″ Forstner bit, because such a bit drills a flat-bottomed hole.
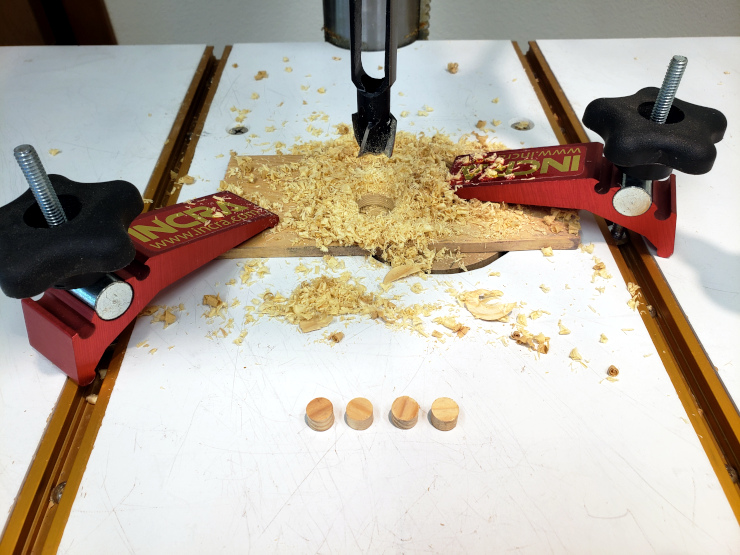
Instead of a Forstner bit, I – inappropriately as it turned out – used a stock drill bit, which cuts a tapered-bottom hole. That hole would cause some damage later, but for now things looked fine.
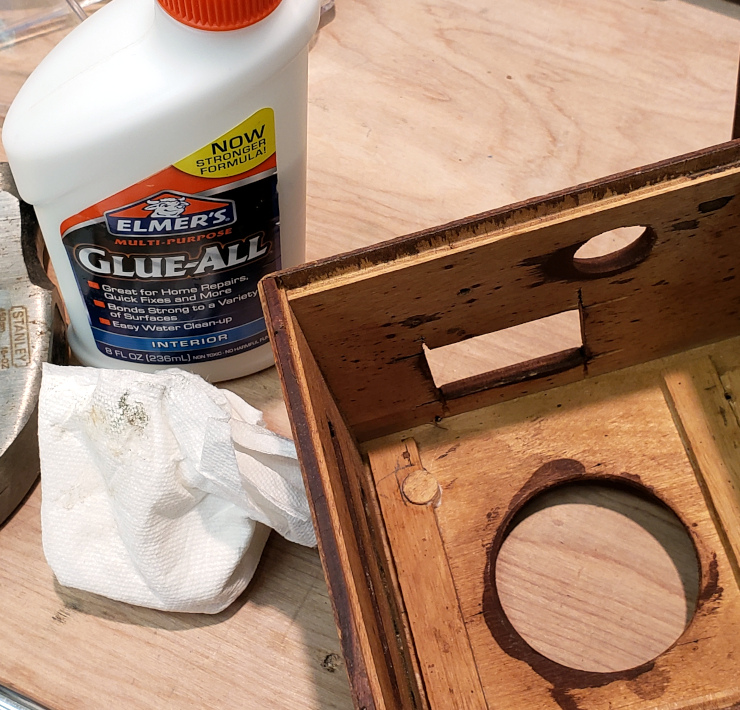
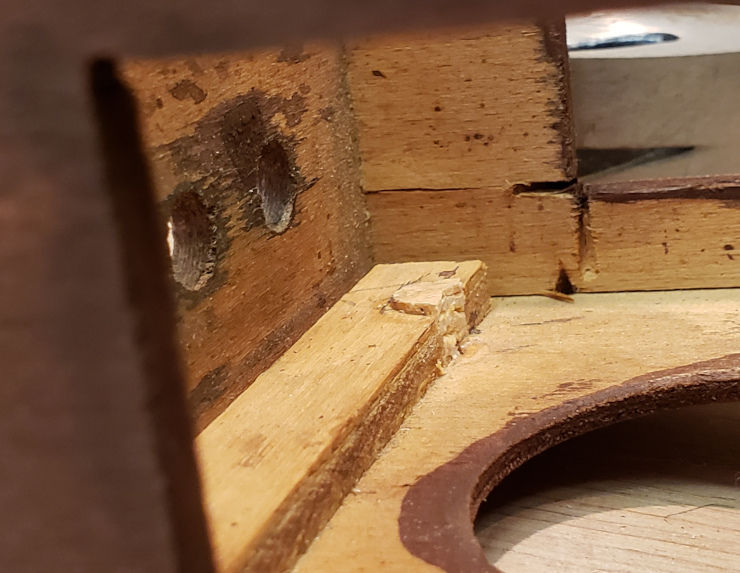
I cleaned up the drilled hole a little, then glued in the replacement plug. That plug was a little taller than the surrounding wood.
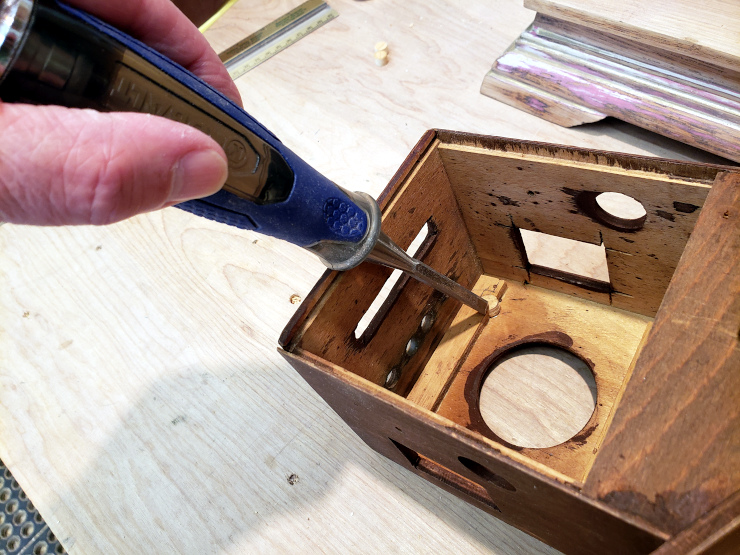
I then made another mistake: thinking that the ridge of the clock support had to be flat, I chiseled off the side of the plug to make it even with the surrounding wood.
It turned out I didn’t have to do that chiseling. The clock movement didn’t bend down into the case as I remembered; instead it sits above the supporting wood.
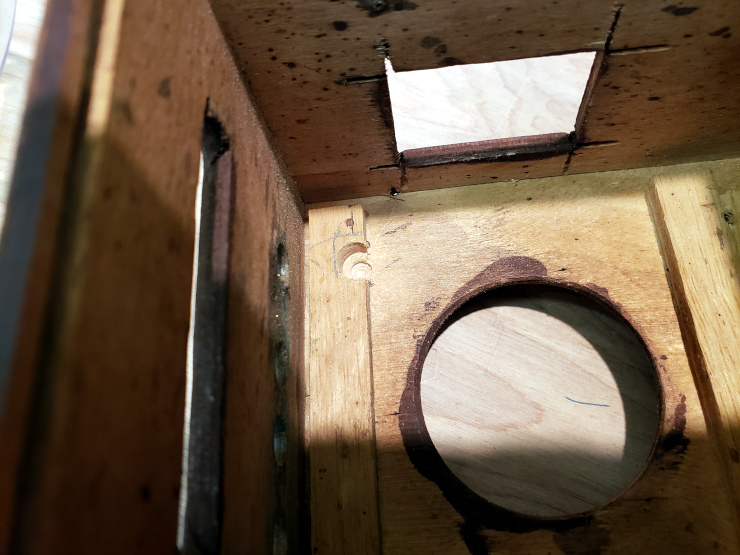
Now the damage became apparent (see the photo below): the tapered bottom of the hole – made because I hadn’t used a Forstner bit to cut the hole – left a gap below the plug. When I chiseled at the plug, the bottom of the plug broke down into the hole a little. Luckily for this clock, the plug was deep enough that even with the damage there was enough wood to hold the screw securely. I might not have been so lucky on another clock.
I next sanded the top and side of the glued plug to make it flush with the surrounding wood. Again, I later realized that I hadn’t needed to chisel the plug’s side; it would have been fine to leave the plug round.
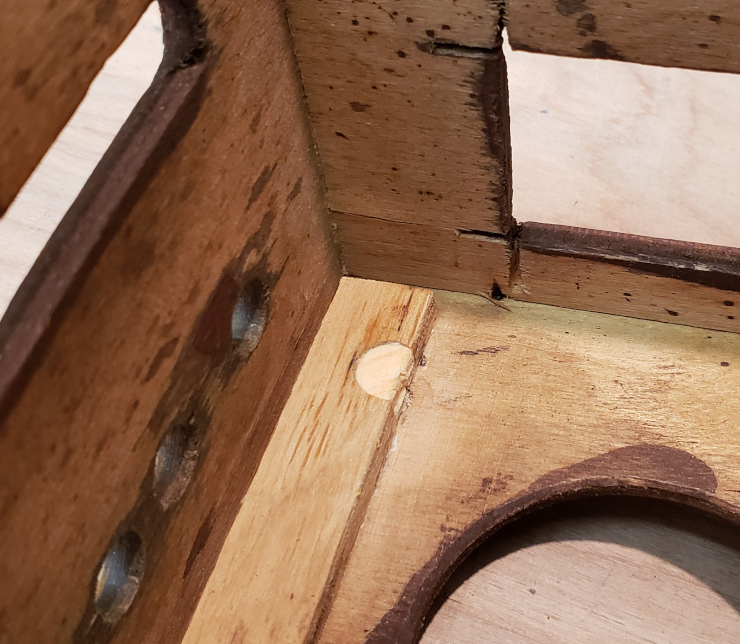
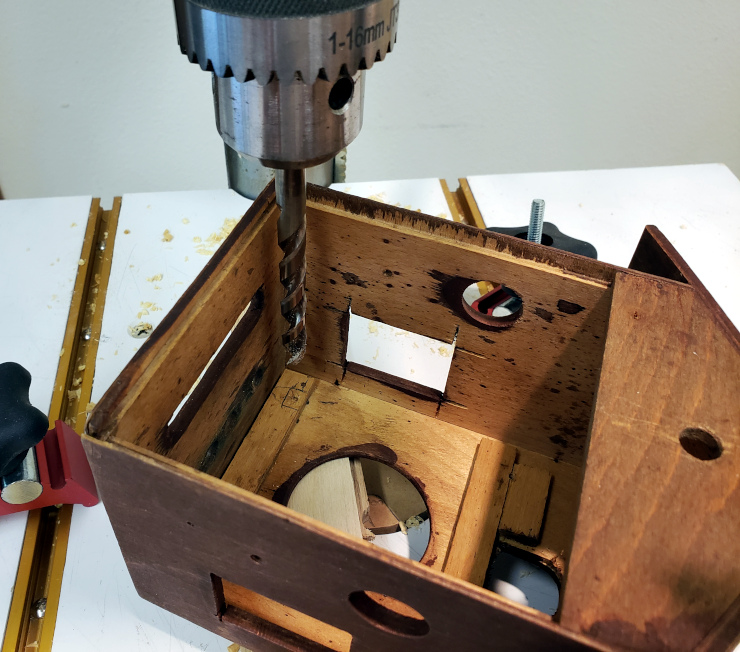
Next came the easy part: drilling a pilot hole for the screw, to make sure the screw didn’t crack the new wood. I selected a drill bit that was nearly the same diameter as the body of the screw, but not as large as the screw’s threads.

I then mounted the clock movement in the case using the three good screw holes, then hand drilled the fourth hole using the movement’s hole as a guide.
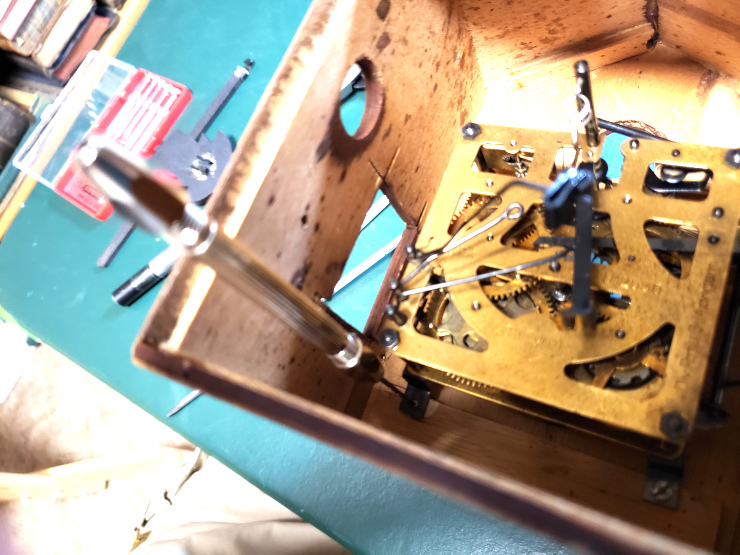
I’m very happy with the result. The original screw hole had probably been stripped when the clock fell off the wall (as many cuckoo clocks do). Now the damage is repaired for years to come, and I have a technique I can use on more expensive clock cases.