My Ansonia kitchen clock had a loose warning pin – the pin that stops the clock’s gonging at the right time – so I decided to bite the bullet and do my very first actual metalworking, no-going-back, clock repair!
On this Ansonia 9 1/4 clock movement, the warning wheel has two warning pins, 180 degrees apart.
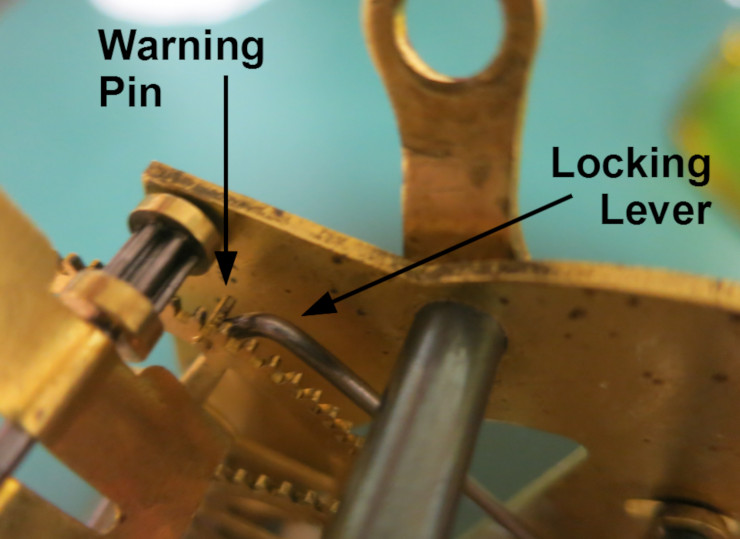
Because the warning pin slaps against the locking lever and warning lever every time the strike train runs, that pin can – over 100 years of running – bend, wear, become loose, or even break off.
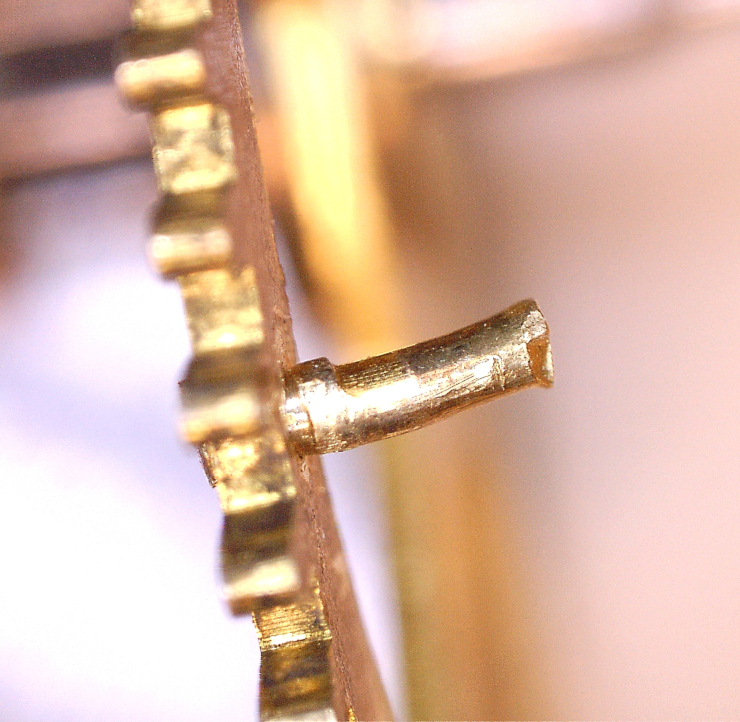
As I was cleaning all the individual parts of this clock, I noticed what you see in the photo above: that one of the warning pins was so loose and bent that it could fail.
I’ve been into clock repair for only a short time, and don’t yet know basic things like how to properly hammer a rivet head, or even how to pull a gear off of an arbor and press it back on. So I scoured the message boards on the NAWCC (National Association of Watch and Clock Collectors) site to find how to replace a warning pin. Should I solder or glue the existing pin in? Should I rivet in a brass rod of the right length? …and how would I do that?
Luckily I found the perfect thread on Warning Pin Repair/Replacement, where experienced clock repairers seemed to say “it’s simple: remove the old pin, hammer in a tapered pin – possibly using a glue to help keep it in, hammer the one side of the pin into a rivet head, then cut the other end to the right length.” It sounded easy, but I knew that if I messed up I could go to eBay and hunt for a replacement warning wheel.
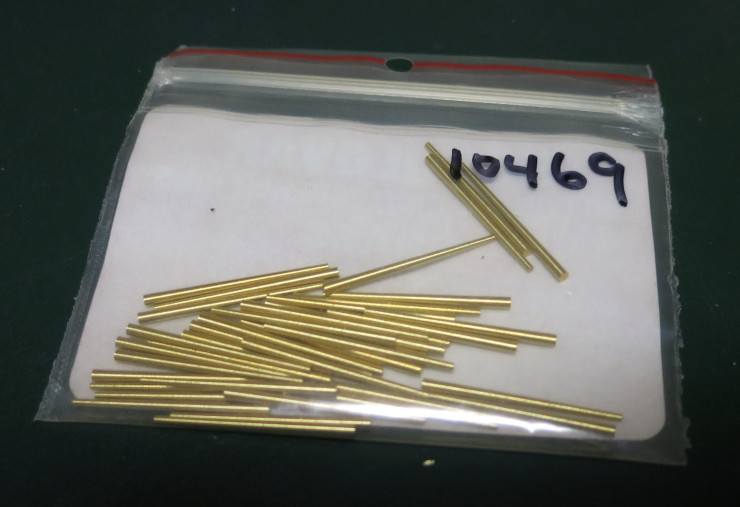
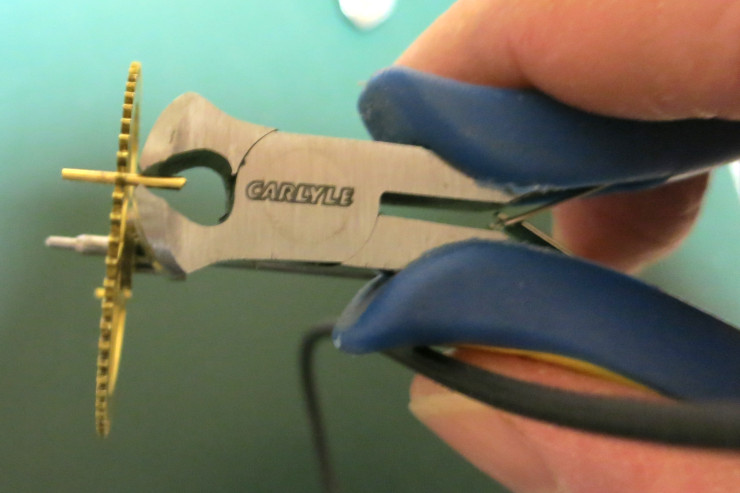
So I bought a pack of tapered brass pins from Timesavers to get started.
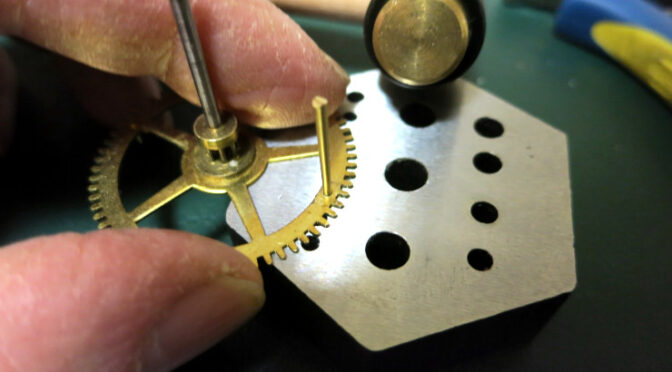
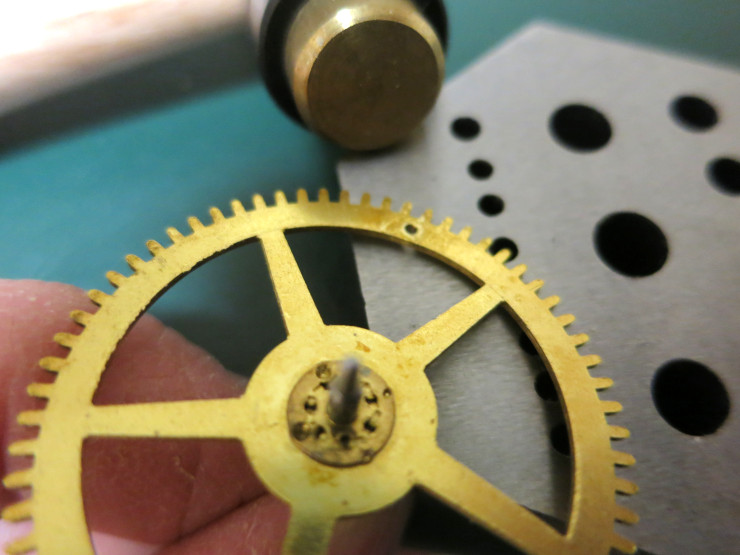
I then – with a clear sense that there was no going back after this step – I used a clockmaker’s anvil and a riveting hammer to pop out the loose warning pin: I placed the wheel pin-up (in case the pin was tapered) over a hole in the anvil (so the pin would pop out) and gave it a gentle tap with the hammer. Lucky me! The pin popped right out, without tearing up the warning wheel or enlarging the hole for the warning pin.
I then gently pushed one of the tapered pins into the non-pin side of the new hole, and marked, with an indelible marker, the point where the pin met the hole, then removed the pin. Then it was time for the second Moment of Truth: I put a small drop of Loctite 222 on the part of the tapered pin that would be inside the hole in the warning wheel, then gently tapped the pin into the hole. If I messed up, it would be hard to remove the pin. By the way, I read that Loctite 222 is formulated to work with brass parts, and can be removed with effort (vs. stronger versions of Loctite).
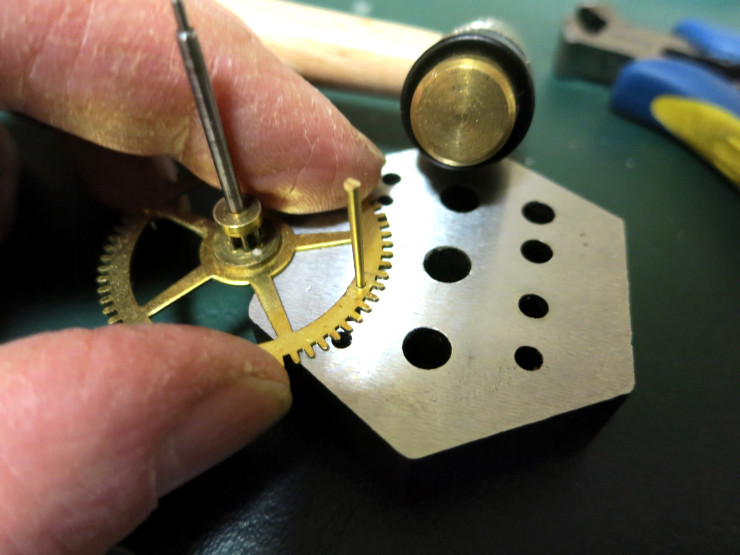
Once the tapered pin was in, I used end-cutting pliers to cut the head side – the wide part of the tapered pin – down to a short stub that I could form into a rivet head.
Then came the part I know very little about: Making a rivet head. I used a 4 ounce ball peen hammer to gently tap the outside edges of the head into a sort of mushroom, then tapped the center of that head more-or-less flat – but not too flat.

It turned out really well, from my naive point of view.
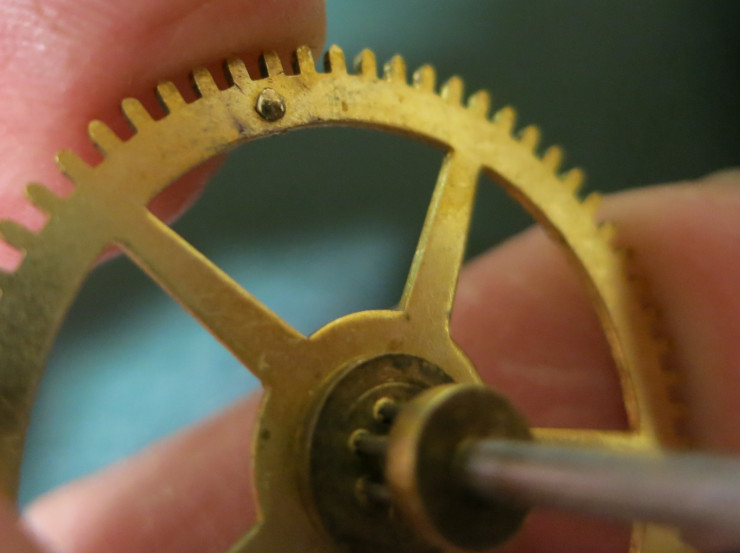
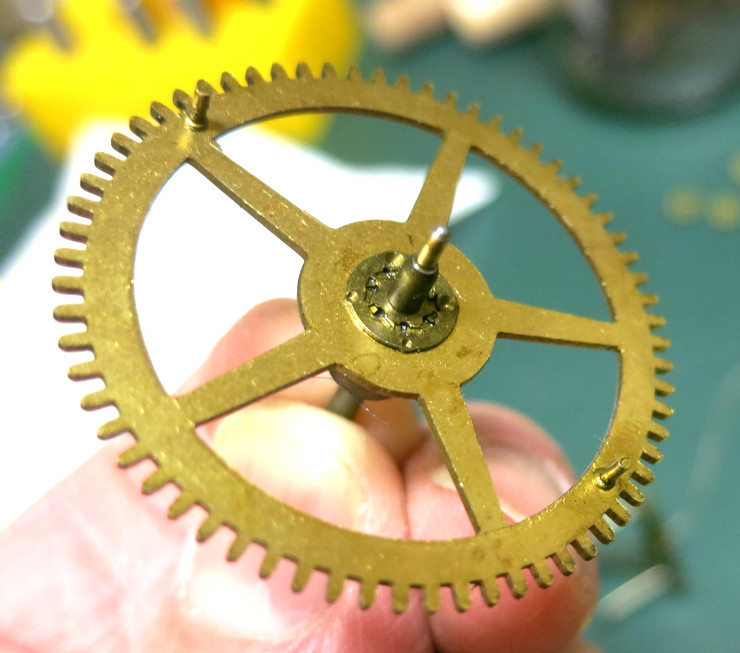
Next I measured the height of the remaining warning pin and used the same cutters to cut the pin-side of the pin to the length of the other warning pin.
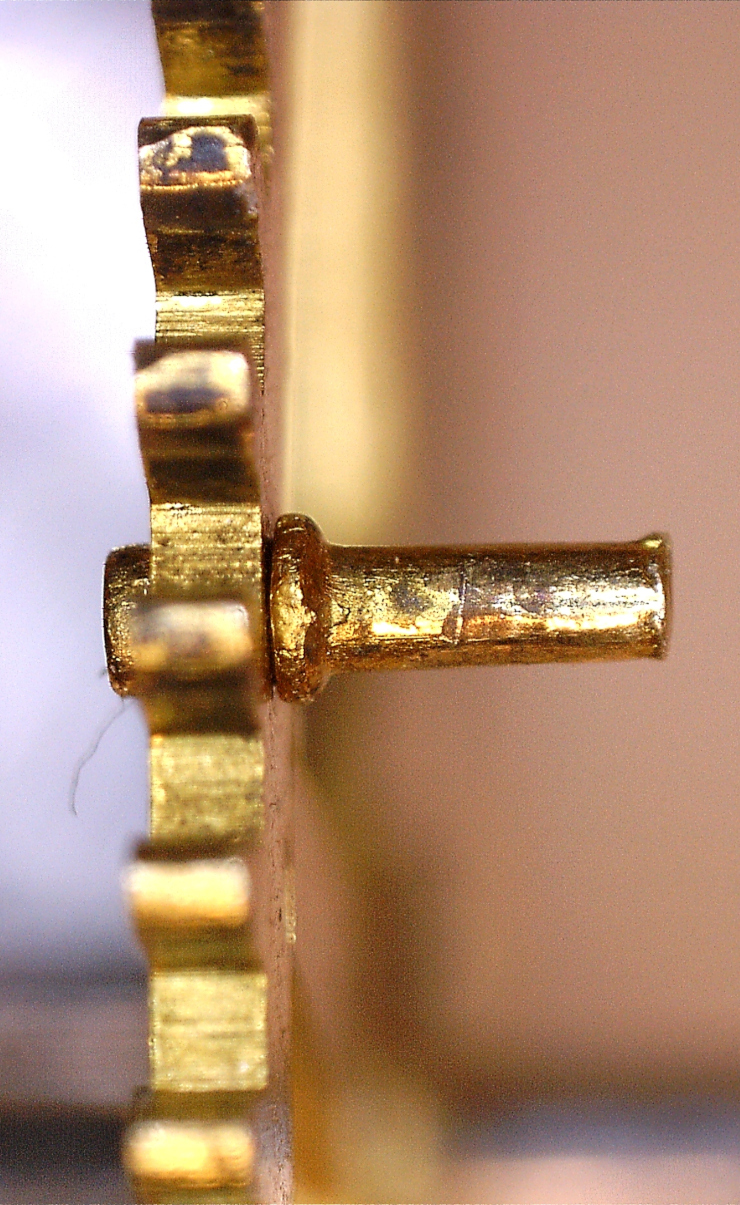
…and that’s it! The photos below show a microscope’s view of the remaining original pin and my newly-created pin. Not bad!