
I recently needed to print a replacement door for the Whirlpool dishwasher’s detergent dispenser. This post details my adventure, which took three prints to get it right.
For the short version of the story, see All3DP’s brief page on how to stop ABS print warping. For the whole story, read on.
LATE UPDATE: Prusa’s excellent post on food safe printing basically says ABS = bad and that it’s really hard to make a safe 3D print regardless of the type of filament. In my opinion, you’re probably better off buying the Whirlpool replacement part rather than printing something that will harbor bacteria and fungi.
I started from a design on Thingiverse: Whirlpool Dishwasher Detergent Dispenser Door by Casey Gustafson. I personally much prefer Cults3D over Thingiverse, because Thingiverse has had terrible support problems for a long time, but you find models where you can.
I was planning to print in PETG, but then I found All3DP’s page on PETG vs. ABS. That page explained that the Glass Transition Temperature (the temperature where the printed object starts to sag and melt) for PETG is about 80° C (176° F) while ABS’s is about 105° C (221° F). So in boiling dishwasher water, PETG may melt, while ABS should hold up well.
So I dug out an old reel of Lulzbot ABS filament and began. Because I’m used to printing in PLA rather than ABS, my first attempt to print used no brim and no bed prep. Not surprising in retrospect, the print warped badly during printing.
After this Fail, I researched a bit and found All3DP’s page on how to stop ABS warping, and chose the following remedies:
- In Lulzbot’s slicer, Cura, I chose Brim rather than Skirt Bed Adhesion.
- I smeared Scotch Permanent Glue Stick all over the glass print bed.
- I heated the room to about 23° C (73° F).
There are probably better glue sticks for printing, but I used what I had lying around from papercraft projects.
Success! …so far. The print didn’t warp at all, and came off the bed just fine (using a spatula and small hammer).

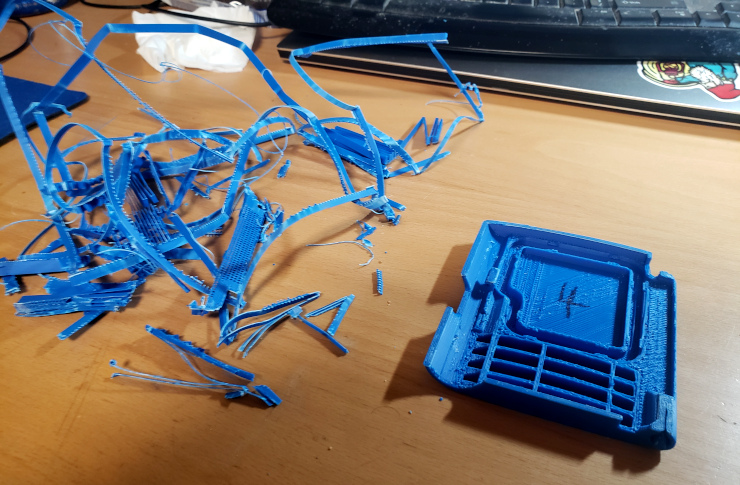
…but the interior was almost solid with support. The support and Brim were hard to remove; I used a hobby knife, scissors, and tweezers.
…and in pulling off the support, I managed to break off the all-important latch – the piece that had broken in the original dishwasher part! If you’re keeping score, it’s Fail 2 : Success 0.
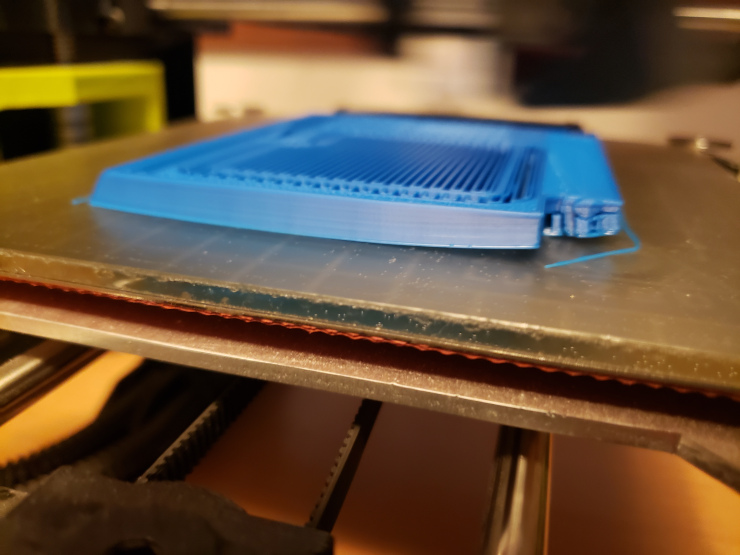
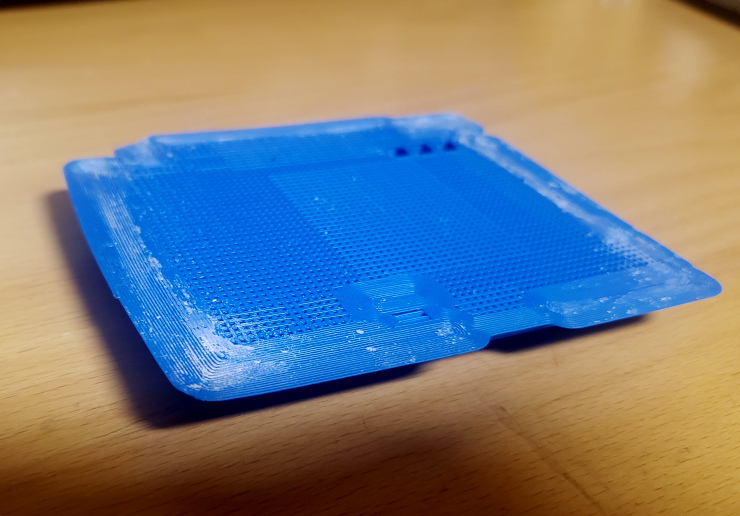
Next I looked at the design to see how to reduce the need for support. It’s basically a dome, so I decided to try printing it upside-down, with the domed top touching the print bed, and all the messy, detailed pieces facing upward.
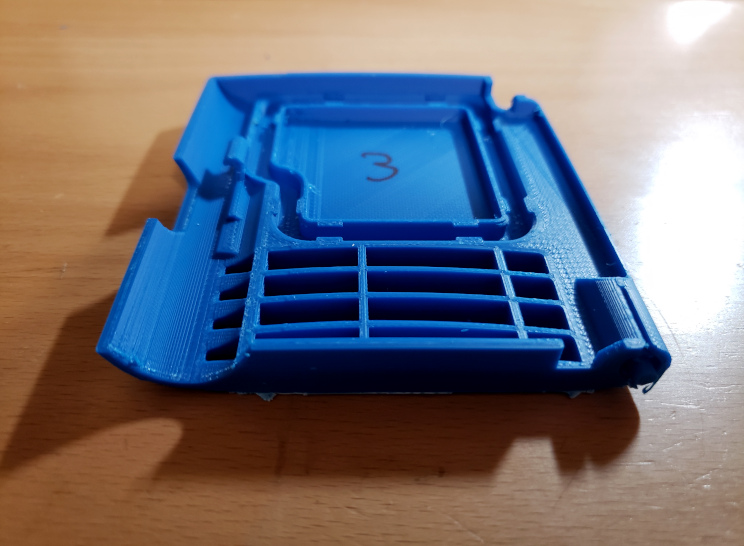
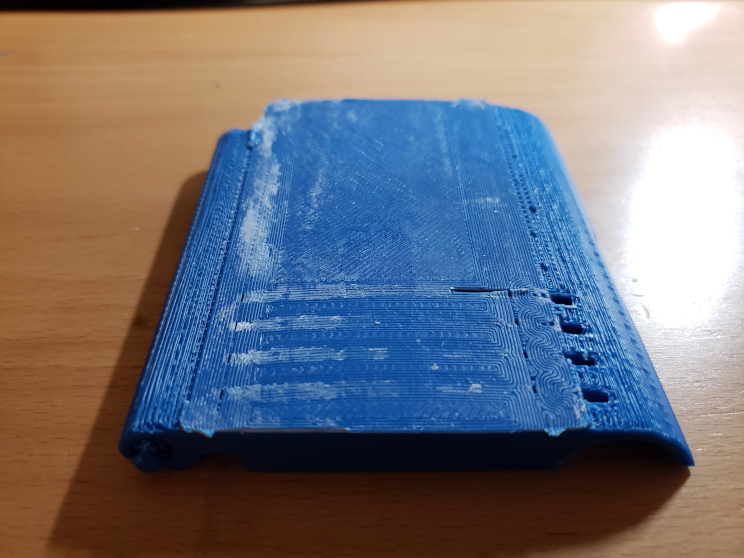
There was so much less support required that it printed in 3/4 of the time of the earlier prints. One nit: the door surface is slightly curved, which caused Cura to put a thin layer of support across the surface.
Design Critique
Now that I have a workable door, I can say a few things about the design.
First, many thanks to Casey Gustafson for making and posting the design. It obviously took a lot of work to create a 3D model that mimicked the original, pressed-plastic door. I’m very grateful for Casey’s work.
I’d recommend making the top of the door flat rather than slightly curved, to eliminate the bottom support when printing upside-down.
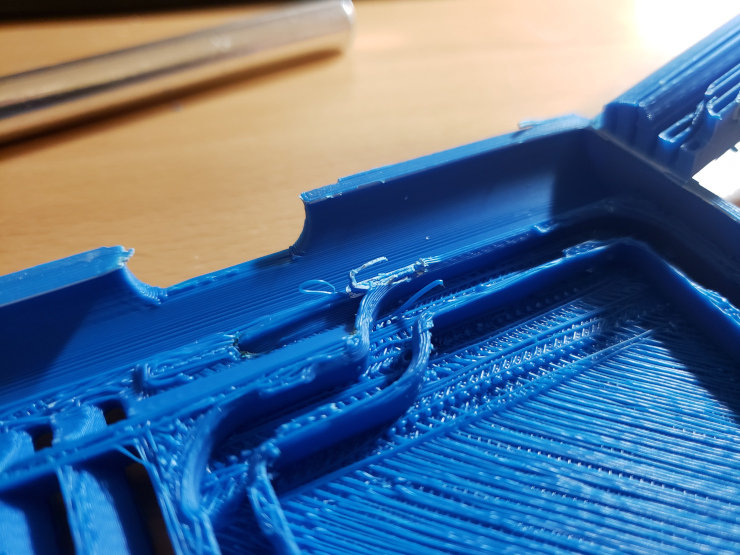
3D prints are relatively weak in the X-Y plane. Because of this, the latch (which is the weak part of the original part) is very weak when the door is printed either right-side up or upside-down. It’s very easy to pop off the top of the latch. Typical 3D printing design suggests that the part should be printed on-edge to make the latch the strongest. Unfortunately, printing this part on edge could easily make it separate from the bed during printing, so I’m not sure how to best address this problem.
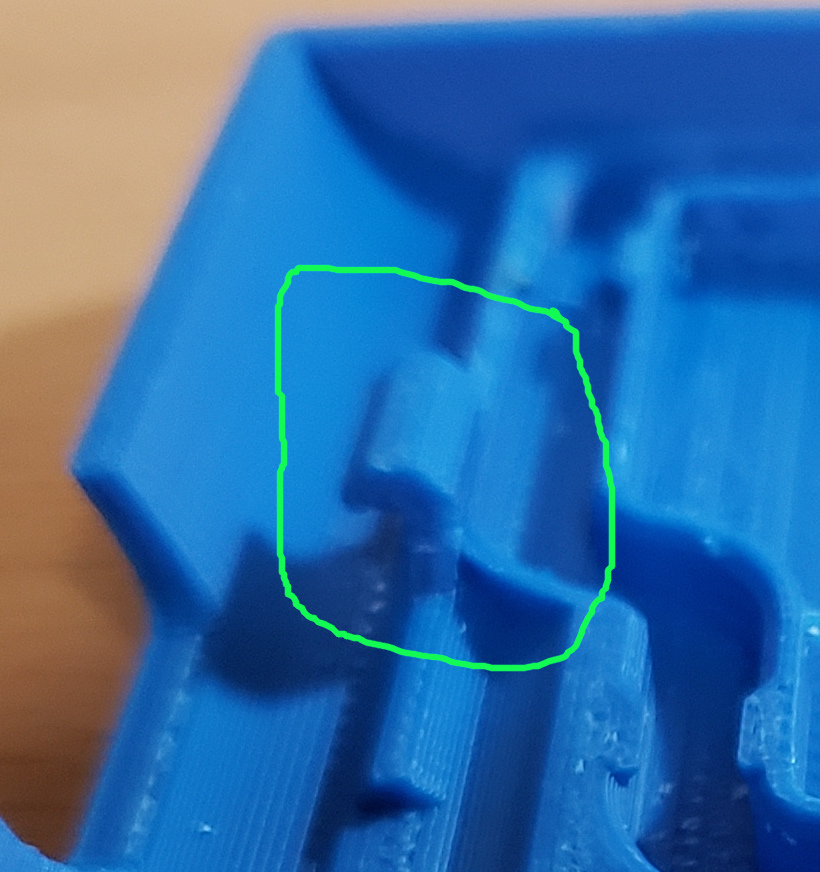
One postscript: the door isn’t for my own dishwasher; it’s for my son’s dishwasher – so the story continues as he works to have the part fit his dishwasher. There’s a raised part near the latch, that interferes with the dish dispenser – he had to chisel that raised bit down to make the door fit.
Comments? Questions? Join the discussion on Mastodon.