
I recently replaced the belts on my Lulzbot Mini. What started off as a simple bit of work ballooned into somewhat more serious work because of a few mistakes I made. The Lulzbot Mini being open source – along with Lulzbot’s excellent documenation – made the repairs possible.
It all started when I noticed that a box-and-lid print I’d designed wasn’t fitting together: the lid was too small for the box. Measuring, I found the nominally 2 mm thick sides of the box and lid were well over that, which is why the lid didn’t fit.
Digging around the net I found one possible reason for the too-thick sides: loose belts. Since the belts hadn’t been replaced since I bought the printer new in 2016, I decided to replace the belts rather than just adjusting the belt tension.
Lucky for me, Lulzbot has published detailed instructions for assembling my Lulzbot Mini V1.0.3. Using those instructions, I had no trouble removing the old belts and inserting the new ones.
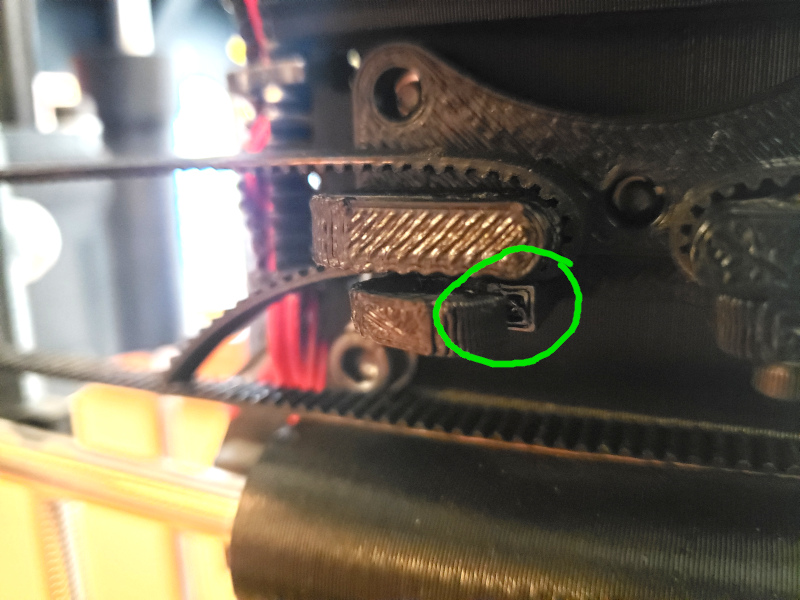
When I say “no trouble”, I tell a lie: In replacing the Y axis belt, as I was using a screwdriver to pry the belt mount apart enough to insert the new belt, I heard the dreadful “plink” of the belt mount cracking. I ignored it, convincing myself that it was just a hairline crack, and once the belt mount screws were in, the cracked part would hold.
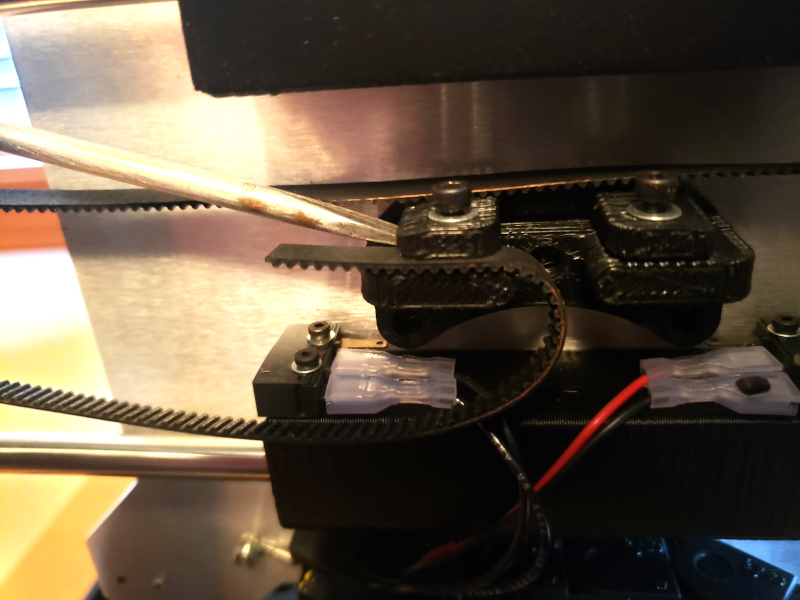
Unrepentant, I managed to do the same thing when replacing the X axis belt: I pried the belt mount too far. This time the part cracked and a bit flopped loose – I couldn’t ignore this problem. The belt mount might hold for a while, but eventually it would give up completely.
Now is where an open source printer shines: Lulzbot has placed the .STL 3D model files for all the printed parts of their printers online, along with the BOM (Bill of Materials) for all the other hardware the printer requires.
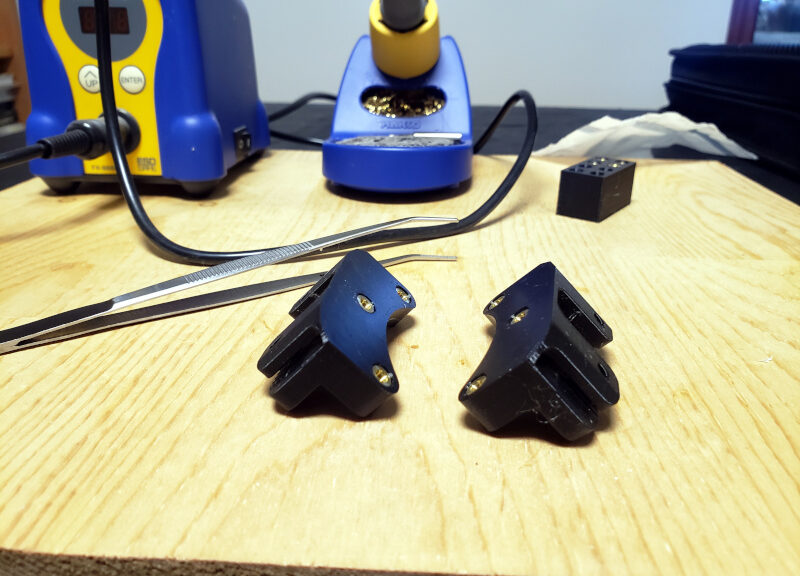
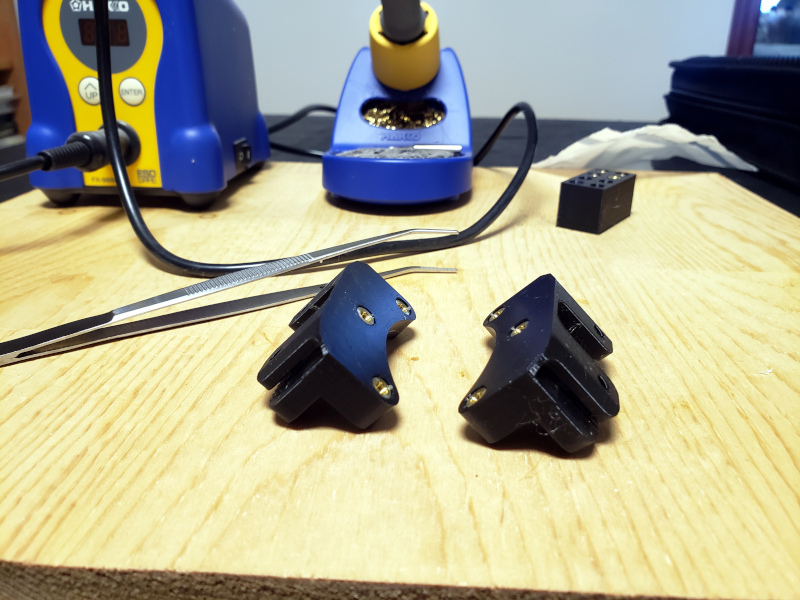
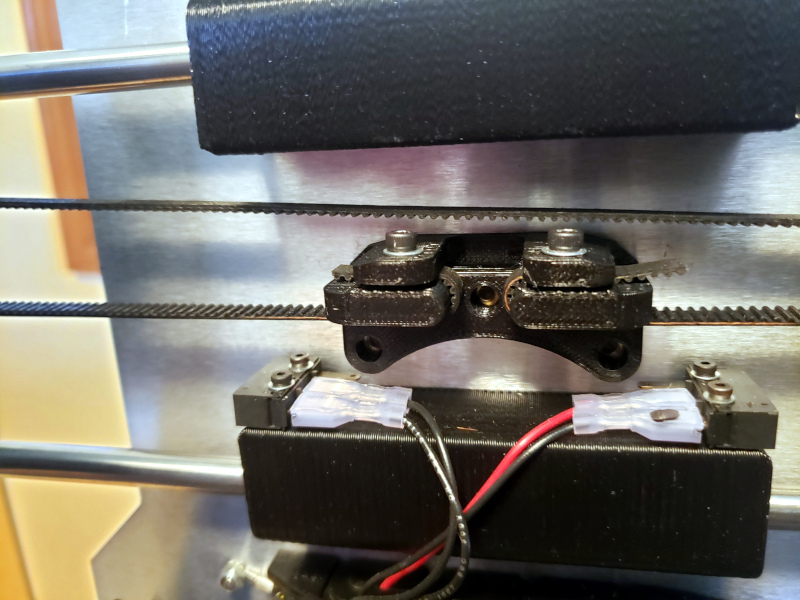
I visited the Lulzbot site and downloaded the X axis belt mount part (the X and Y are the same), and printed two copies in PETG on my Prusa i3 MK3 – it’s handy to have two printers, so you can always print parts for a broken one.
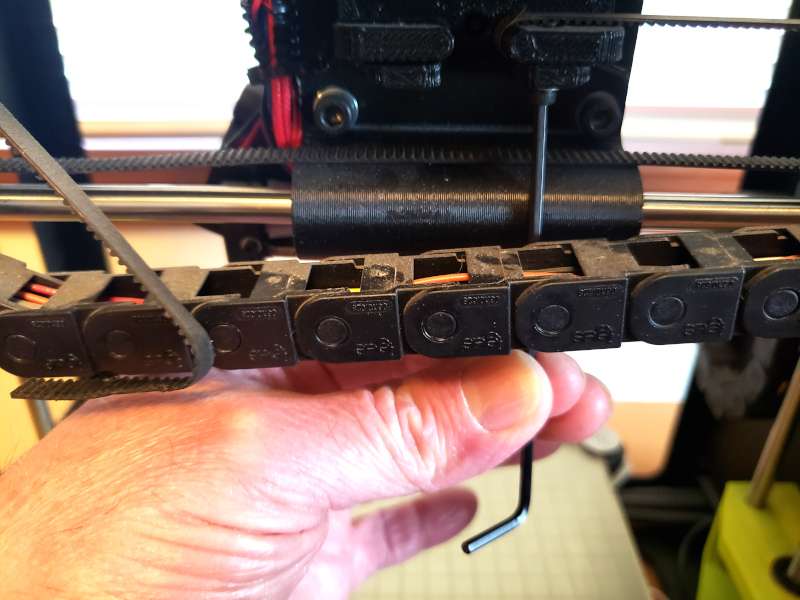
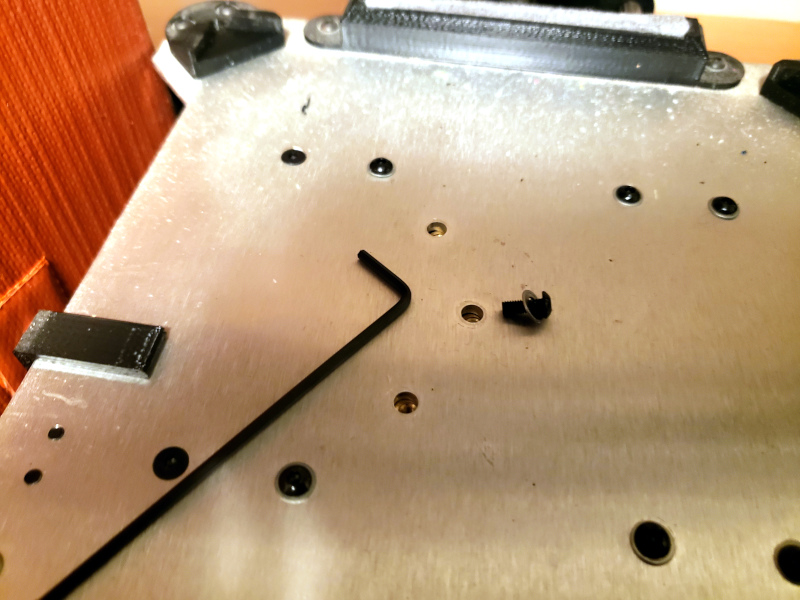
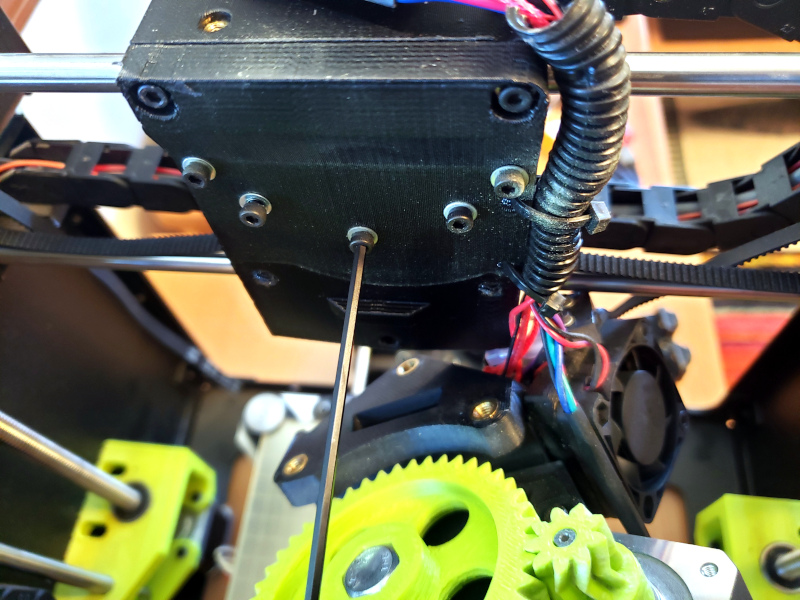
I then followed the assembly instructions – in reverse – to remove the broken X and Y axis belt mounts. The Y axis was easy: I only had to remove the print bed to get to the bolts that held the belt mount in place. The X axis was a bit harder, but straightforward based on the instructions: I had to remove the print head to get to the bolts that held the belt mount in place.
Looking at the old belt mounts I remembered that each one has 5 heat-set inserts in it. Attaching those inserts is another story (See “Adding Heat-Set Inserts to your 3D Printed Parts“), which again, wasn’t hard because of the excellent Lulzbot documentation and online help.
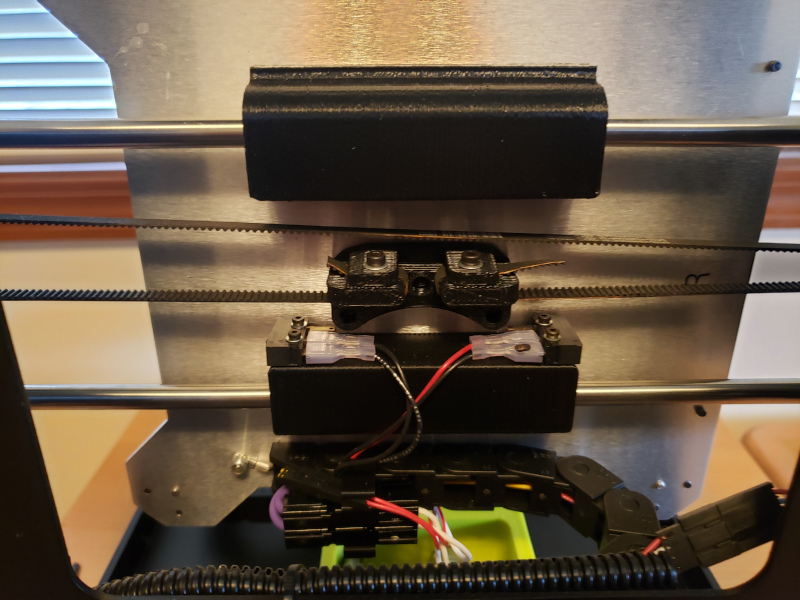
From there it was easy to follow the assembly instructions to install the new belt mounts, and to – carefully this time – insert and tension the new belts.
So, the Lulzbot Mini being open source means that I didn’t have to send the printer to the factory to repair it, and didn’t even have to order new belt mounts from the factory. Using the onllne .STL files, Bill of Materials, and assembly instructions, I was able to do the repairs myself.
References
- Lulzbot’s instructions for assembling the Lulzbot Mini V1.0.3: https://ohai.lulzbot.com/group/mini/
- Lulzbot’s production documentation for the Lulzbot Mini V1.0.3, which includes the BOM (Bill of Materials): https://download.lulzbot.com/Mini/1.03/production_docs/
- Lulzbot’s folder of printed parts for the Lulzbot Mini V1.0.3: https://download.lulzbot.com/Mini/1.03/production_parts/printed_parts/