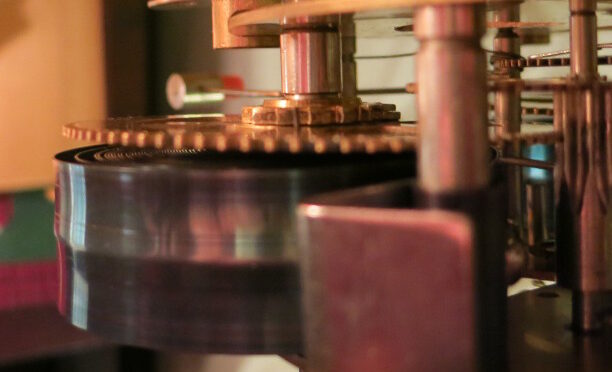
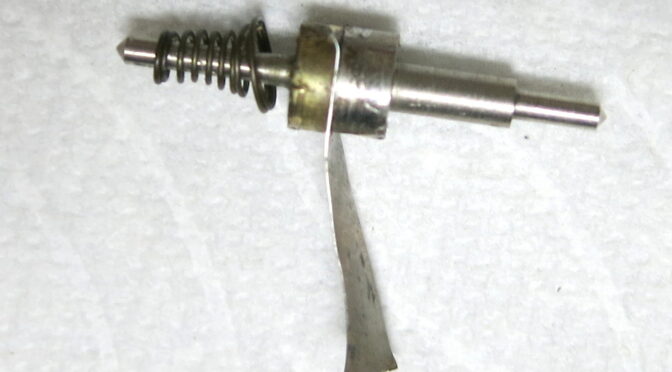
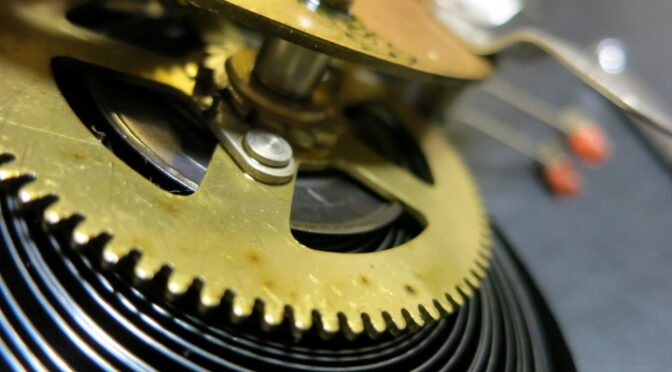
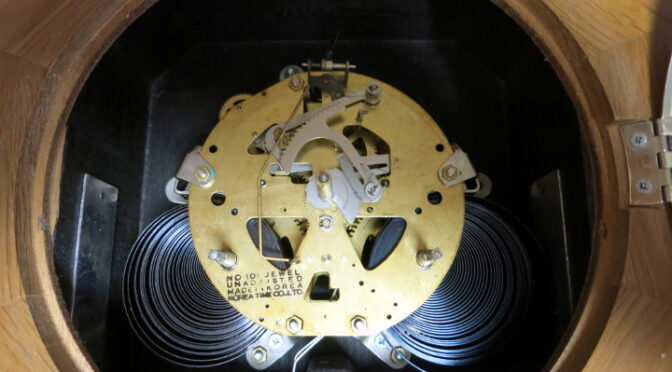
I just now learned how the great wheels – the mainspring gears – work, by finding they didn’t work correctly in my Korean clock. The strike train Tension Washer, that is supposed to hold the gear firmly against the ratchet, has come loose. …so I had to disassemble the clock, after it had run fine for over 11 days.
In my previous post I had set the pendulum length, regulated (adjusted the speed of) the clock, and set it running for a 30-day test, to see whether its springs still run the clock for its full 31 days. If they don’t I’ll need to replace the springs.
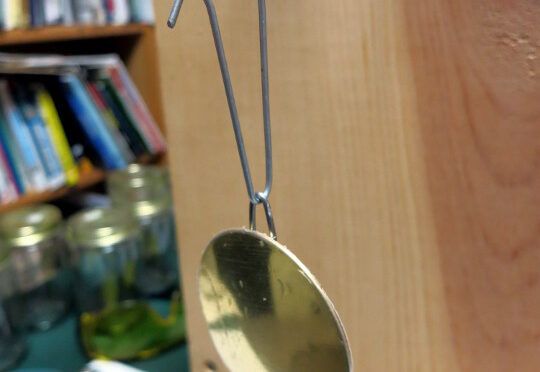
In my previous post about this clock I ordered a replacement pendulum suspension rod and bob, because the originals were missing. In this post I cut the suspension rod to length and adjust the speed of the clock, using audio recording to measure the timing of the tick-tock.
Since I was making good progress on my first clock, I decided to haunt the antique malls looking for a second one to repair. I wasn’t really planning to buy a clock until I’d finished the first, but I found the perfect second clock to work on.
I found it in an antique mall in Hillsboro (Oregon). It’s a mantel clock – a Kitchen Clock – similar to my family Seth Thomas clock that is my eventual target for repair (once I know what I’m doing). It also fit the bill of a) not working well, and b) not worth a lot.
In my previous post I calculated the theoretical length of the pendulum my Korean 30-day clock requires. You may recall that the clock as I bought it had a broken pendulum suspension spring, and the pendulum parts – the suspension rod and bob – were missing. In this post I order replacement pendulum parts.
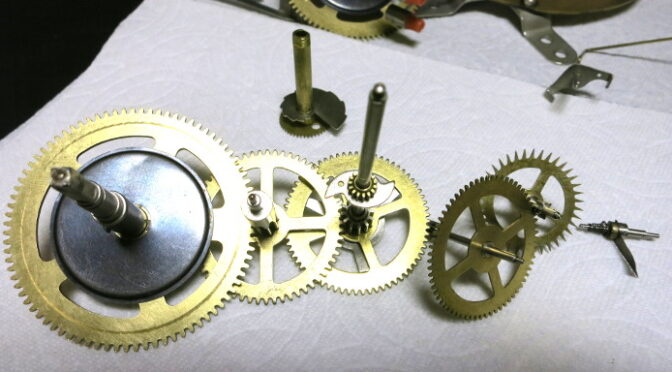
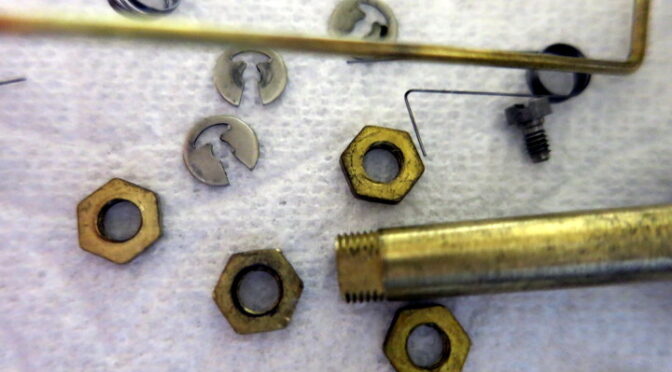
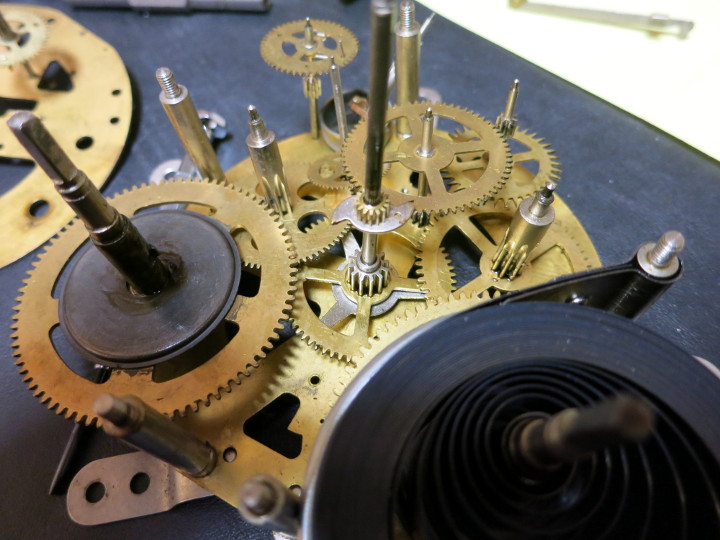
In my previous post I finished cleaning my Goodwill clock, ending up with a jumble of gears and other parts. You may recall that when I disassembled this clock, parts sort of fell out willy-nilly, leaving me a bit fuzzy about what gears go where. In this post, I figure out which gears are part of the Going (time) Train (gear set), and as a bonus I calculate the length of pendulum this clock requires.
In my previous post I showed the early results of my cleaning of my Goodwill clock by hand. In this post I show why cleaning by hand isn’t really very effective at removing old oil and dirt.
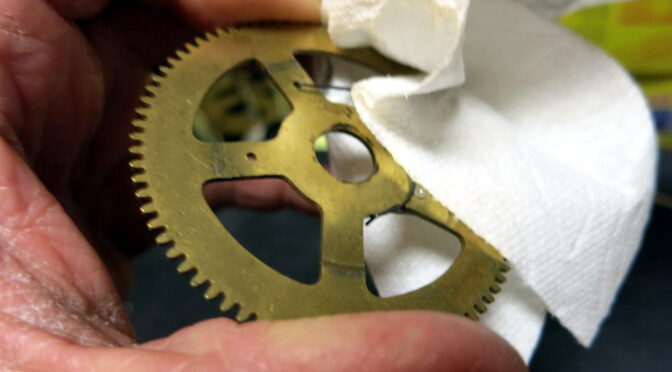
After a few hours of scrubbing parts with SOS pads and toothbrushes, then rinsing in water – twice to get all the soap scum off – then rinsing in alcohol (wearing gloves this time), the clock parts are all “clean”.
In my previous post, I disassembled my Goodwill, practice clock. In this post, I begin to clean it. The pro’s use an ultrasonic cleaner, but I’m on a budget, so I’m doing it by hand.
Update: I’ve learned a lot since I wrote this blog. See Update at the end of this post.
In my previous post I covered the dangers of mainsprings, and bought the minimum of tools required to safely handle mainsprings. In this post I disassemble my junker clock.
In my previous post I explained how I got started on this strange path to clock repair. In this post I talk about the dangers, some videos, and my first clock repair tools.
The first thing I did was to remove my Goodwill clock’s movement from the case. This step is pretty easy: unscrew the nut holding the hands on, gently pull the hands off, unscrew the wood screws holding the face onto the clock and voila, there is the movement.
The Dark Arts of clock repair open before me. I feel the need to wear flannel. …to create a basement workshop. …and to live where it snows most of the year. What brought this malady on? A clock.
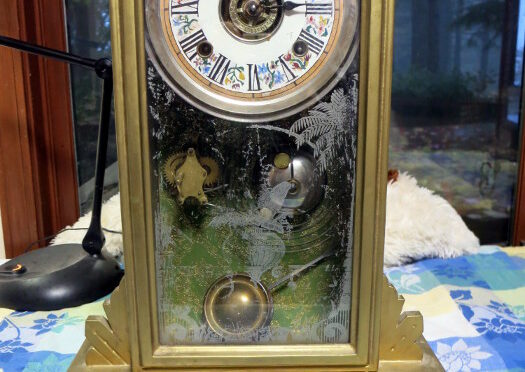
I have an old Seth Thomas “Chicago” series mantel clock that I believe belonged to my paternal grandparents, who were married in 1909. I haven’t run it for years, and got it into my head that it needed repair.