
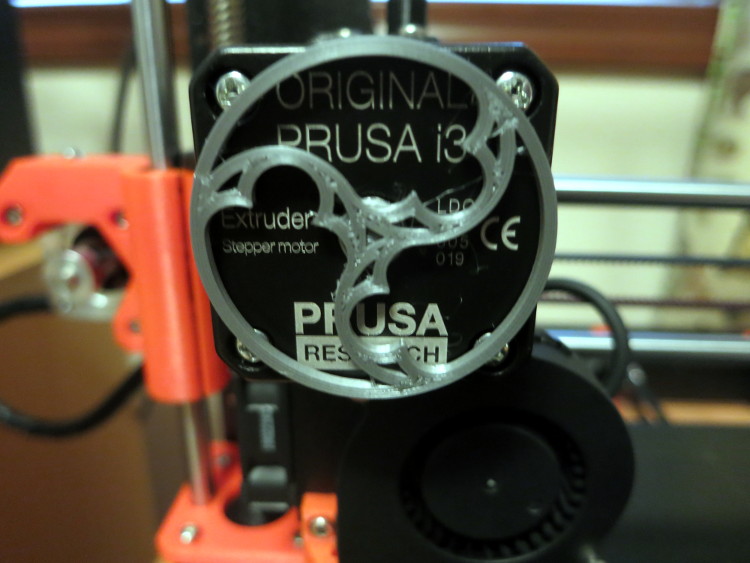
Now that I have a Prusa I3 MK3 3D printer, I’ve found many Prusa owners have added a little dial they magnetically stick onto their extruder motor’s shaft, to be able to see when that motor is extruding vs. retracting filament. It’s also a cool way to personalize your printer.
You can find a dozen or so designs for such things by searching Thingiverse for “Extruder Indicator”. Mikolas Zuza has written a good introductory article on how to print and assemble extruder indicators, and points to a cute set of indicators on Thingiverse.
Now that I’ve designed my own Gothic trefoil inspired extruder motion indicator, here are a set of tips to help you design your own.
- Use 8 mm diameter, 3 mm thick rare earth magnets, such as these magnets sold by LighteningStore.
- Glue the magnet to the indicator with E6000 Craft Glue (my preference) or Superglue.
- Keep your design to about 42 mm or less in diameter.
- Design an 8 mm diameter, 0.5 mm thick cap as part of the back of your indicator.
- Don’t design any kind of socket for the magnet.
- Remember that the Prusa I3 MK3 extruder motor turns clockwise when extruding and counterclockwise when retracting.
- Have fun!
For the inquisitive, the rest of this post explains the ‘why’ of those design tips.
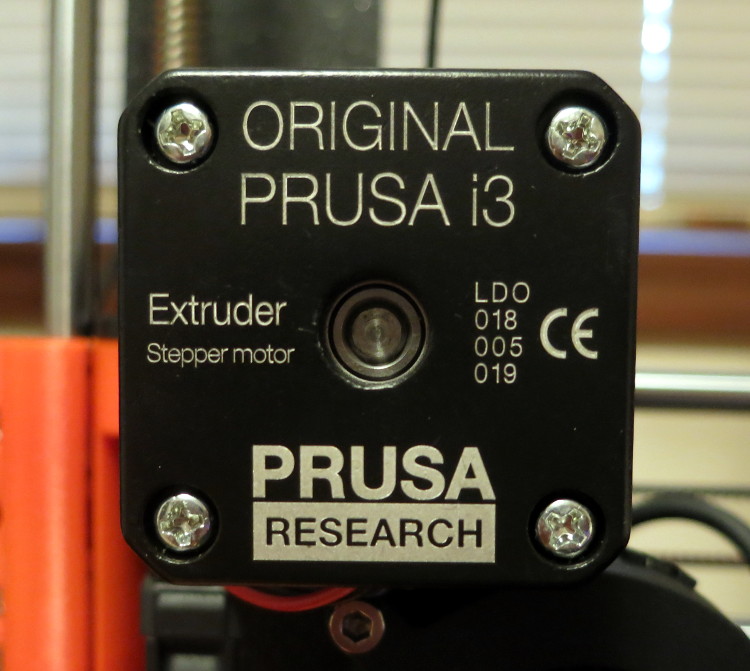
Mikolas Zuza recommends 8 mm diameter, 3 mm thick rare earth magnets. The 8 mm diameter is perfect because the extruder motor’s hole for its shaft is 8.5 mm in diameter. The 3 mm thickness is perfect because the depth of the extruder motor’s shaft hole is 2.5 mm.
I use E6000 craft glue for gluing the magnet to the indicator. I find it more forgiving than Superglue, in that the indicator cap doesn’t have to be absolutely flat and E6000’s longer setting time let’s me center the magnet before the glue sets up.
Peter Roodenburg’s (Petclaud’s) Windmill extruder motion indicator is 42 mm square.
- That size keeps the weight of the indicator small, making it less likely to slip. I accidentally made an 84 mm diameter indicator (the common radius vs. diameter mistake). When I tried out that indicator, it slipped a lot.
- The black extruder motor back is a nice background to your light-colored design.
Peter’s windmill has a 0.5 mm thick, 8 mm diameter cap in the back of the indicator. This 0.5 mm thickness, plus the 0.5 mm difference between the magnet thickness and the motor’s hole depth, keeps the indicator from scraping against the motor. This 8 mm diameter provides a good target so that when you glue the magnet to the indicator, it’s easy to center the magnet on the indicator’s cap.

Don’t try to make a socket for the magnet. The motor’s 8.5 mm diameter hole is just large enough for the 8 mm magnet (plus 0.5 mm clearance). There isn’t room for any indicator plastic in that hole.
As you design your indicator, remember that most of the time it will be turning clockwise. So design it to look best when turning clockwise.
Have fun! I get a kick out of the whimsical indicators various people have made: the windmill, a ship’s wheel, jet turbine, school logo, and pointing finger are some of my favorites.