
In my previous post I pointed to my Open Source code for the project. In this post, I describe the mounting of the solenoids to the frame.
The conundrum of the project has been how to mount the solenoids to the glockenspiel. If I worked in metal, I’d probably tap the solenoid holes and fasten them with 2mm screws into a metal strip. My 2017 future self says to design a 3D printable holder. Not knowing how to tap such tiny holes and not (yet) knowing how to design 3d printed parts, I’ve been thinking and thinking about how to mount the solenoids to wood.
One day I was wondering out loud how to fasten the solenoids, and Linda said “Why don’t you just buy a router? They’re perfect for that sort of thing.” So I did.
I bought a Dewalt DWP611PK compact router set and a starter kit of router bits so I could route channels in a bar of wood, then mount those solenoids into those channels. I originally picked the DWP611 because it fits in a CNC router I have my eye on (but no money for yet).
My first attempt with a router was pretty sad. I had imagined that since I knew the basics I’d be fine. A few unintentionally-diagonal cuts later, I realized that making the solenoid channel cuts freehand wouldn’t work: I’d need a fixture to let the router cut exactly the width channel I needed.
So using the router and a makeshift fence, I made a little height-adjustable fixture. The first attempt at the fixtureturned out badly, but I’m happy with the second try:
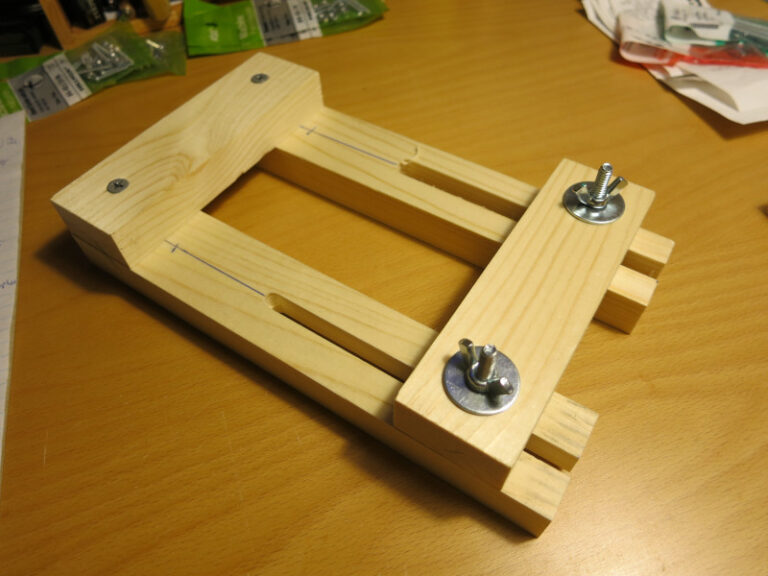

If I were to make fixture revision 3, I’d change a few things:
- use wider wood to give the router more base to glide on
- make the gap large enough so I can clamp the wood to be worked to the fixture.
- use a plunge router so that the ends of the fixtureare solid rather than open. Doing that will make the end less likely to warp and bend apart over time.
At any rate, I made a test slot using this fixture, and it turned out great!

Now I’ve marked the real solenoid bar, and am ready to route the 19 solenoid slots.

In my next post, I describe the last steps to a functional robotic glockenspiel.