Tag Archives: Glockenspiel

The Robotic Glockenspiel is Complete!

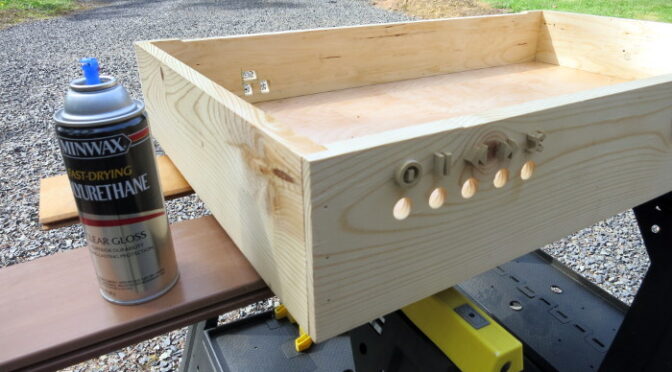
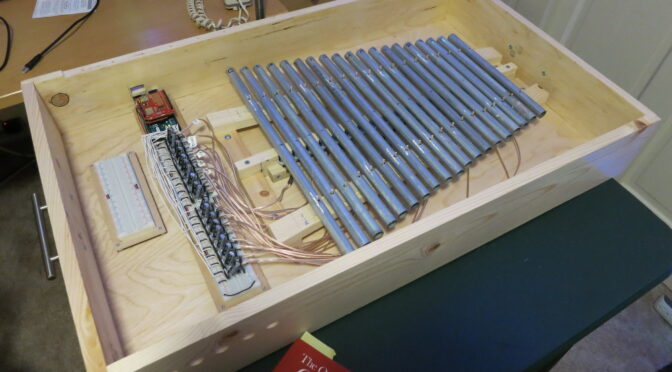
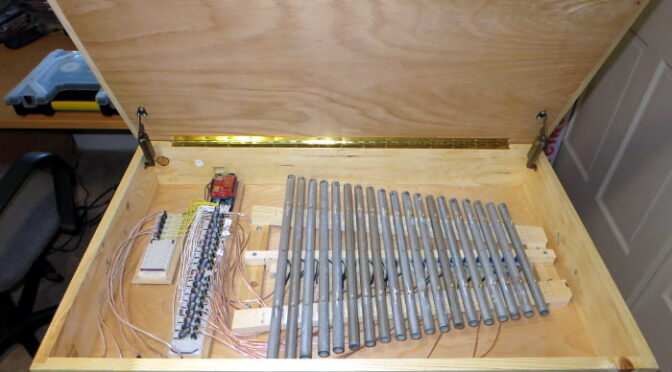
After putting the finish on the wooden Glockenspiel case, I reassembled all the electronics, mechanics, and the box hardware (hinges, etc.). It works great! See my Arduino Robotic Glockenspiel Complete Demonstration video.

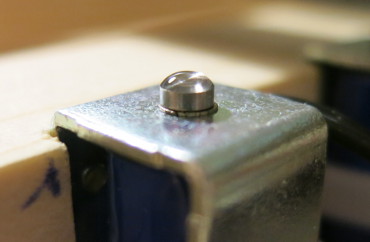
Ok, I still want to adjust the amount of silicone on each solenoid, to smooth out the sound, eliminating the clanking on all the chimes…but that’s for later.

As a reminder: the sources for the Glockenspiel are on the Glockenspiel Github site.

Adding a Finish to the Glockenspiel Case

Previously I finished the labels for the glockenspiel. In this post I literally Finish the case.

Last weekend and this weekend are nicely warm enough, so I’ve put a few coats of Minwax gloss polyurethane finish on the Robotic Glockenspiel case. In a few days the finish will be dry, and I can do the final fine-sanding (to remove dust captured in the Finish) and assemble the thing.

Continue reading Adding a Finish to the Glockenspiel Case

Final Labels for the Glockenspiel Buttons

Since trying out woodburned labels, I made another attempt at scrollsawing the button labels for the Robotic Glockenspiel, and am happy enough with the results that I’ve glued the labels to the glockenspiel box. I’m so happy to have finally made up my mind – whew!

So this blog is a sort of “How to Scrollsaw” in a nutshell.

Continue reading Final Labels for the Glockenspiel Buttons

Scrollsawed Button Labels for the Glockenspiel

Since putting a lid on the glockenspiel case, I’ve been wrestling with exactly how to label the robotic glockenspiel buttons: If I had a laser engraver I probably would have engraved (woodburned) the labels on; sticking paper labels on could look pretty sloppy; decals sounded like a production of their own, with the risk of gumming up my printer; painting the labels would require a steady hand; woodburning by hand is another option; so is gluing on scroll-sawn raised labels.

Continue reading Scrollsawed Button Labels for the Glockenspiel

Putting Hinges, Lid on the Glockenspiel

Since fixing the sound of the chimes, I’ve been finishing the software for the glockenspiel. Now all the buttons work: on/off, play/pause, skip back, skip forward, and shuffle. Woohoo!

Today I made the lid, attached the molding on the edges of the lid, attached the piano hinge and attached the side hinges. It’s not fine furniture, but I’m learning a lot about how to make The Real Thing. For example, don’t sand the wood with the sandpaper you used to remove rust from your new scrollsaw (ouch!).

All the hardware (except the front latch and the feet, which should install easity) is now installed. So now I’ve taken all the hardware off so I can easily do the labels and spray the finish.

Next I plan to label the buttons – I plan to try woodburning – the end is in sight!

Silicone Pads Make a Lovely Sound

Now that the control buttons are in the circuit, I’ve tamed the clanking noise of the Robotic Glockenspiel! Hear it in this YouTube video.

In an earlier post I mentioned that I’d used a tube of silicone to put a drop of silicone on each solenoid, to reduce the loud ‘clank’ when the solenoid strikes the chime. I found out that a drop of silicone is way too much: the chimes hardly sounded at all.

Continue reading Silicone Pads Make a Lovely Sound

Design Thinking Via the Robotic Glockenspiel Project

Now that the glockenspiel is working and in a case, this post is about what I’ve learned about Design Thinking through my Robotic Glockenspiel project.

Caveat: since I didn’t apply formal Design Thinking to the project, I’m going to be shamelessly revisionistic in order to talk about how the project would have been better via Design Thinking.

Continue reading Design Thinking Via the Robotic Glockenspiel Project