After completing my drill press table, I decided my next step would be to make a fence for it – so I can drill vertical holes in the sides of short boards.
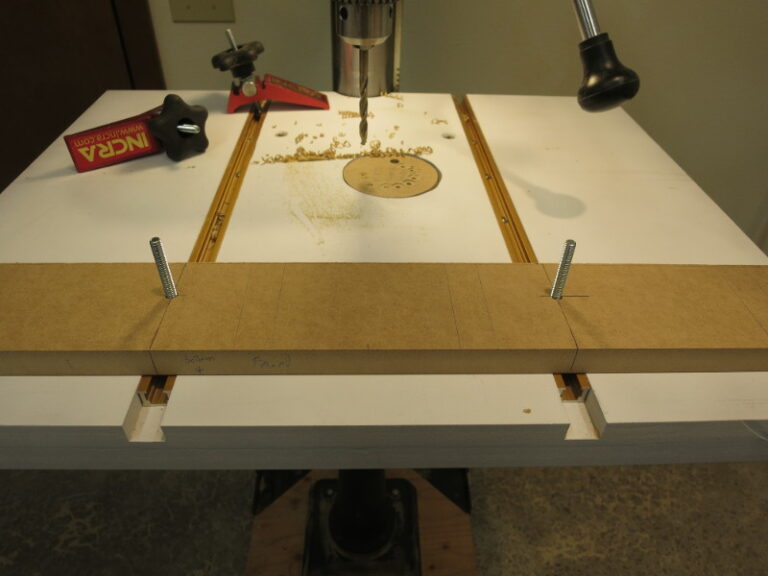
First I cut a 3 1/2″ board of 3/4″ MDF, of a width to match the drill press table. This first piece will be the face of the fence.
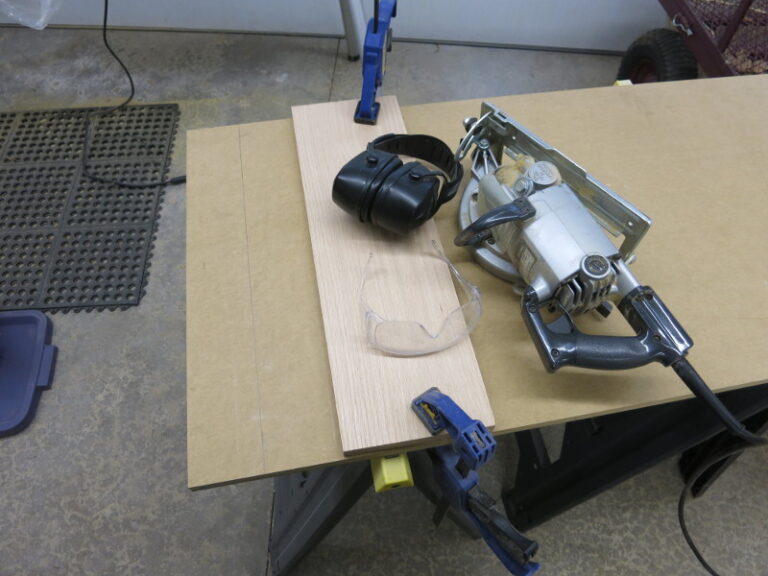
You’ll notice in the above photo that there’s no support for the cut piece: that when I cut the fence face, it fell onto the concrete. I should have at least put a mat down to cushion the blow, which resulted in two chipped corners on the face. I placed those on the inside of the fence, so the fence has a flat face to clamp work to.
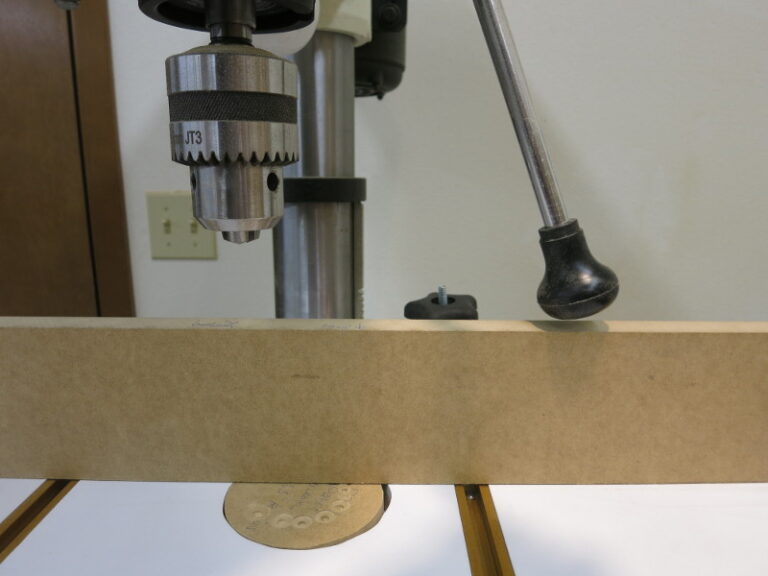
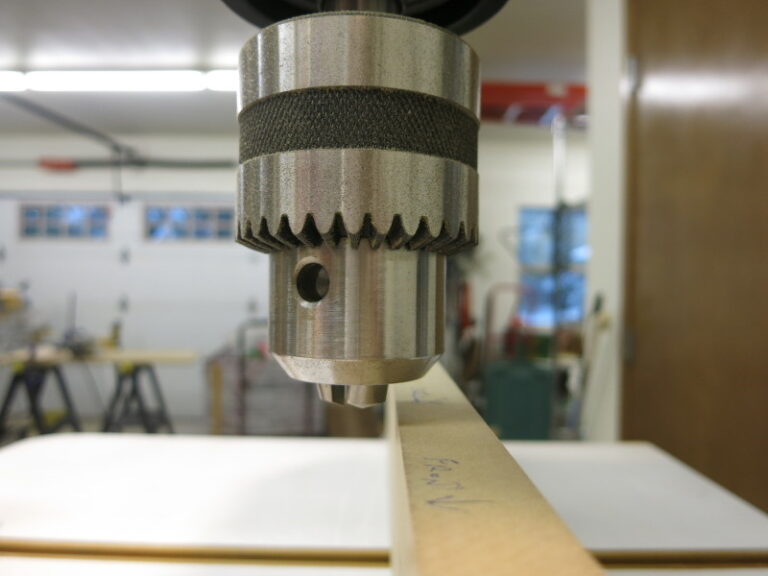
I chose the height of the fence face keeping two constraints in mind: the drill press handles should clear the fence, and the chuck should clear the fence. Some fence designs have cut a bit of the center of their fence to allow for the chuck, but I decided against it.
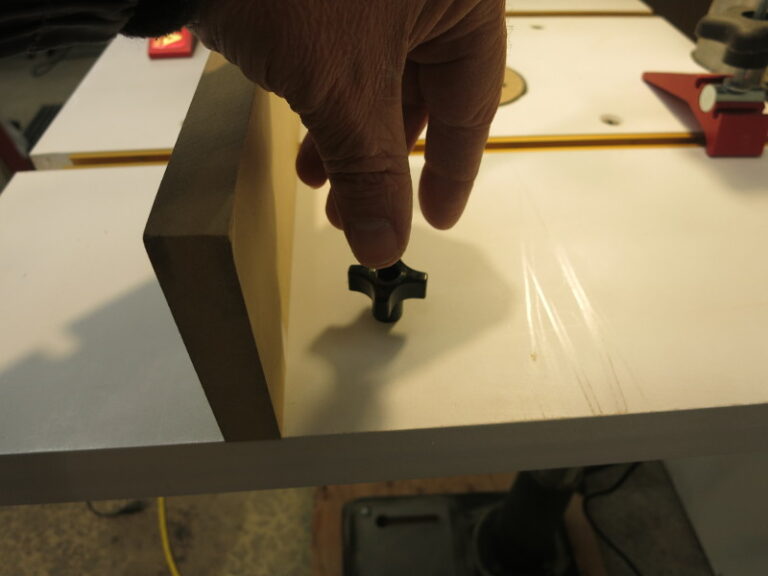
I then cut a piece for the base of the fence, deep enough to make space for the knobs that will hold the fence to the table. Since I’ll need to reach over the fence to tighten and loosen these knobs, I did a quick depth check.
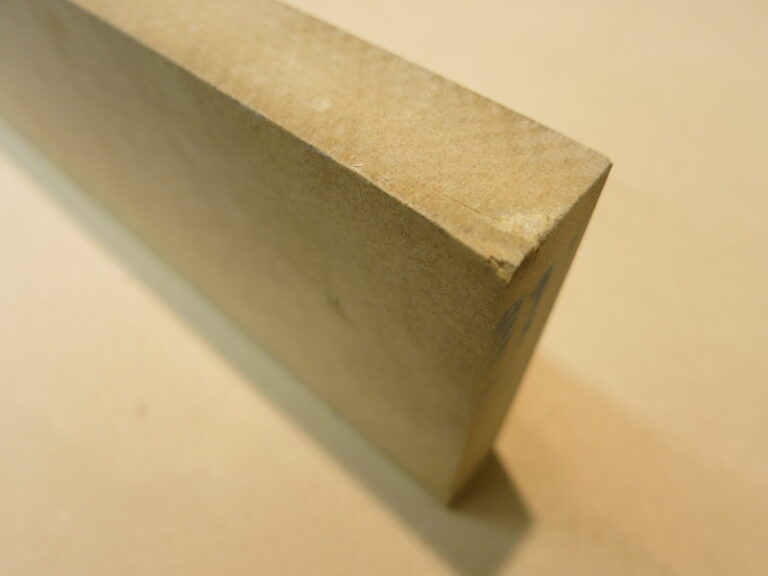
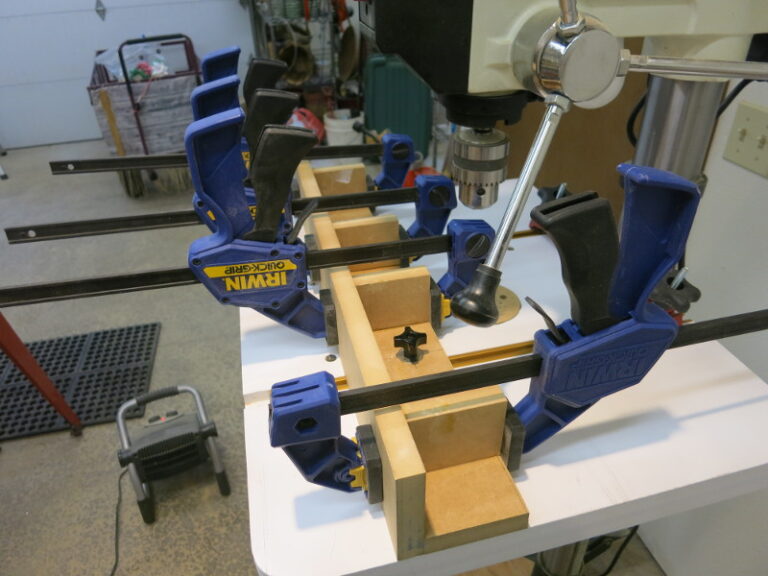
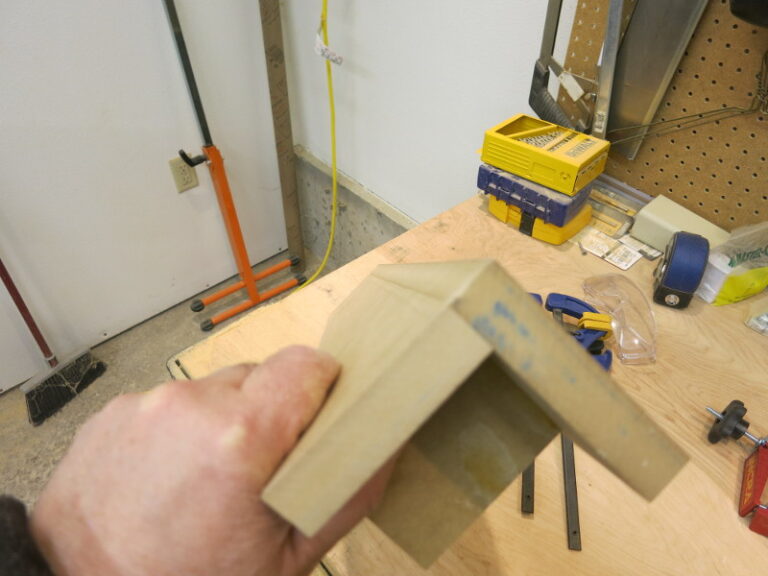
Lastly, I cut 4 blocks to support the fence face and help keep it perpendicular to the table. Some designs use triangles for these supports. I used rectangles so I’d have a back surface to clamp to when gluing the fence together.
Next I test-laid-out the blocks and knobs, to make sure everything will fit properly.
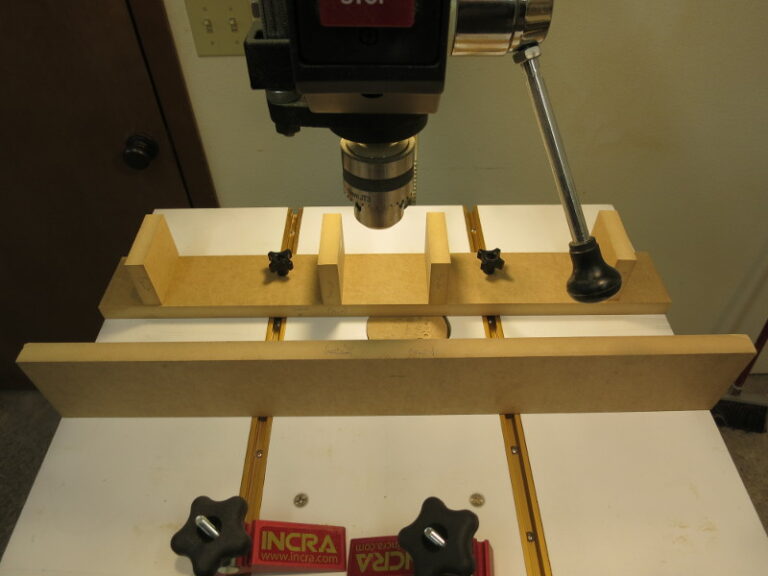
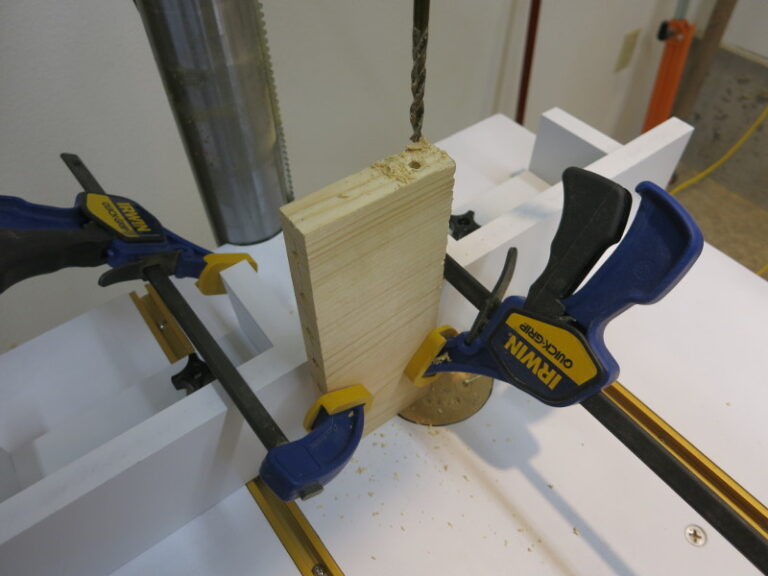
Next I drilled the holes for the bolts that will hold the fence base to the T-rails, then tested to make sure they were the correct distance apart.
I then glued and clamped the parts together.
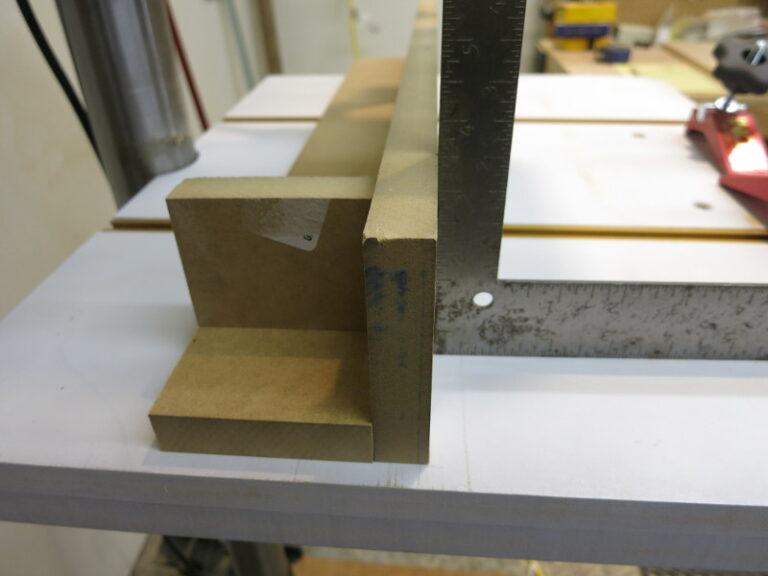
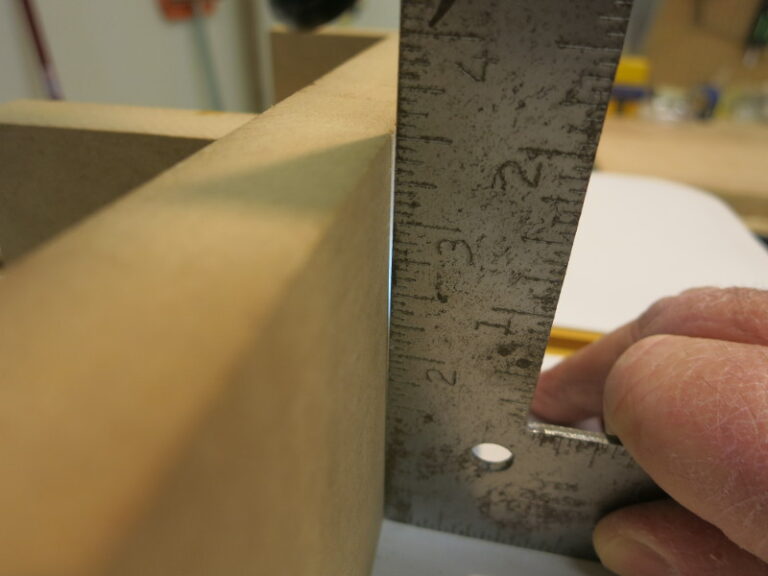
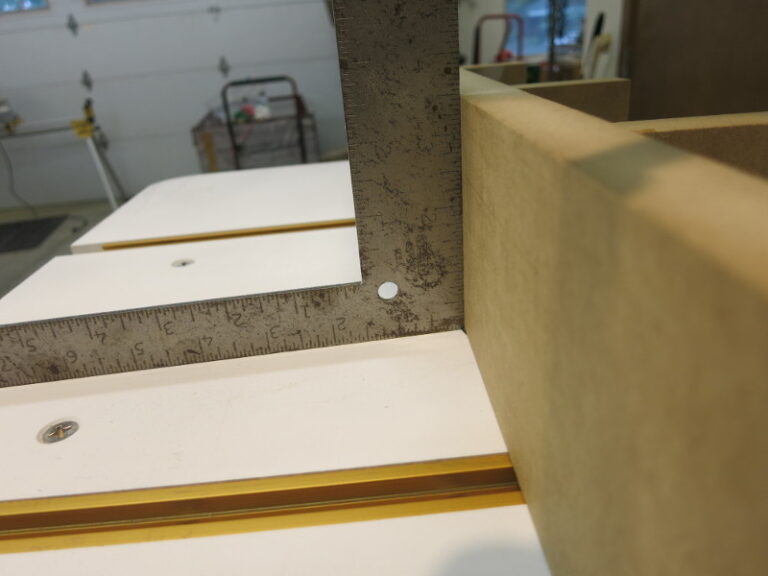
Once the glue dried (a day later) I double-checked and found the face of the fence was a little out of square. Note the gap between the top of the fence and the square that I held flat against the drill press table.
I noticed the bottom of the face of the fence was a little lower than the base piece of the fence, so on a whim I used a trim router to make the base of the fence flat.
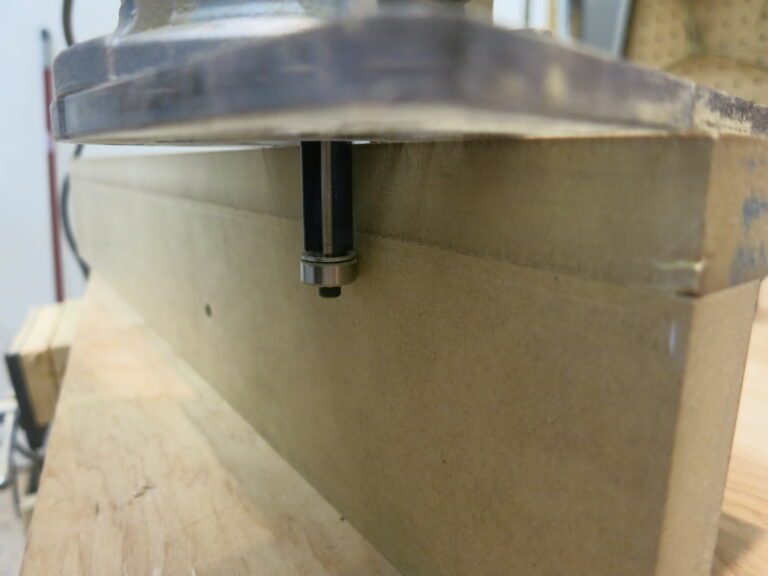
That did the trick: the face of the fence is now nicely square with the table.
Since unprotected MDF will absorb moisture and warp, I put two coats of paint on the fence. In ages past I would have laid down newspapers to protect the floor and sawhorses, but in the 21st century who has newspapers?
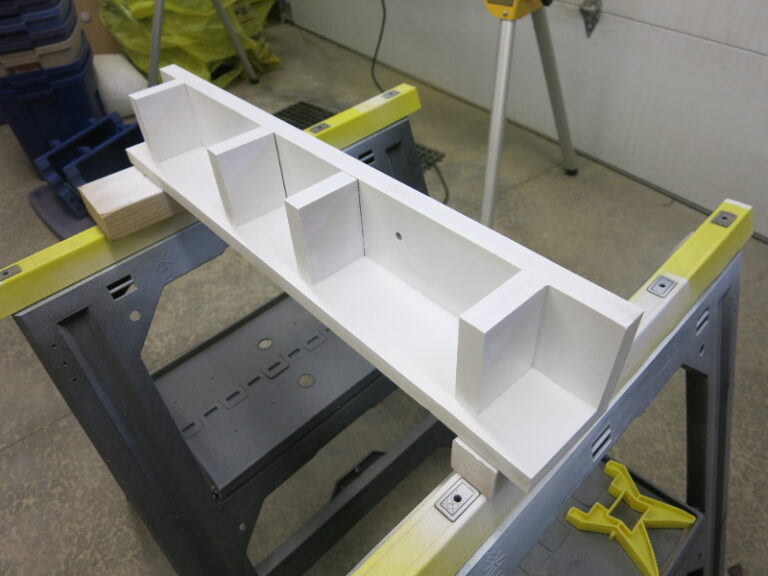
Once the paint is fully dried (a day later), you can start using your fence.