I recently found my 2016 Lulzbot Mini 3D printer wasn’t printing the sides of models accurately: when I tried to print a box and lid pair, the lid was too small to fit the box. This error worried me, because the last time that problem happened it was the fault of stress fractures in the Y carriage supports, which took a lot of time and money to repair.
After having a close look at the printer, I saw only one possible problem: a barely-noticeable hairline crack starting in the X axis Idler mount.
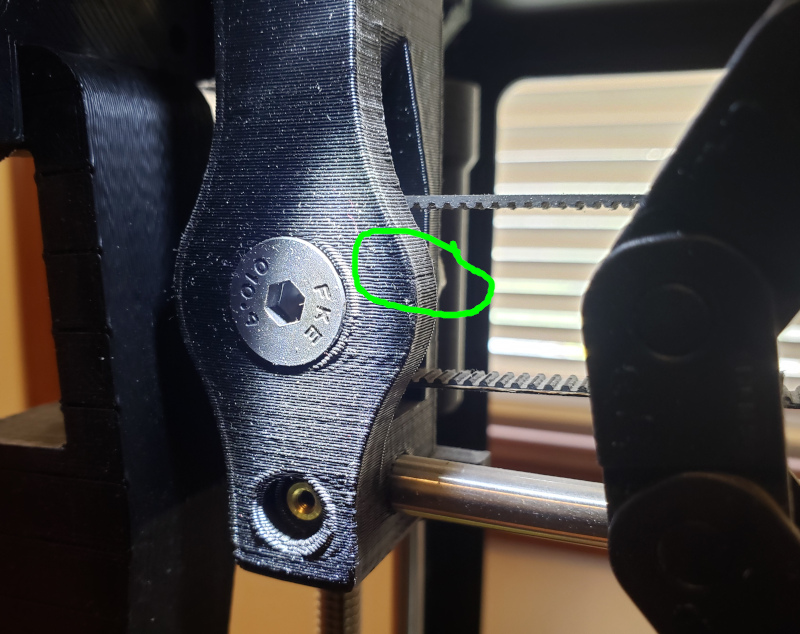
Don’t worry if you can’t see the crack. It’s very small and in the early stages, so it’s not likely the cause of the problem.
Looking for other possible causes of the problem, I remembered that I’d “calibrated” the extruder a little while ago, using instructions I’d found at various places on the net. As a result I had changed the Extruder Steps Per Unit from the 830.00 the printer had been running fine with to 890.00, an increase of over 7%.
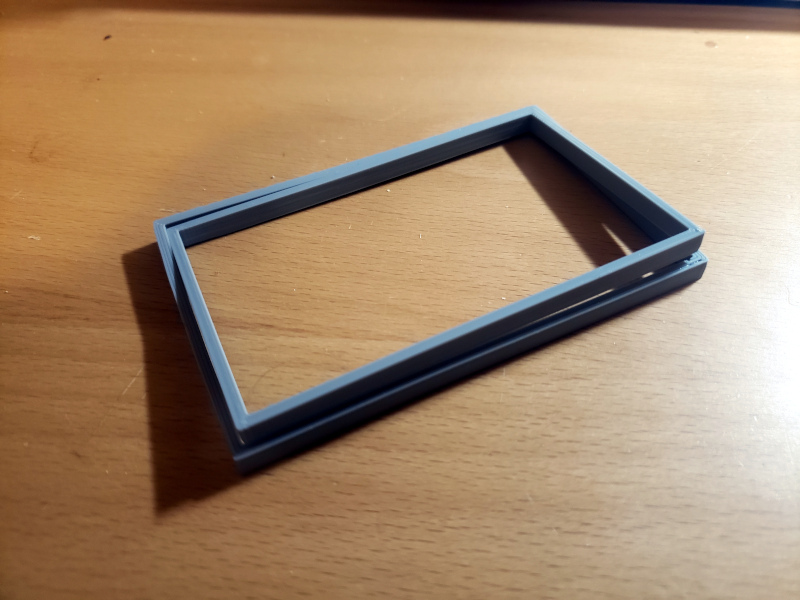
Not wanting to wait hours to print another copy of my box and lid pair, I pared that example down to its essentials: two nesting rectangles with 2 mm thick sides, and 0.5 mm clearance (0.25 mm clearance each side) horizontally and vertically. I chamfered the bottom faces of both rectangles to avoid any problems with overextrusion on the first few layers (“Elephant Foot”).
I’ve posted the nested rectangles STL files and FreeCAD design file on Cults3d, as Side Thickness Test for 3D Printers.
Printing those nested rectangles, I found that, just like the box and lid, the two didn’t nest.
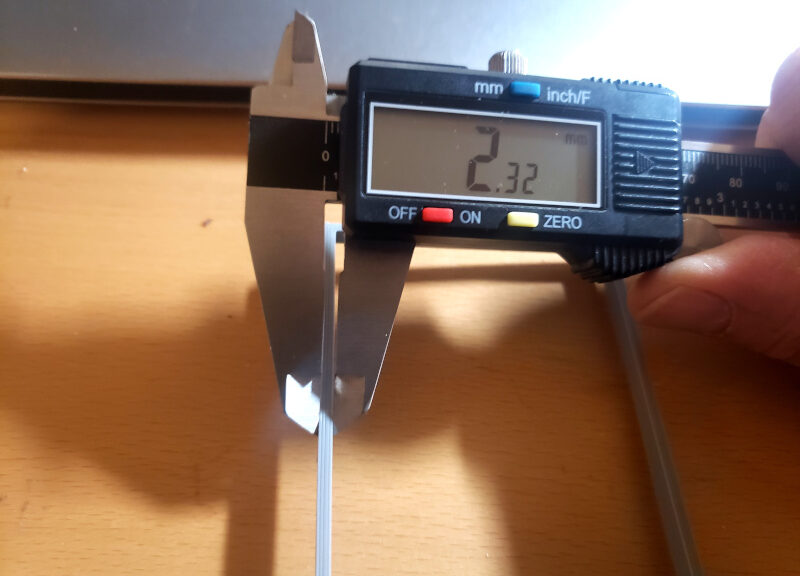
Measuring the rectangles’ sides with a digital micrometer, I found the nominally 2 mm thick rectangles were closer to 2.32 mm thick.
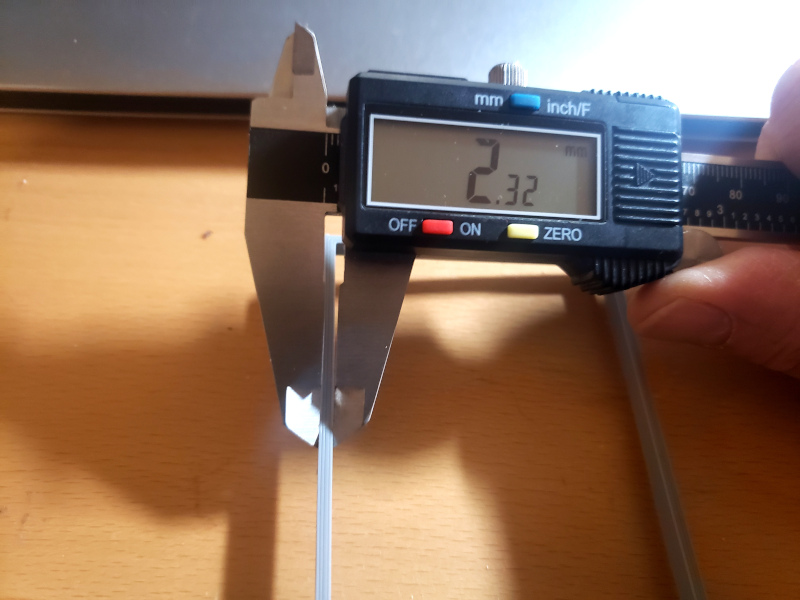
Doing a little math showed me that the thick walls were the reason the rectangles didn’t nest: Assuming the error is centered on the position of the extruder nozzle, each half of a 2.32 mm thick side was 1.16 mm; intruding 0.16 mm into the gap between the rectangles. My 0.5 mm clearance, 0.25 mm per side, between the two rectangles was too small for the 0.16 * 2 oversized walls, producing a clearance of -0.07 mm per side of the rectangles. That negative clearance means the smaller rectangle is too large to nest into the larger one.
So I had proof that the printer was overextruding (caveat: there are lots of reasons sides can be too thick; overextrusion is just one). Since I had previously increased the Extruder Steps Per Unit from 830.00 to 890.00 as a result of “calibration”, I set it back to 830.00 and printed the nesting rectangles again.
This time, the rectangles just barely nested (just above zero mm clearance) and the rectangle sides were about 2.17 mm thick. A big improvement, but still too thick.
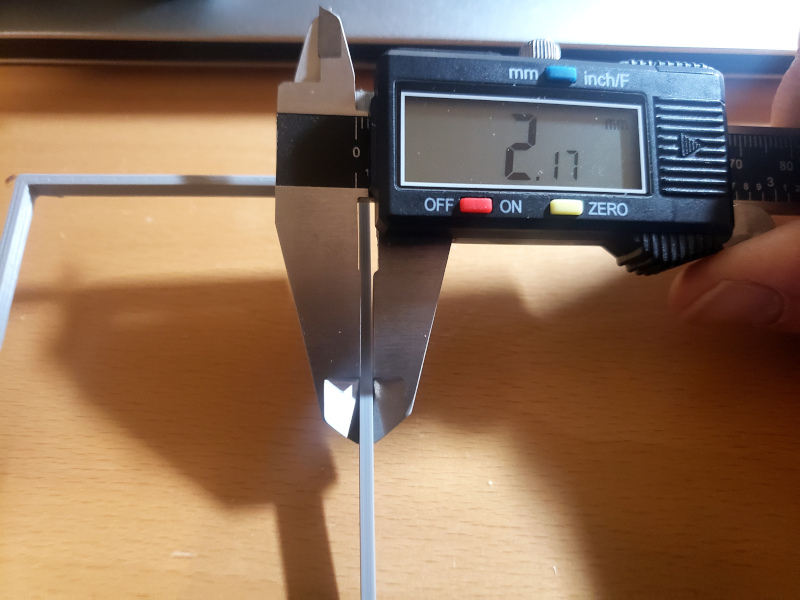
I then reduced the extruder Steps Per Unit to 800.00 and printed the nested rectangles once more. This time most of the sides were about 2.09 mm thick, which again was an improvement.
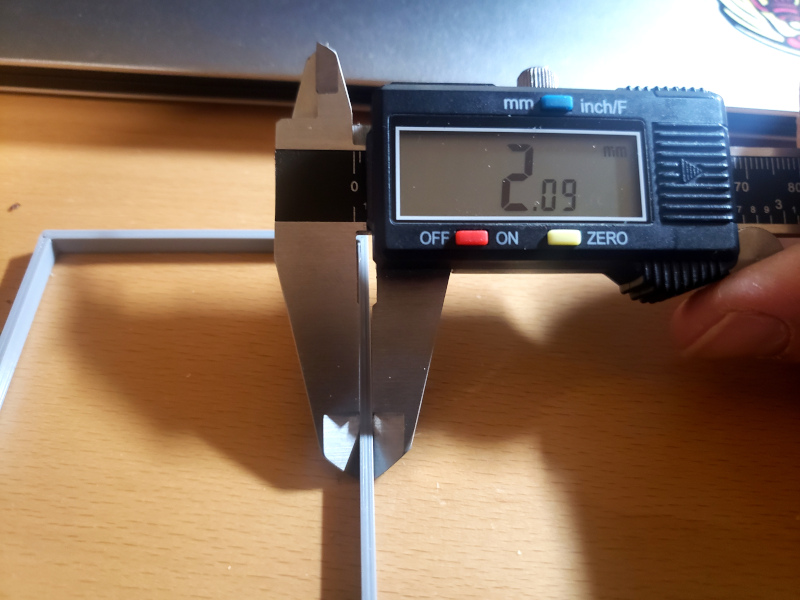
The original method I’d used to “calibrate” extrusion, which created a huge overextrusion, was to measure the amount of filament going into the extruder, and adjusting the extruder Steps Per Unit until a 20 mm extrusion command consumed 20 mm of filament. I can now safely say that method didn’t work for me.
My new method is this: Adjust the extruder Steps Per Unit until the width of the 2 mm printed test rectangles is about 2 mm.
Now that I seem to have solved the overextrusion problem, I’m moving on to other causes of the rectangle width problem, because some of the walls are now thicker than the others, suggesting a problem with belt tension in the X or Y axis. We’ll see how that goes.

