
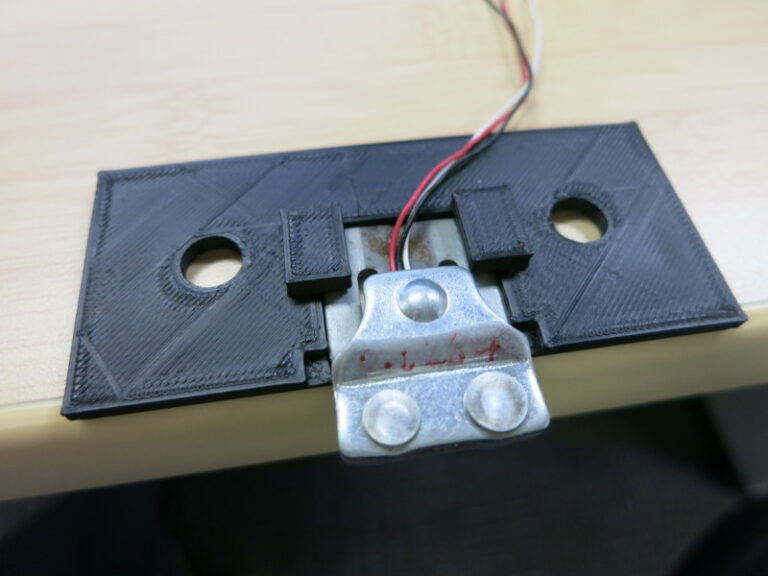
In my previous post I soldered the weight scale parts to a proto-board. In this post, I design and 3D-print the part that keeps the Load Sensors from slipping.
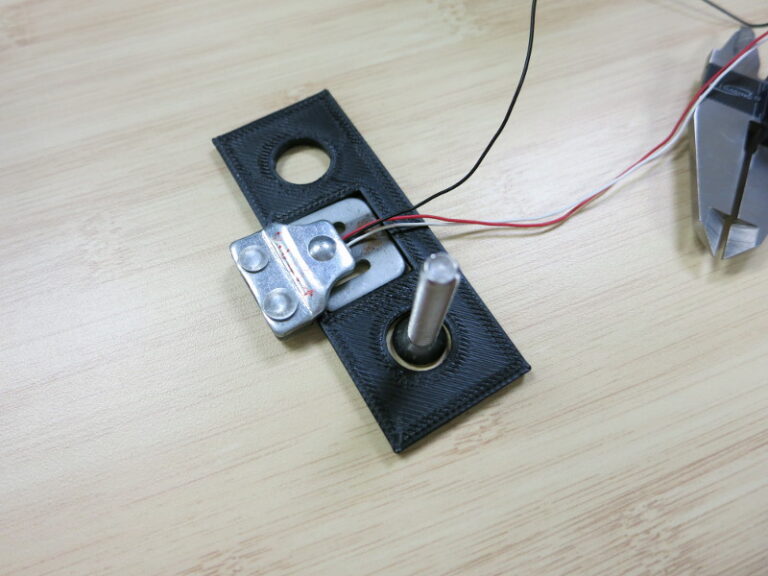
The Load Sensor is an oddly-shaped thing that has a few tricky constraints: the T-shaped part in the middle must be free to bend downward (my wooden mounts take care of that), and I don’t want it to slide out of place horizontally or tilt off of its position when I’m putting the top plywood piece on the scale.
I’ve tried a couple ideas – wood holders, washers and bolts – but nothing seemed to work well. So this week I decided to learn how to design and print 3D parts.
After a few false starts I designed a basic part using FreeCAD. I like FreeCAD because it’s a powerful, Open Source CAD (Computer Aided Design) application capable of sophisticated work. Some people find it difficult because, unlike several other CAD applications, it’s Parametric – everything is done through setting constraints on lines, surfaces, and solids, such as “this line is vertical” and “this line is 10 mm long”.
We have a Lulzbot Taz 5 3D printer at work. A friend at work (eternal thanks, Andrew!) helped me get started with it, and printed my first part for me.
This was a great start, and really got me fired up. All I had to do next was fix a few details in the model, and I’d be done – what could go wrong?
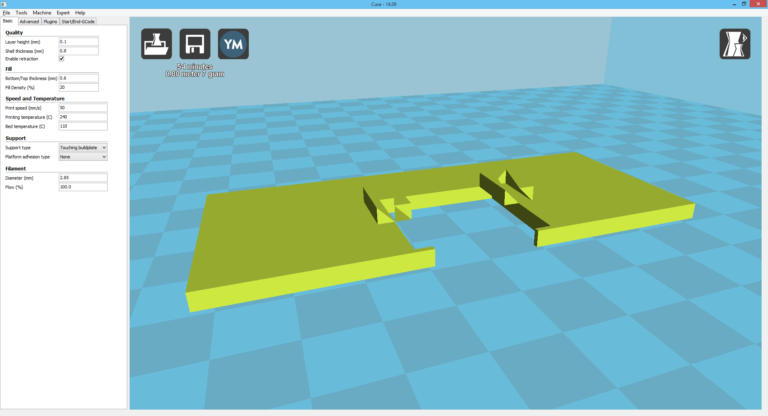
First I installed the missing piece of the toolchain: the Lulzbot edition of Cura, a 3D print preparation application – a Slicer. Then I edited my model in FreeCAD, exported it to .STL format, read it with Cura and… woops.
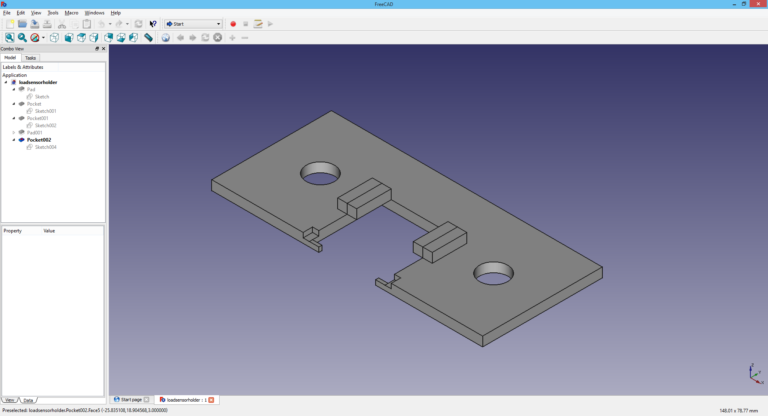
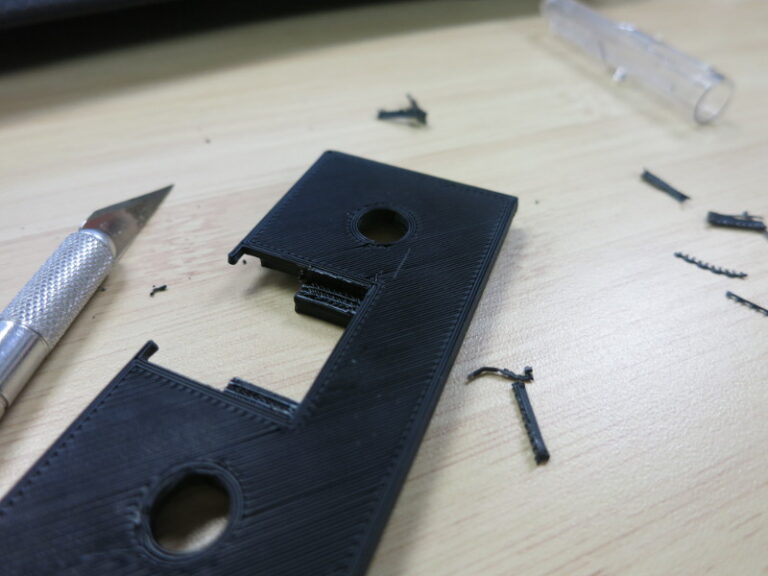
For some reason the model didn’t export/import properly: the bolt holes were missing, the little cutouts at the front were gone, and the tabs at the top turned into strange triangular blocks. Not Good.
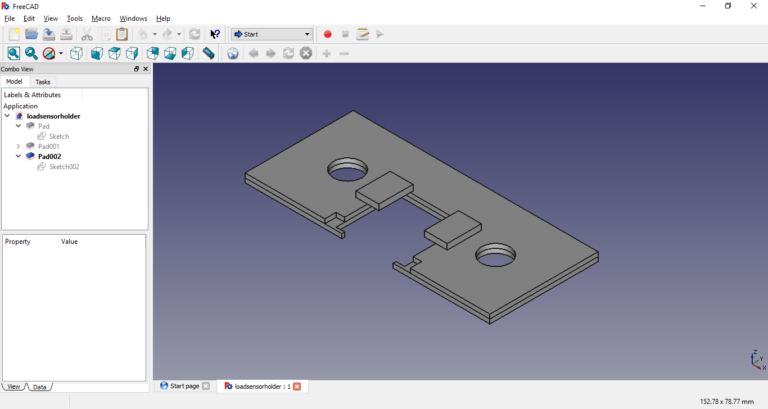
So I experimented and searched. The problem seems to be that Cura is (properly) confused by internal edges, so I should Fuse the parts of the model before exporting to Cura. I haven’t yet found how to do that (Update: It’s Part Workbench’s Part / Create a Copy… / Refine Shape), but I did manage to redesign the part so that it happily made it into Cura. The problem seems to be aggravated by using Pockets (subtracting material), so my redesigned model has no pockets – it’s all just adding parts together.

A very short time later (45 minutes), I had a printed part!
In my next post, I drill the right depth of holes in the plywood.