After I’ve created an extruded Gothic Tracery design in FreeCAD, I like to Export the top Face of that design as an SVG file that I can use in other FreeCAD designs and in scrollsawing (the poor-person’s laser cutter).
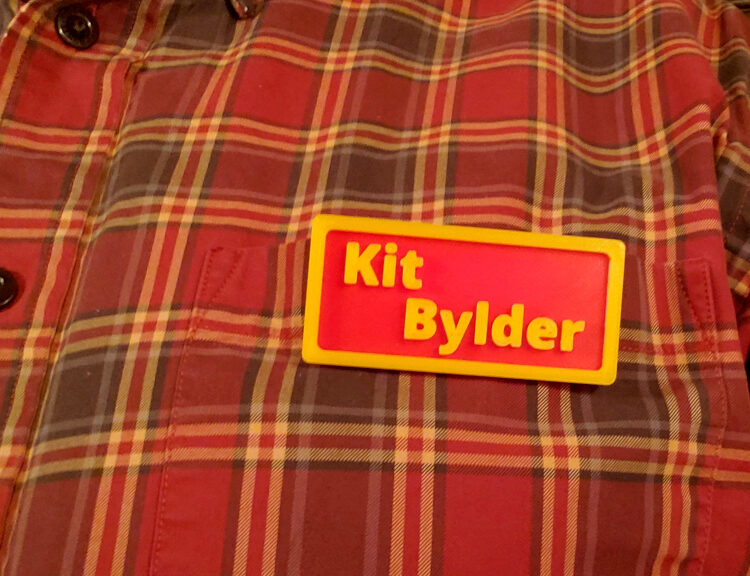
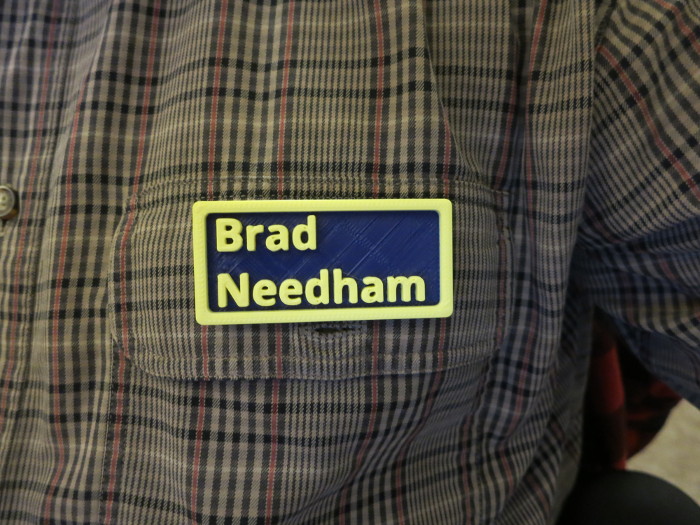
A few years ago at the Portland Oregon 3D printing Meetup, someone suggested we should all make our own name badges so Shashi wouldn’t need to bring as many “Hello, My Name Is” paper tags to the Meetups. A few weeks later I made a badge and a post on how to create your own, using the tools of the time.
This updated post walks you though the making of your own name badge in FreeCAD 0.21, which is a lot easier than it was in earlier versions of FreeCAD.
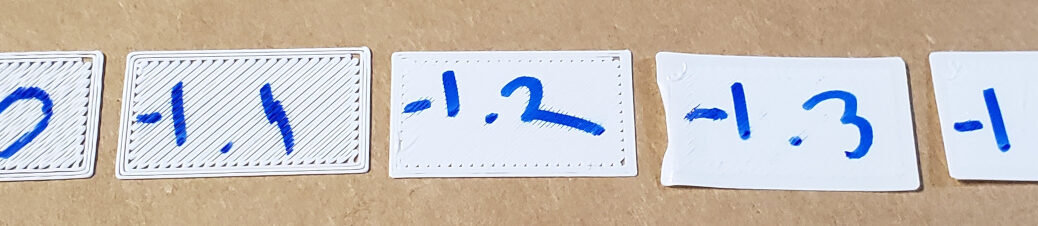
Five years ago I wrote a blog on testing the Z Offset on my Lulzbot Mini, Testing Your 3D Printer’s First Layer Height Calibration. Now that I’ve recently recalibrated my Prusa i3 MK3, I’m using a quicker method to set the Z Offset.
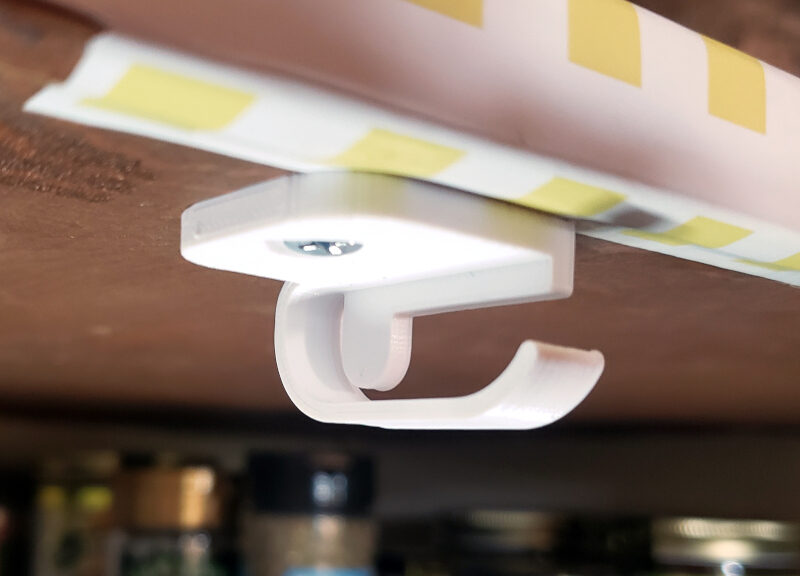
A while ago we bought rechargeable light bars for our pantry shelves, and we love them. The only problem was that because they were held to the underside of the shelf by weak magnets, every time we bumped a light or dropped a heavy jar into the pantry, the light would clatter to the floor.
This post covers my process of creating, in FreeCAD, clips that would hold the lights securely. I’m really pleased at how they turned out.
One of the things holding me back from 3D printing for so long was learning what tools I needed and how to use them. It’s relatively easy to print things once you have a design: Cults3D, Hubs, and many others (including your friends who have printers) can print your designs, your local library may have printers for you to use, or you can buy a printer for a few hundred dollars.
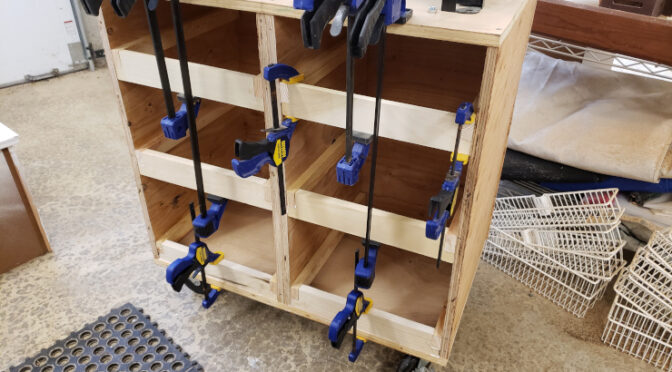
In converting a desk into a clockmaker’s bench, I wound up buying a router and router table to make the drawers. The router table has been taking up space on my workbench ever since.
I decided to make a rolling cabinet to mount the router table to, using scrap plywood and some drawers left over from a bathroom remodel. The project is a good example of a thrown-together wood project, and a few lessons in “measure twice; cut once”.
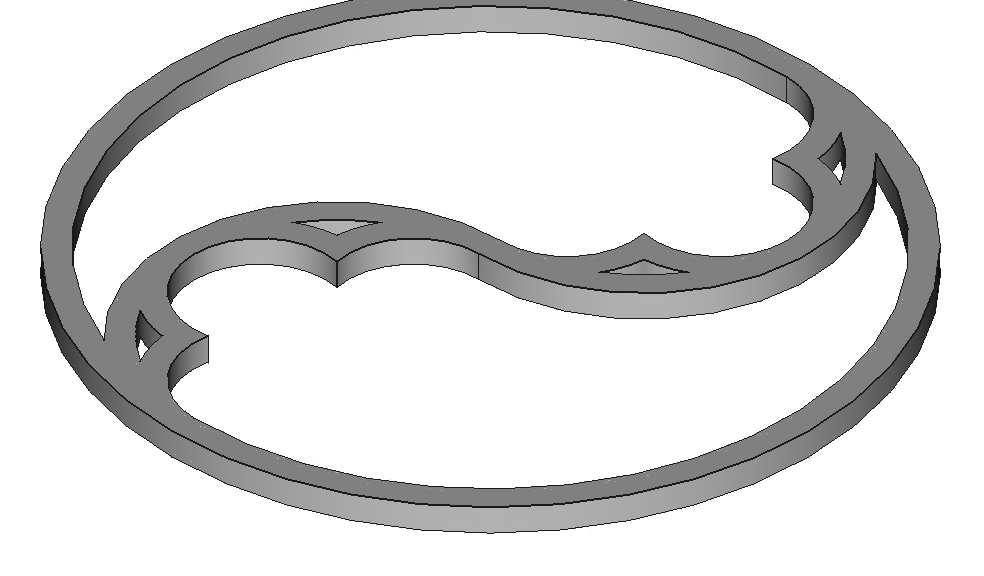
If you’re interested in Gothic architecture, you may have seen my post on Designing a Gothic Trefoil. In this post I walk you though the design in FreeCAD of a simpler ornament, the Gothic Duefoil: a circle divided into two arches, which are themselves each divided into three lobes.
I’ve been interested in the Tracery in Gothic Cathedrals – the delicate patterns in stone walls and windows – for years. In this post, I show you how to design of one type of Gothic ornament, using FreeCAD. You can follow along with the FreeCAD file on Cults3D, or you can use your favorite CAD application, such as Autodesk Fusion 360.
Last month at the Portland OR 3D printing Meetup, someone suggested we should all make our own name badges so Shashi wouldn’t need to bring as many “Hello, My Name Is” paper tags to the Meetups. Game On!
In this post I explain how to make your own, two-color 3D Printed name badge just like mine.