
In my previous post, I did a little woodworking on the scale. In this post, I start designing a 3D printed part that will keep the top of the scale centered on the bottom.
Ever since I measured the center of gravity of the top plywood circle, I’ve been puzzling through how to make sure that center of gravity stays centered on the bottom part of the scale. Without some sort of connection between the top and bottom plywood circles, the top will inevitably slide over time, messing up all the center of gravity calculations. On the other hand, if this connection between the top and bottom has much vertical friction, it will take some of the load of the scale, throwing off the weight calculation.
After having such success 3D printing a Load Sensor holder, I decided to have a go at a plastic part that would help keep the top and bottom plywood pieces aligned.

My plan is to drive a nail down through the center of the top plywood circle. Then whenever I need to place the top plywood circle on the bottom one, I can get close enough to center that the nail will be somewhere inside the 1.5″ diameter cone in the Centering Guide. From there, the sides of the cone should guide the nail to the center of the bottom plywood circle. Then the top and bottom pieces will be aligned.
At least that’s the theory. We’ll see.
Being new at designing for 3D printing, I’m not sure how to build an arch or corbel to support the cone. So I relied on the default Cura support structures, which take a lot of plastic.
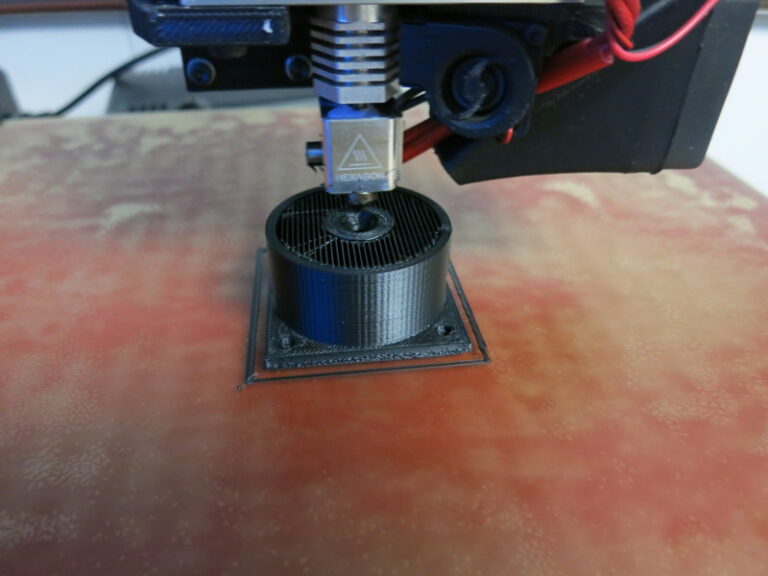
Note the large amount of infill in the cylinder. I should be able to (eventually) come up with a design that doesn’t require so much plastic. On the other hand, since I’m only making one, I can put up with using 3.5 meters of filament this time.
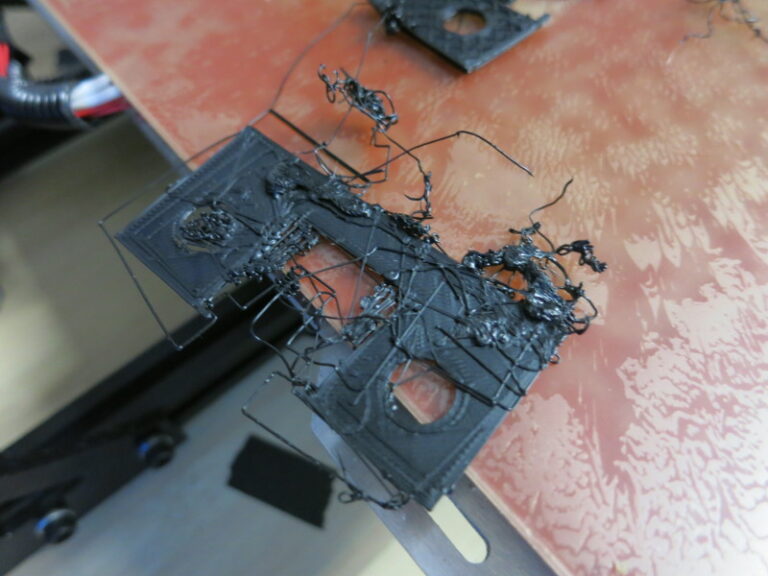
While I was designing the Centering Guide, I tried to print four Load Sensor holders at once. Little did I know that I should mess with the print parameters for such a large print. I stopped the resulting print part way through. It was weird: the filament wouldn’t stick to the print bed, so little hairs started sticking up. The hairs then caught other print lines, until the whole thing started looking too frizzy to be useful. Going back to one-at-a-time prints seems to work fine.
Update: I’ve since learned that 1) since I was printing in ABS I should have put glue stick on the print bed, and 2) If that didn’t work, I should have used a Brim to hold the part down.
In my next post, I finish mounting the Load Sensors and complete the final assembly of the scale.