
I’ve occasionally seen posts and videos about how to dry 3D printing filament using a food dehydrator, but never felt the need for one… until recently. I had a failed print that looked like wet filament was to blame, so I decided it was time to make my filament dryer. This post is about my experience – mostly good – with that dryer.
Disclaimer
This post is about my experience. Yours may be different. In particular, don’t blame me if you melt a reel of filament – it’s easy to accidentally do that. And be sure to follow all the safety information that comes with your dehydrator.
How I Made My Filament Dryer
Let’s get right to it:
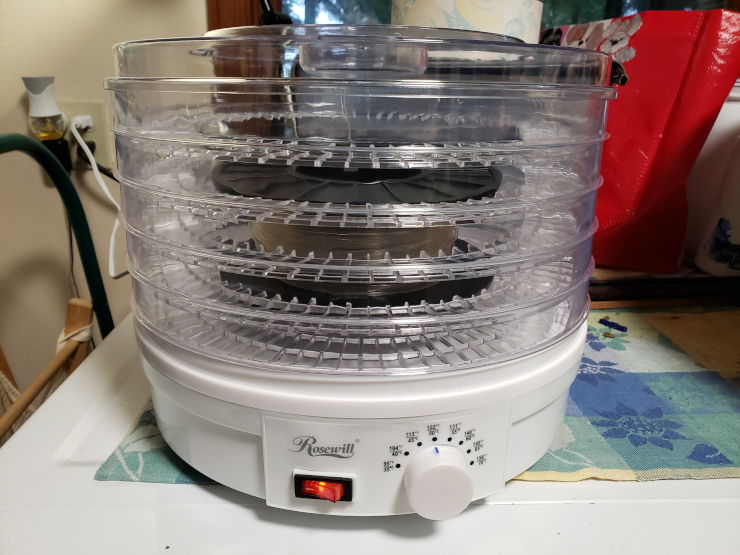
- I bought a Rosewill Countertop Portable Electric Machine Food Fruit Dehydrator from Amazon for about $45 USD. I chose that one because Angus at Maker’s Muse had linked to it in his video on drying filament, it was large enough for a reel of filament, and had the temperature marked in Fahrenheit and Celsius.
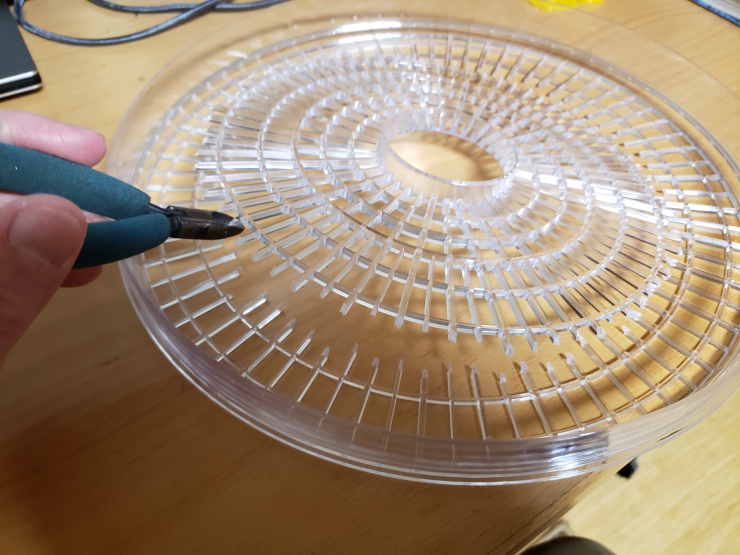
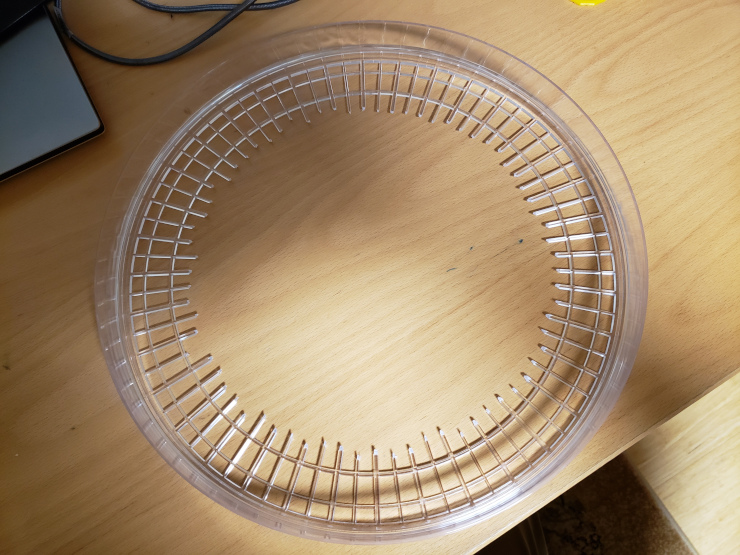
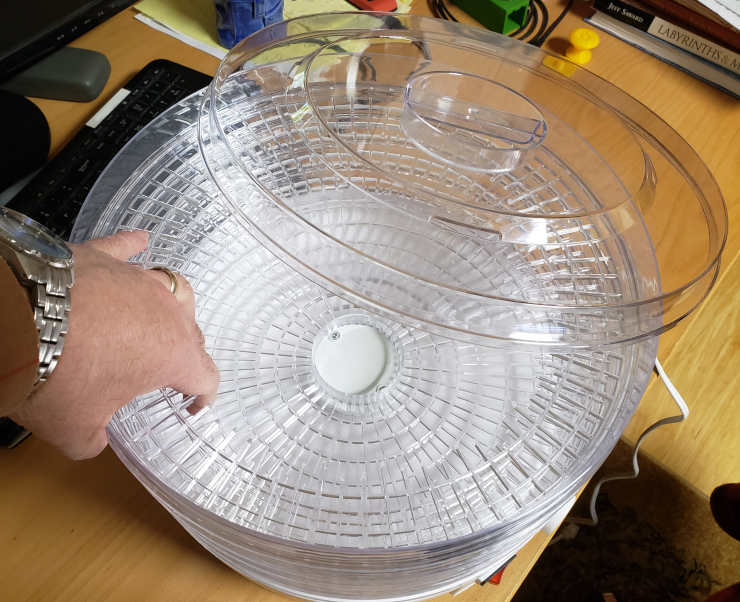
- I used a pair of flush cutters (any cutters or scissors will likely work) to cut a large, circular hole out of each (but one) of the dehydrator’s drying trays to make room for a spool of filament. NOTE: I left one tray un-cut, to use at the bottom of the dehydrator.
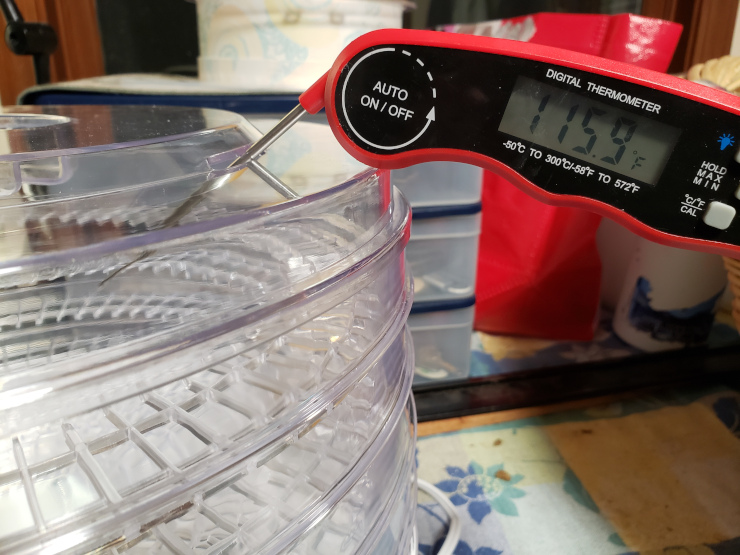
- I checked the stability of the dehydrator’s thermostat by watching the temperature for a few minutes with a meat thermometer. It’s probably not the best monitor, but it covered the right range: 40° C to 150° C.
- Based on several recommendations I’d found, I dehydrated my wet PLA at 50° C for about 8 hours, depending on how bad the filament was. I’ve read you shouldn’t heat PLA higher than about 55° C, or it will melt into an unusable blob on the reel.
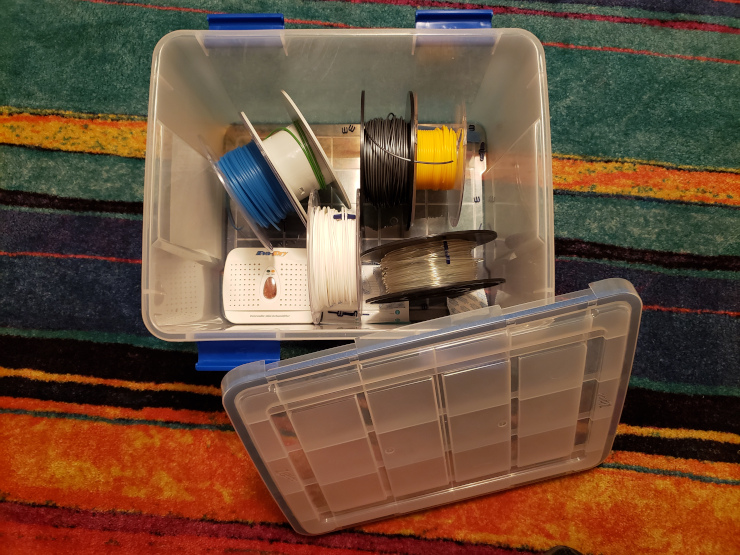
- Once my filament is dry, I store it in a watertight storage bin, with desiccant. I’ve described my filament storage in detail in another post.

Drying a Yellow PLA
As part of moving from Fusion 360 to FreeCAD (that’s another story), I found myself doing more printing than I had in a few years, using filament that was several years old. Some of that filament showed signs of being wet.
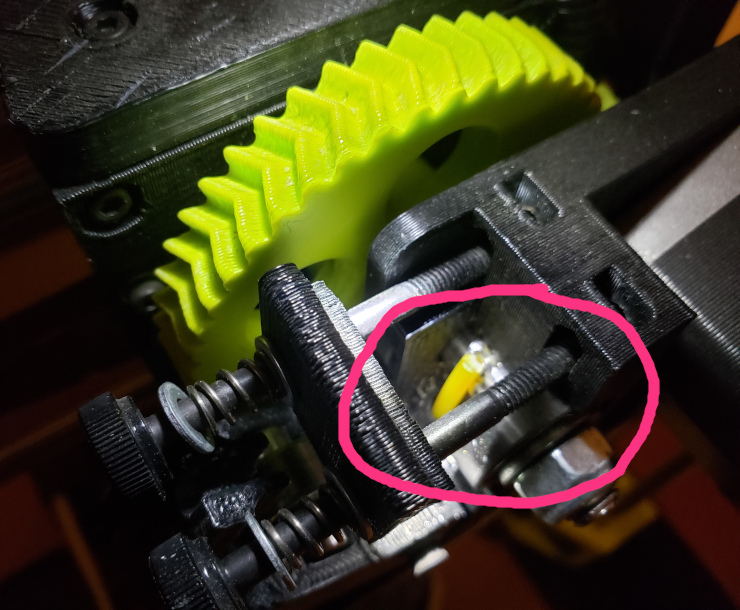
On two occasions, while I was printing using a yellow PolyLite PLA, the filament snapped off in the extruder, stopping the print and leaving a chunk of filament in the extruder that was hard to remove. The second time the filament snapped convinced me to try drying the reel – because brittle filament is one symptom of wet filament.
By the way, removing the broken filament from the extruder was a bit of a pain: the first time it snapped, I heated the hot end to extrusion temperature while I pulled on the end of the filament with a pair of hemostats (big tweezers). The second snap happened lower in the extruder, so I heated the hot end to extrusion temperature and this time pushed the filament down into the extruder. That didn’t work so well; I had to push it much further down, using a piece of smaller-diameter filament. I imagine I could have used any < 3 mm diameter needle or filament.
So I bought the Rosewill food dehydrator, cut reel-sized holes out of all but one of the trays, stuck a meat thermometer into it, and set the dehydrator for 45° C. After a few minutes I saw that the thermometer showed a temperature close to 45° C, and varied only one or two degrees C up or down, proving this dehydrator would suit my needs.
After reading a few posts on filament drying temperatures and times, I set the dehydrator for 50° C, popped the yellow PLA reel in, and left it for about 4 hours. I then stored the filament in my watertight storage bin.
The next day, after the filament had cooled completely, I did a print, with impressive results: not only did the filament not snap (even when I tried bending it), but the print was noticeably smoother. I regret I didn’t take a before and after photo for this reel.
Drying a Silver PLA
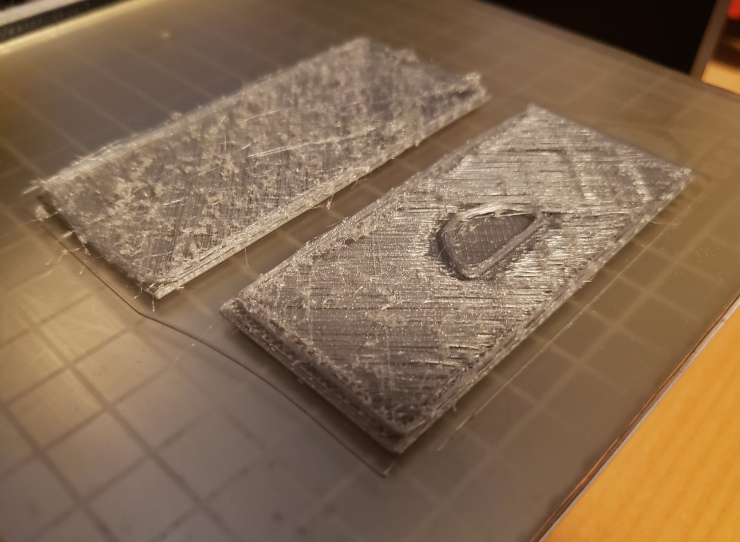
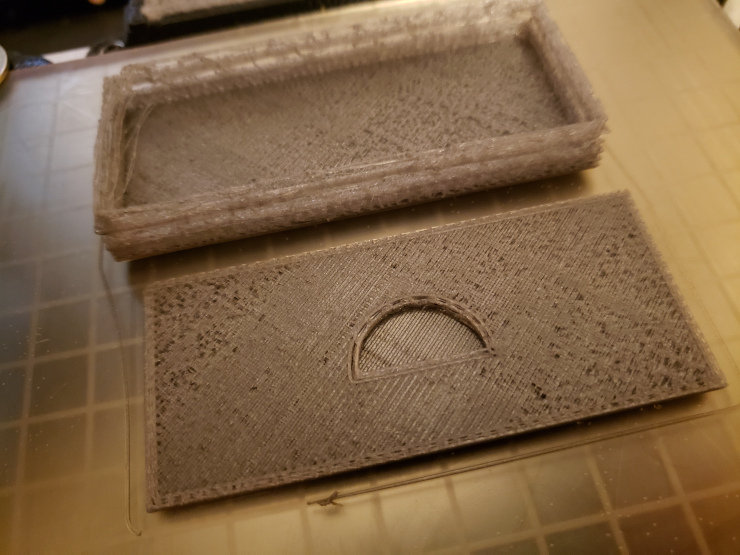
Later I tried to print my redesigned Mainspring Clamps Box in a very old silver Village Plastics PLA. That PLA was the oldest I have, and it likely absorbed a lot of moisture from the air before I bought watertight filament storage bins.
The print was a disaster; it was so bad that I sliced and printed it again to see whether I’d told the slicer the wrong filament… and again got a bad print.
I had almost given up hope on this filament, until I found All3DP’s How to Dry Filament: PLA, ABS, & Nylon. That post showed a picture of a failed print made with wet filament, that looked nearly like my print.
After drying this filament at 50° C for 5 hours, I tried the print again. It still failed due to bad layer adhesion, but was promising.
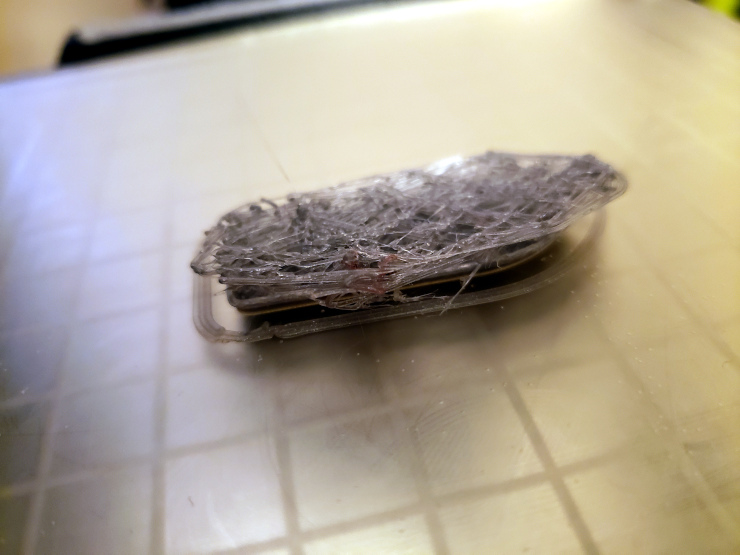
At this point I decided to switch to an actual test print: a Benchy by CreativeTools… and the result was even worse: not much more than a ball of filament stuck to the hot end.

So I lengthened the drying time: I put the reel in the dehydrator at 50° C for 12 hours and, after it cooled, tried another Benchy. Still no joy.
Since the longer time had improved things a little, I tried a little higher temperature: 52° C for 15 hours. Once it had cooled, I tried the Benchy again, and it was starting to look good…
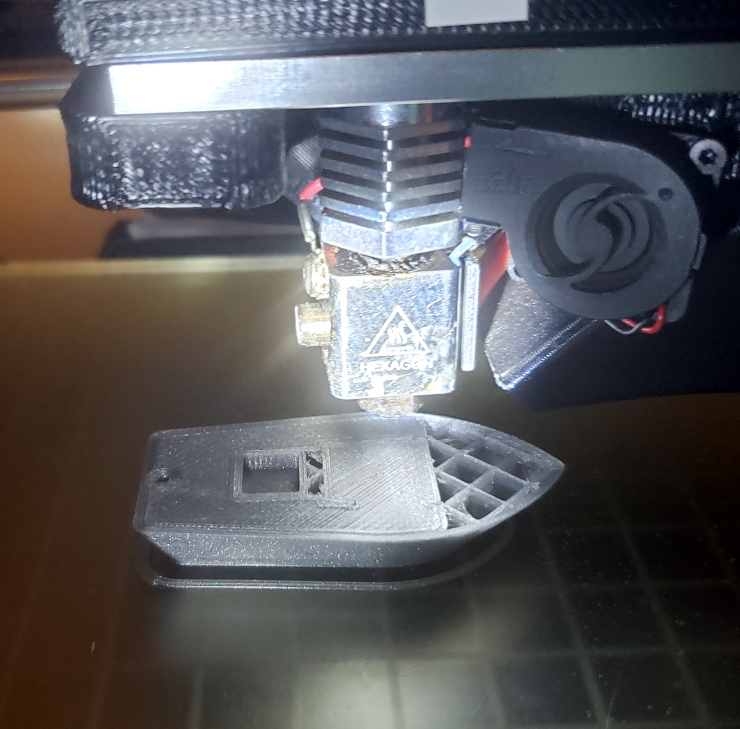
Then, frustratingly, the adhesion failed at the roof of the Benchy, after printing the rest of that test object just fine. Although looking closely, I did see a few slight adhesion problems in the hull and in the square in the back.

Since the higher temperature (or lots longer drying?) seemed to help a lot, I decided to be daring and go for 55° C for 15 hours. I worried a bit, because this temperature is only 15° C below the PLA Glass Transition temperature of 70° C: the temperature at which the filament will turn into a solid blob of plastic.
Unfortunately, the higher temperature drying (or something else?) made the next Benchy test worse than before: there was serious delamination in the hull, and a fuzzy deck from poor adhesion. I canceled the print and have given up on the reel.

On the good side, since the reel was unusable to begin with I haven’t lost anything, and it was interesting to see the print improve with a little drying.
Conclusions
So the dehydrator definitely saved at least one reel, and improved – but didn’t save – another one. Based on my experience and the posts I’ve read, I think I’ve found a useful and inexpensive tool against overly-wet filament.
References
- Maker’s Muse’s Reviving 7yr old filament with a $20 Dehydrator.
- All3DP’s How to Dry Filament: PLA, ABS, & Nylon, which describes why filament absorbs moisture, various ways to address the problem, and gives a good list of temperatures for drying various types of filament.
- 3DInsider’s How to Dry Your PLA Filament, which gives a good list of symptoms of wet filament, and talks about the Glass Transition Temperature of PLA.
- CNC Kitchen’s very thorough Investigating Different Methods of Filament Drying compares several methods of drying filament, and presents lots of experimental data.