
In converting a desk into a clockmaker’s bench, I wound up buying a router and router table to make the drawers. The router table has been taking up space on my workbench ever since.
I decided to make a rolling cabinet to mount the router table to, using scrap plywood and some drawers left over from a bathroom remodel. The project is a good example of a thrown-together wood project, and a few lessons in “measure twice; cut once”.
For some reason my main concern was to fit as many of the six bathroom drawers into the cabinet as possible, and for fun I used FreeCAD to lay out this simple box.
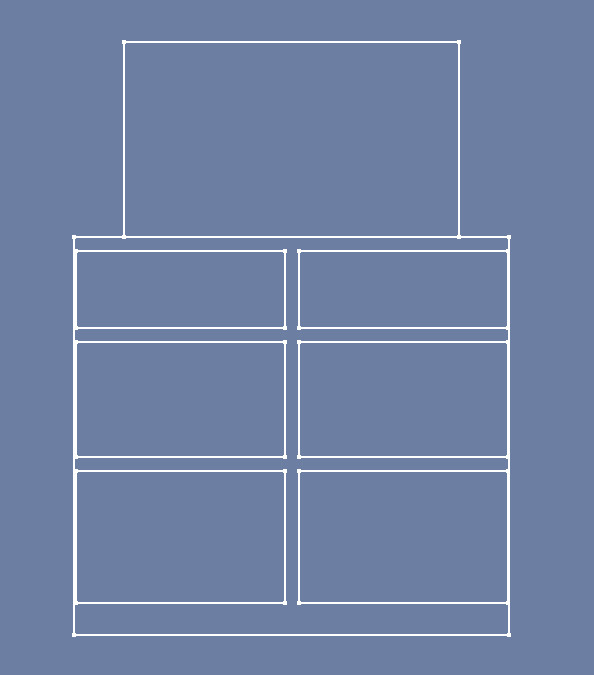
I measured the fronts of the drawers, then sketched out, in FreeCAD, the drawer fronts with finger-sized vertical clearance between them. From there I sketched an outline of the carcass (the box the drawers will fit into) and, for scale, a rough size of the router table that will sit on top of the cabinet.
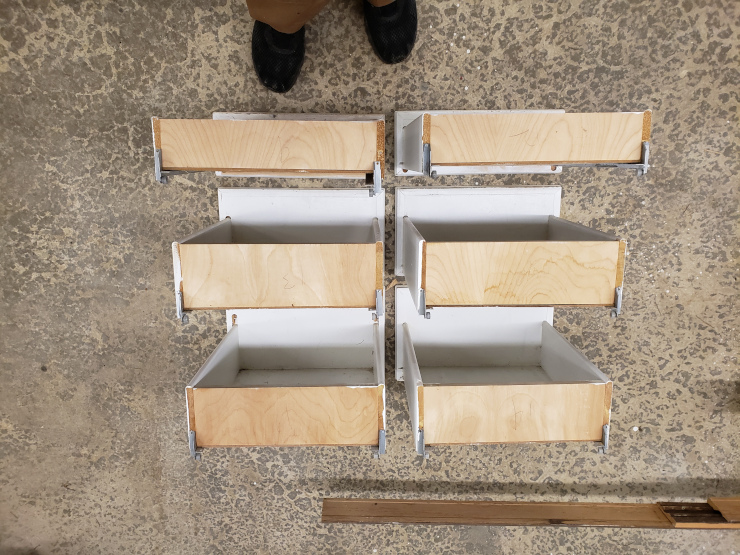
I then laid the drawers on the garage floor, in order, to get a feel for the scale of the whole cabinet.
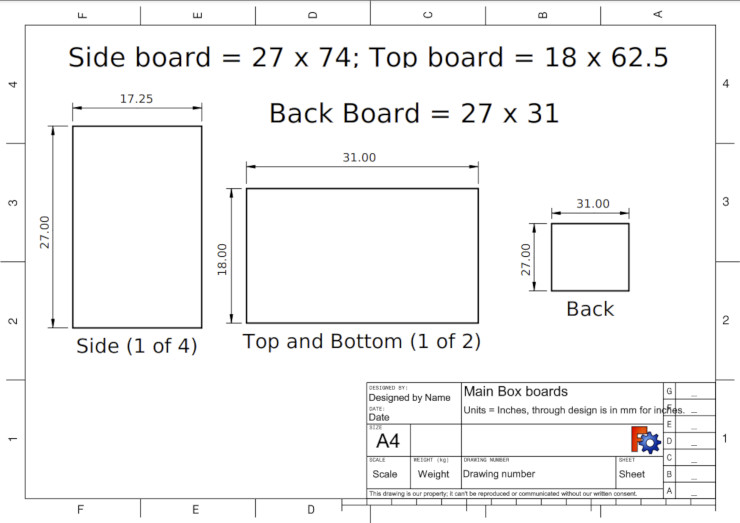
Next I got serious with FreeCAD: I created a spreadsheet containing the width, depth, and height of a basic box, so I could easily adjust them; I then laid out a simple box to contain the drawers.
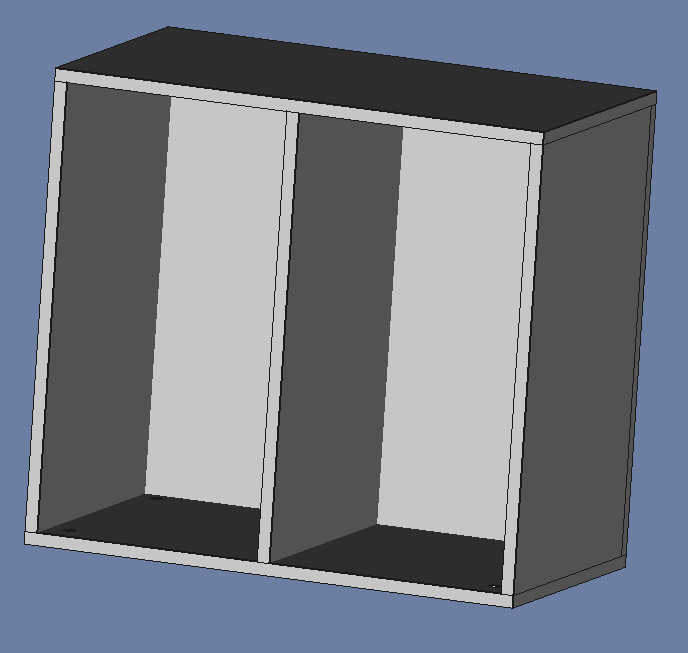
Once I could measure the dimensions of the pieces in the sketch, I compared them to the sizes of a few pieces of plywood I had lying around, then adjusted the box dimensions so I could use that plywood with only a few cuts. For example, I added an inch to the height so I could avoid trimming the 27-inch wide plywood to make the sides and middle.
After a few more adjustments, I realized I could avoid more cuts by making the middle divider twice as thick: two pieces of 3/4 inch plywood instead of one.
Once I’d settled on the dimensions of the box and its basic design, I used FreeCAD’s TechDraw Workbench to create a (not to scale) drawing of the boards I needed. I then used that drawing to cut the plywood pieces from the scrap wood I had in the garage.
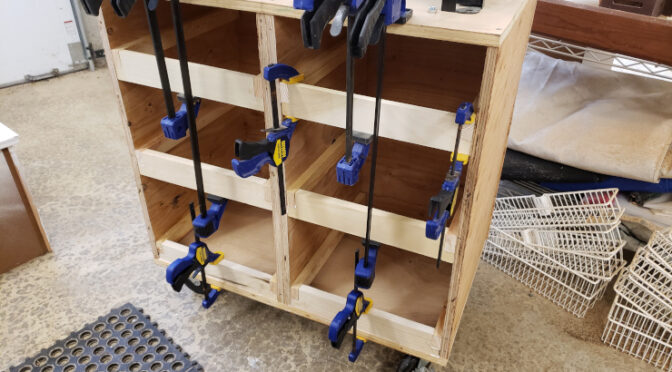
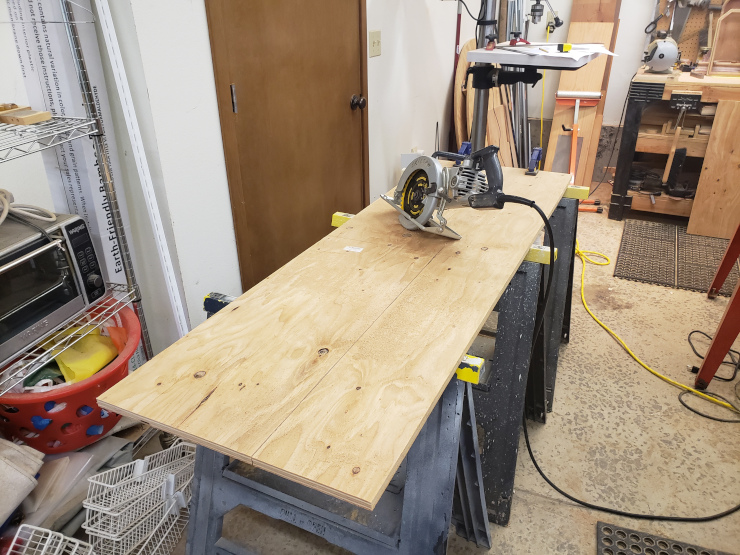
With the drawing in hand, it was a quick matter to cut the boards I needed, and temporarily screw them together. One thing made the project a little sloppy: I haven’t bought a table saw, so I used a circular saw.
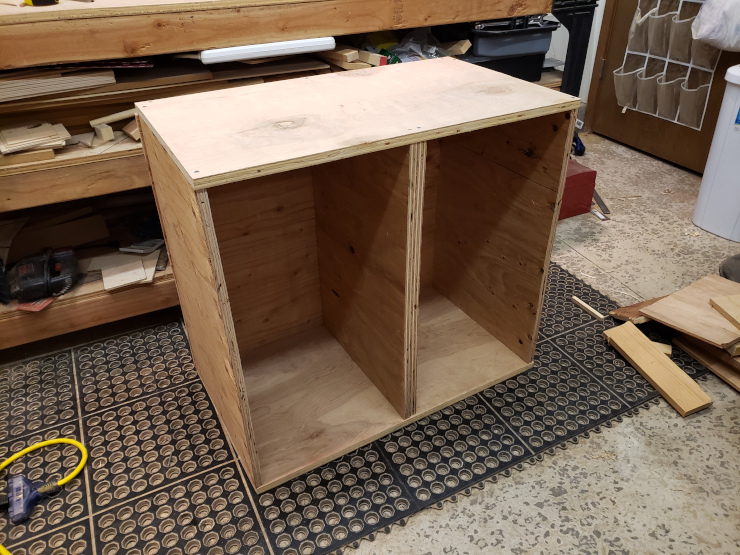
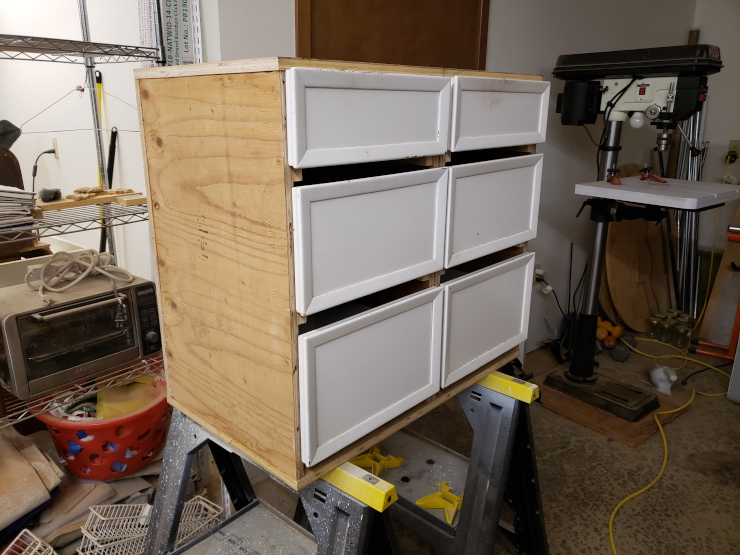
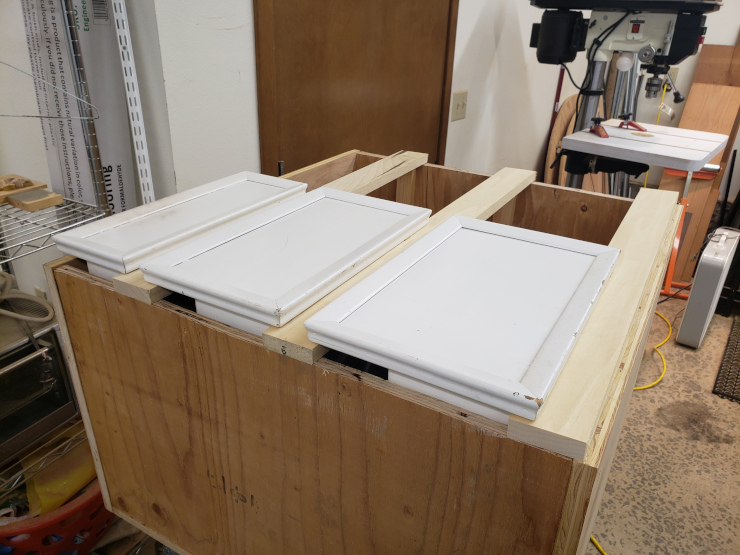
Before gluing the parts together, I did one final check by laying the drawers in the cabinet, to see that the width was correct, and the height was roughly correct.
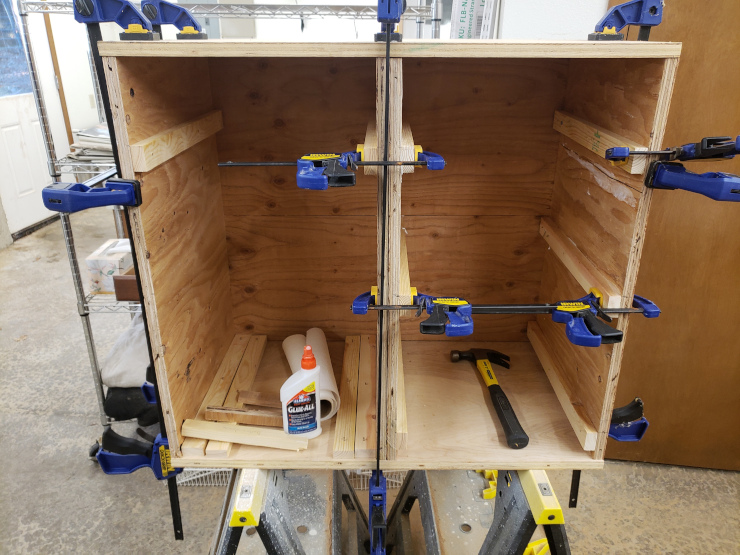
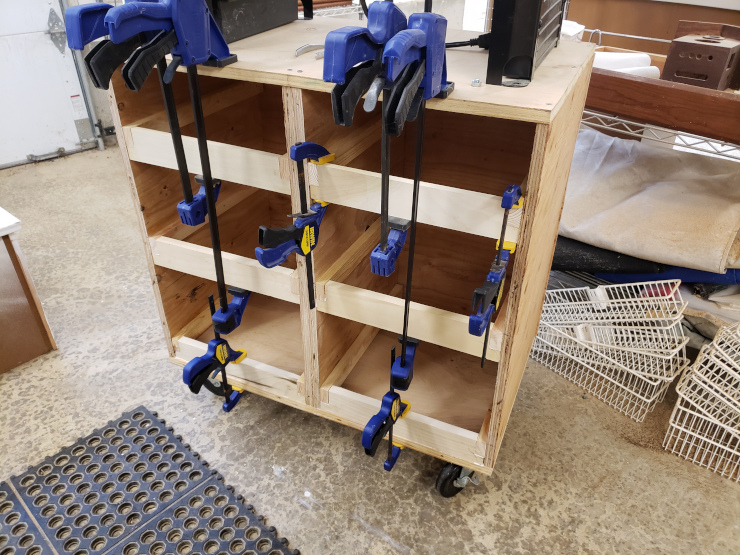
Satisfied that the parts were the right size, I then unscrewed the parts, glued them, and screwed them back together.

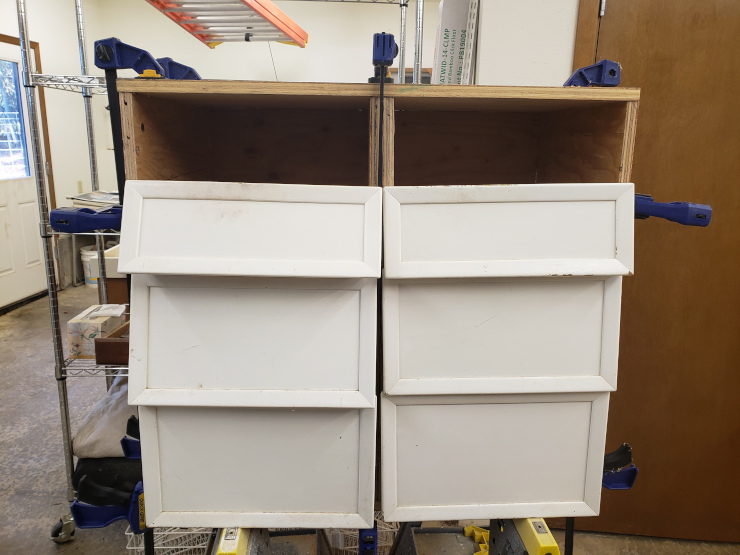
While the glue was drying, I measured rails for the drawers, temporarily nailed them in place, tested them, then glued… only four of the six pairs, because I ran out of glue.
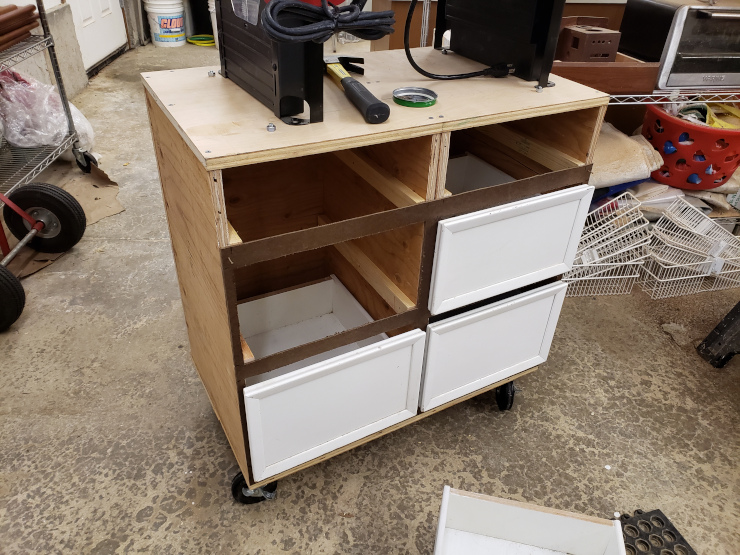
A few days later, with a fresh bottle of glue, I finished gluing the rails, then test-fit the drawers.
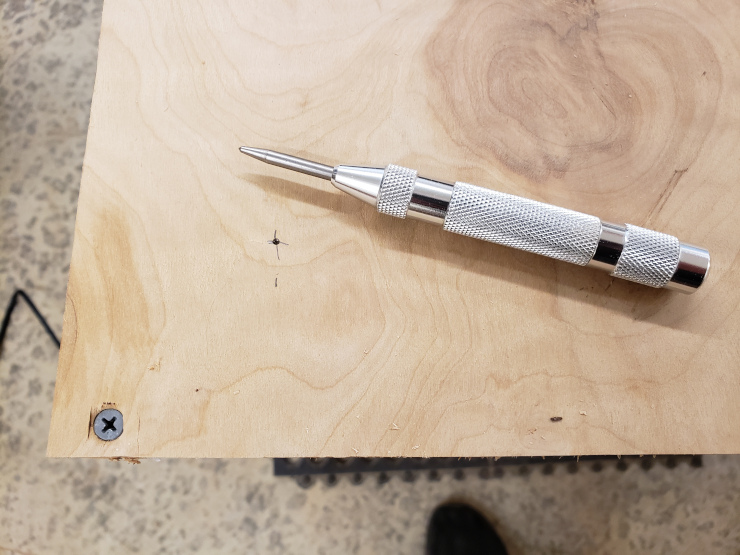
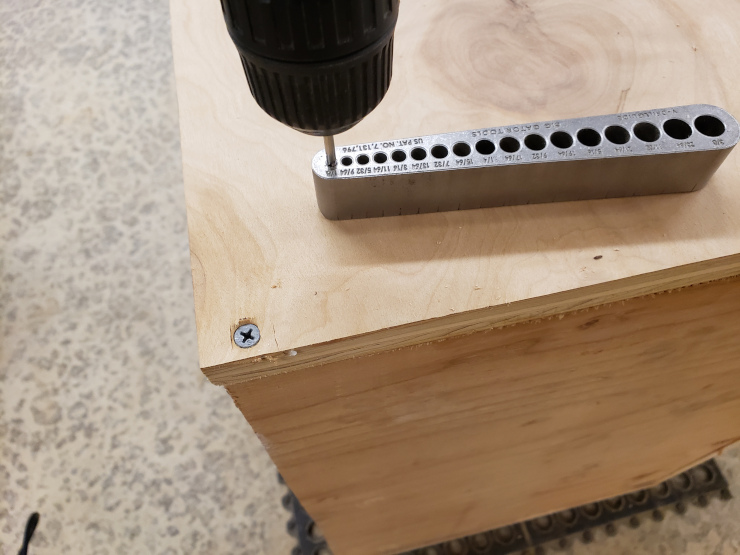
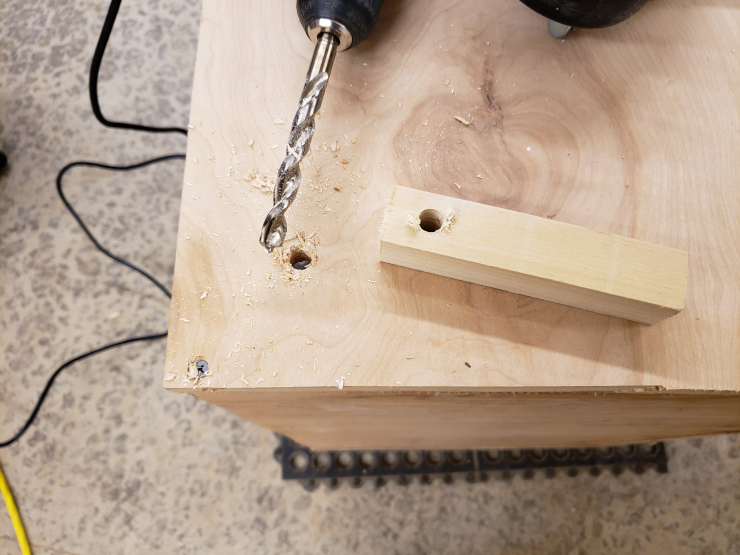
Meanwhile, I drilled holes for the router table bolts and for the wheel bolts. I started with a center punch, followed by a 1/8 inch pilot drill bit, then the final bit.
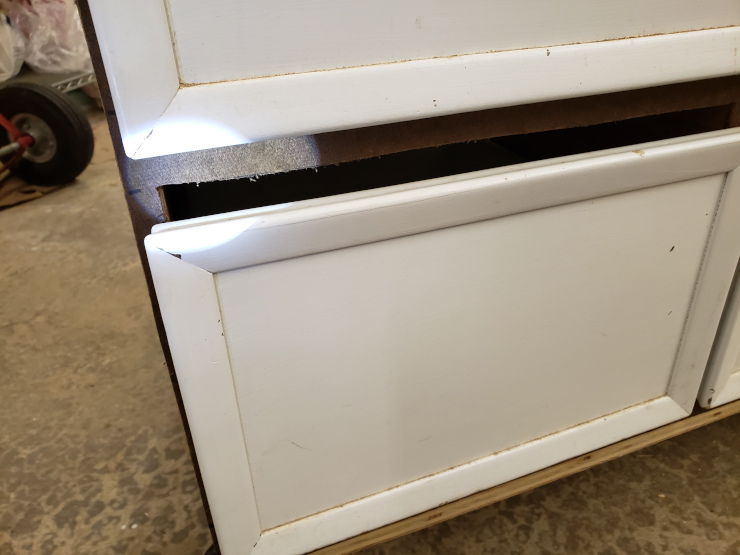
I then turned my attention to the front of the cabinet, and realized (doh!) I should have inset the rails to make room for horizontal bars to keep dust from getting into the drawers.
I went through two false starts before coming to the final design. Had I designed the horizontal bars and rails in FreeCAD, I would have seen the problem before I’d cut and glued anything.
At first I thought it would be easy to build a false front to the cabinet, using scrap wood. But after working on it a bit, I decided that it would require a lot of precise fitting, and would add a lot of weight to the already heavy cabinet. So I abandoned that approach.
I decided it would be quicker to just cut holes in some leftover Masonite I had, to make a lighter-weight false front. Unfortunately, I mis-measured the gaps between the drawers, and botched the job.
Despairing, I thought about McGyver-ing the false front: cutting a bit off the bottom so the horizontal parts would line up. But that didn’t really work.
At this point I took a break.
Later, with a clearer head, I decided to make the horizontal bars I should have, using a scrollsaw to cut out spaces for the rails that I hadn’t indented. It was pretty quick work.
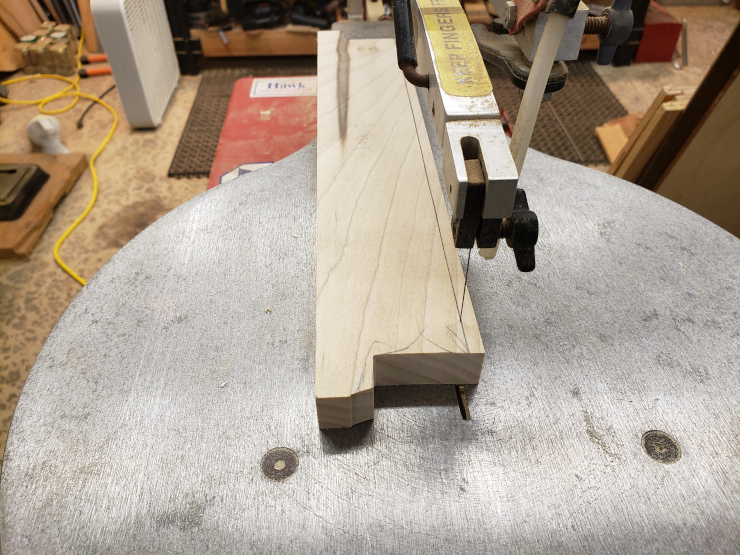
By the way, the angled notch in the photo above is there to make space for a blob of glue that I was too lazy to chip off. That design choice gives you an idea of what a hack frame of mind I was in by this time.
Once I’d glued the horizontal bars in place and bolted the router table to the top of the cabinet – I was done!
I immediately filled the drawers, first with router bits and tools, then with other tools that had been taking up space on my workbench, such as a sander, drill, and jigsaw.
I’m happy with the result: it freed up loads of space in my shop, the cabinet rolls around to where I need it; and the router table is at a more comfortable height. And by using scrap parts (which freed up even more space in the shop) the whole project cost only a few dollars in hardware.