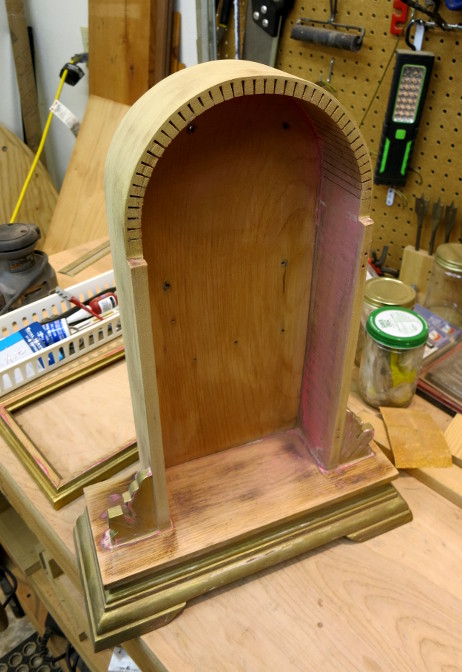
As I said in my previous post about the Ansonia Derby clock, it seems that long ago part of the upper gingerbread broke and the owner sawed off the rest, reducing the upper gingerbread to a simple arch. I’d like to create new gingerbread for this clock. To do that I need to unglue the original, cut remnant and glue my to-be-designed gingerbread in its place.
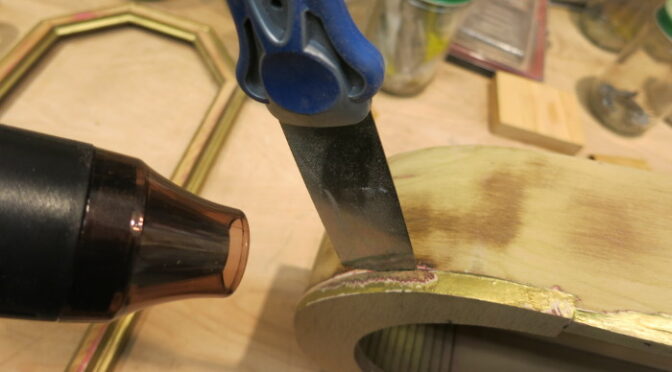
It seems the cut arch was still attached with the original, 100-year-old glue: Hide Glue . I found several posts that claimed you can often separate such glued wood using a heat gun and putty knives, which seems incredible. I was skeptical until I watched the video Loosening Furniture Joints with a Heat Gun – Thomas Johnson Antique Furniture Restoration.
I assembled my tools: a heat gun from Sparkfun, a couple of thin putty knives, and a steak knife (I didn’t use the steak knife).

The various posts I’d read provided a few tips:
- Keep a fire extinguisher nearby. It’s unlikely, but overheated wood, paint, or varnish may catch fire.
- Heat the wood and putty knife blade gently: just until the wood is warm to the touch. Using too much heat will scorch the wood.
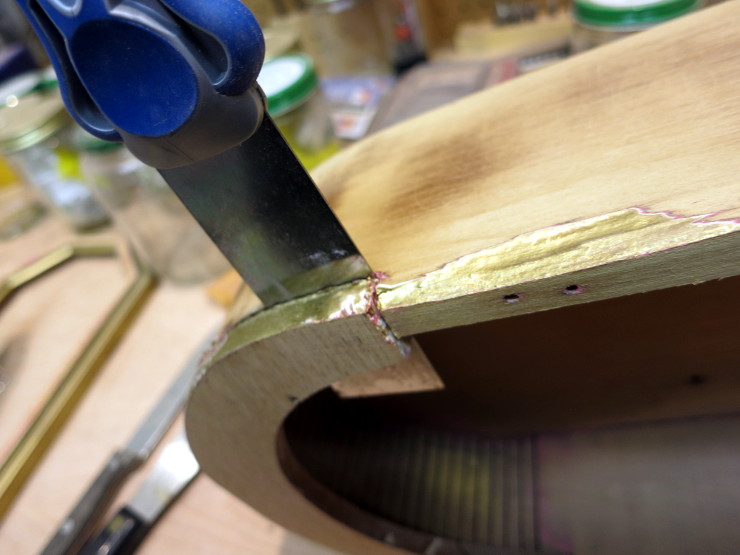
- Gently press the putty knife blade into the joint. Don’t pry the wood loose or it could break.
- As the heat loosens the glue, you can – gently again – separate the wood pieces. Work your way along the joint.
I went to work, and was soon surprised at how quickly the glue began to soften.
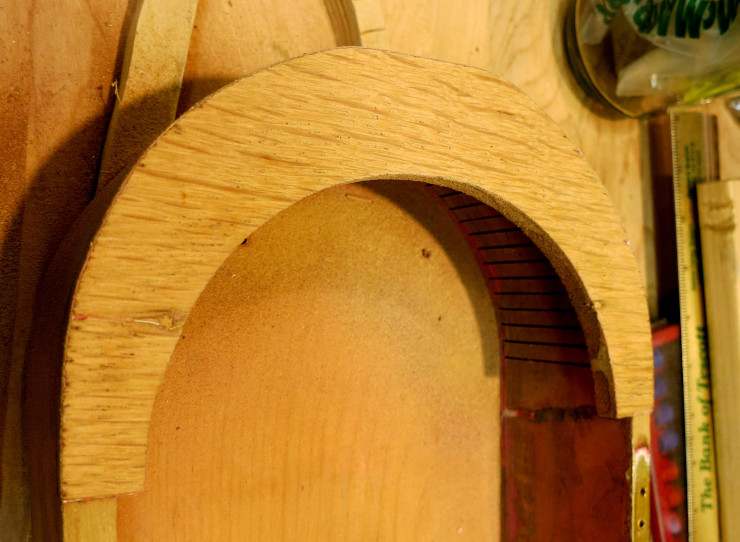
Everything went well as I loosened first one side, then the other. I was just coming to the center of the arch when the whole thing suddenly popped loose!
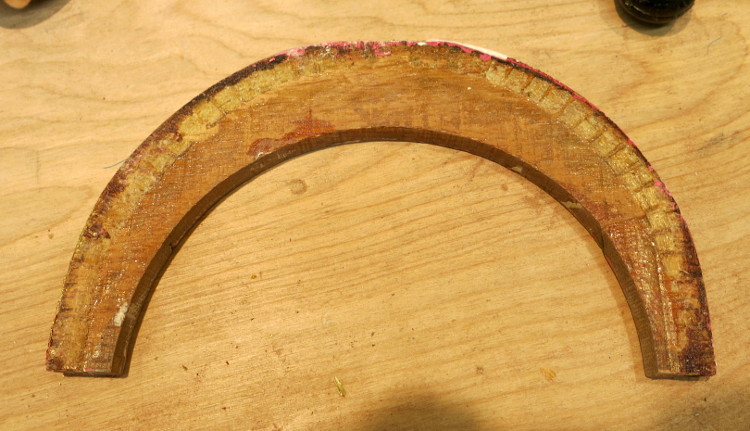
I should have moved more slowly, or used a thinner putty knife. Checking out the two previously-glued-together pieces, I saw that a thin layer of wood had torn free from about 1/3 of the arch. Not enough to notice, but it could have been a lot worse. A thinner blade would have put less pressure on that wood, perhaps removing the piece without damage.
With a little sanding to remove the remaining glue and paint, the original Ansonia clock case is now ready for new gingerbread – “all” I have to do is design and build it!