I’ve been interested in sundials for ages. Tracking the sun’s path by observing the shadow of a stick is an ancient form of astronomy, and a gateway into geometry (literally “land measurement”).
A sundial often marks the solstices and equinoxes, and enables measurement of the cardinal directions of north, south, east, and west: at the peak of its daily journey through the sky, the sun throws a north-south shadow; on the equinoxes, the shadow of the sun draws an east-west line. Ancient sundials acted as calendars, showing precisely when the sun returned to a given spot in its annual journey from south to north and back again.
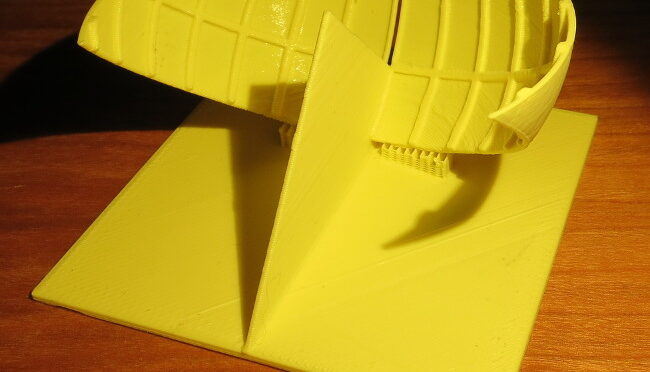
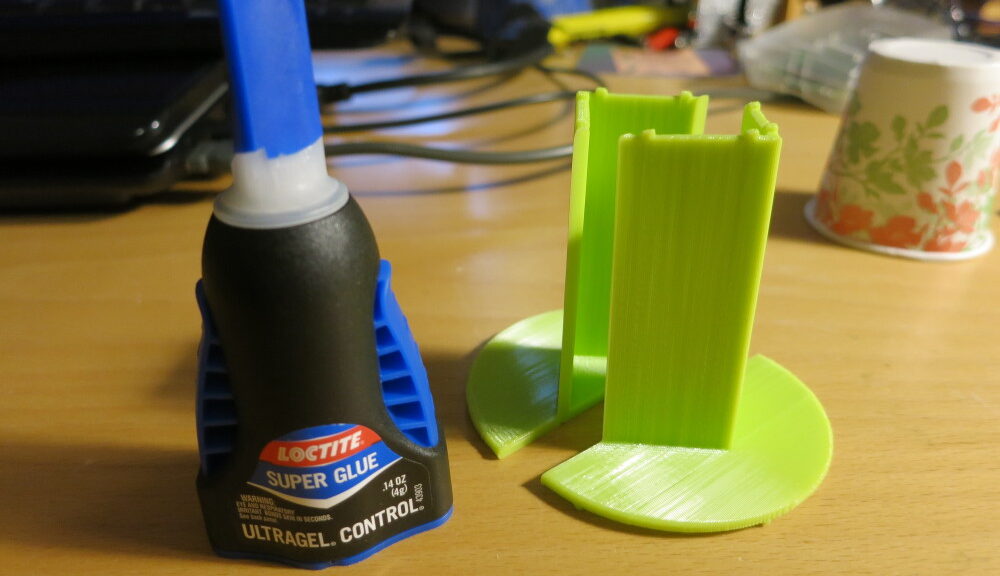
Having read Clifford Smyth’s excellent book, Functional Design for 3D Printing, I was anxious to try out his method of cutting a design into parts and gluing those parts together after printing.
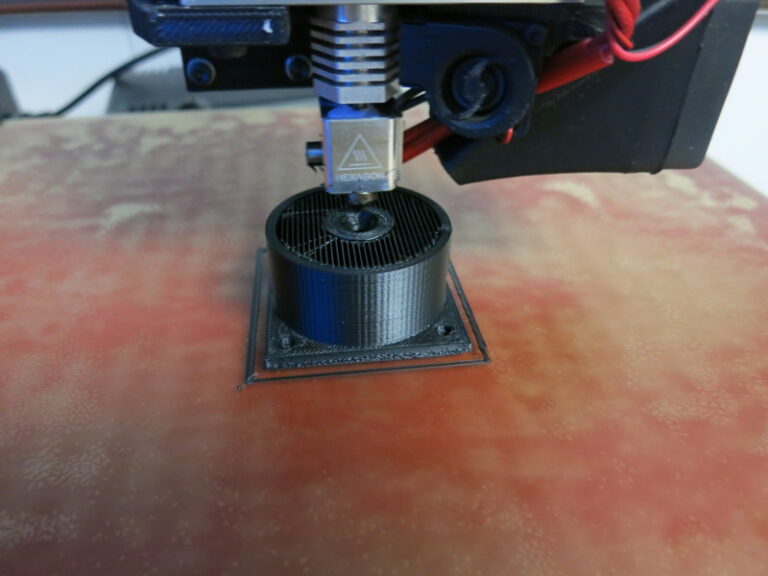
In my previous post, I did a little woodworking on the scale. In this post, I start designing a 3D printed part that will keep the top of the scale centered on the bottom.
Ever since I measured the center of gravity of the top plywood circle, I’ve been puzzling through how to make sure that center of gravity stays centered on the bottom part of the scale. Without some sort of connection between the top and bottom plywood circles, the top will inevitably slide over time, messing up all the center of gravity calculations. On the other hand, if this connection between the top and bottom has much vertical friction, it will take some of the load of the scale, throwing off the weight calculation.
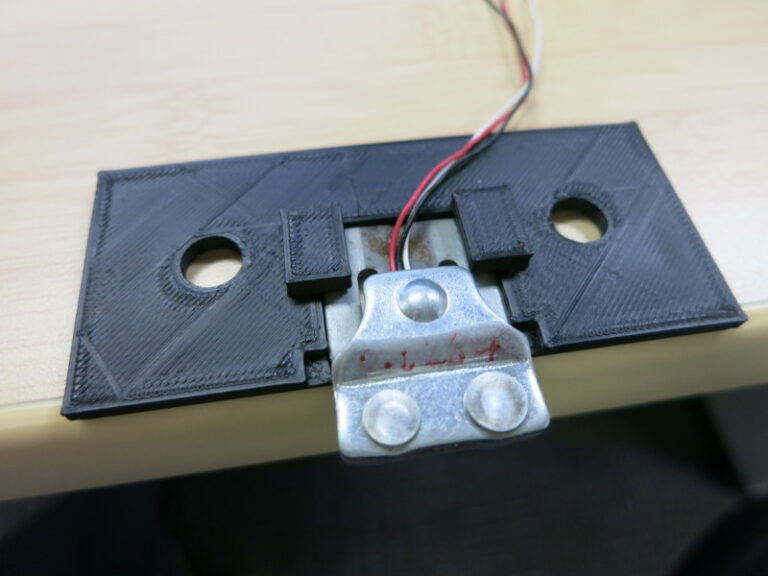
In my previous post I soldered the weight scale parts to a proto-board. In this post, I design and 3D-print the part that keeps the Load Sensors from slipping.
The Load Sensor is an oddly-shaped thing that has a few tricky constraints: the T-shaped part in the middle must be free to bend downward (my wooden mounts take care of that), and I don’t want it to slide out of place horizontally or tilt off of its position when I’m putting the top plywood piece on the scale.