Category Archives: Projects

Dog Weight Scale Part 5: Center of Gravity and a Mounting Fail

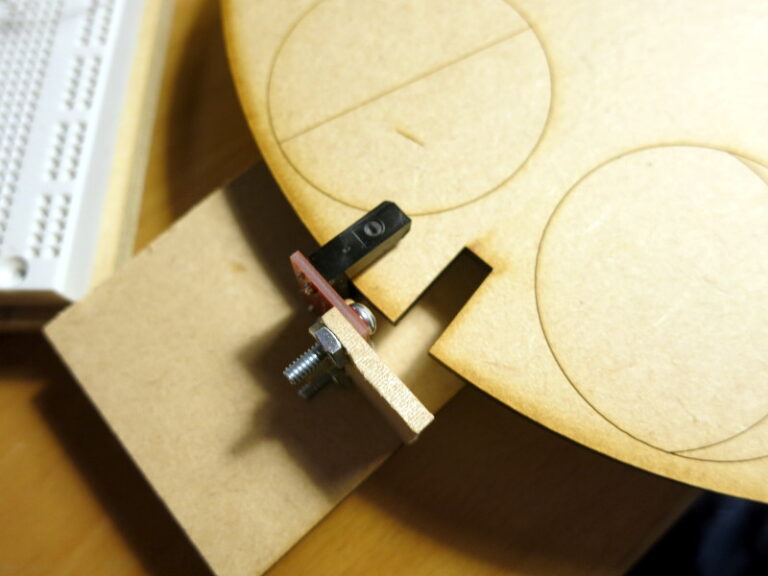
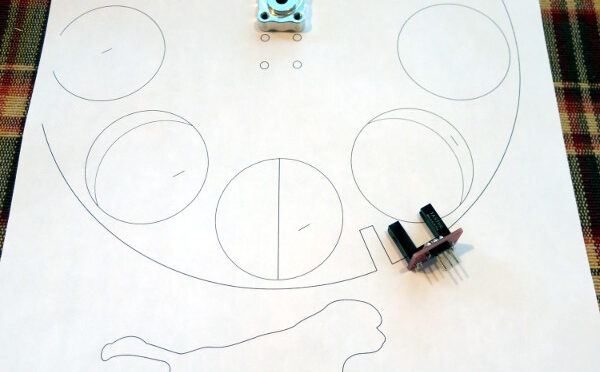
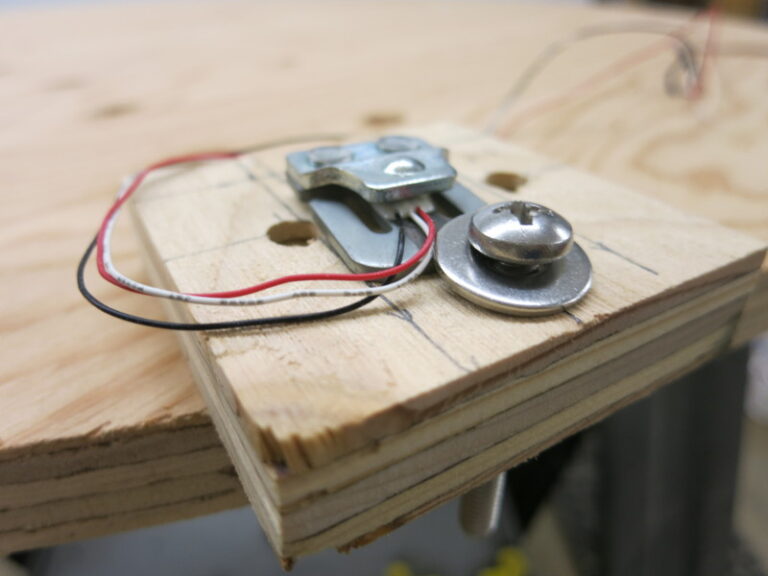
In my previous post I described how to calibrate a load sensor. This post shows how to measure center of gravity, and shows a failed attempt to mount the load sensors to the scale.

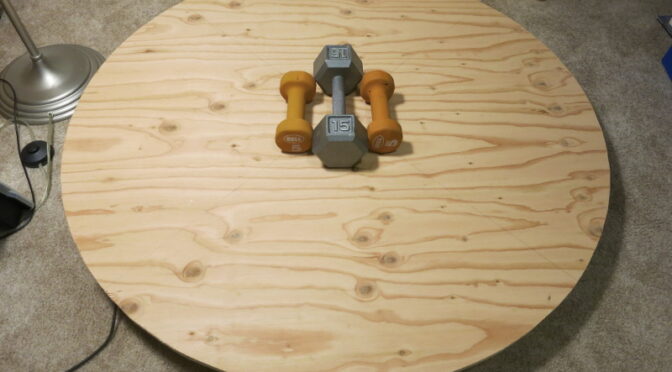
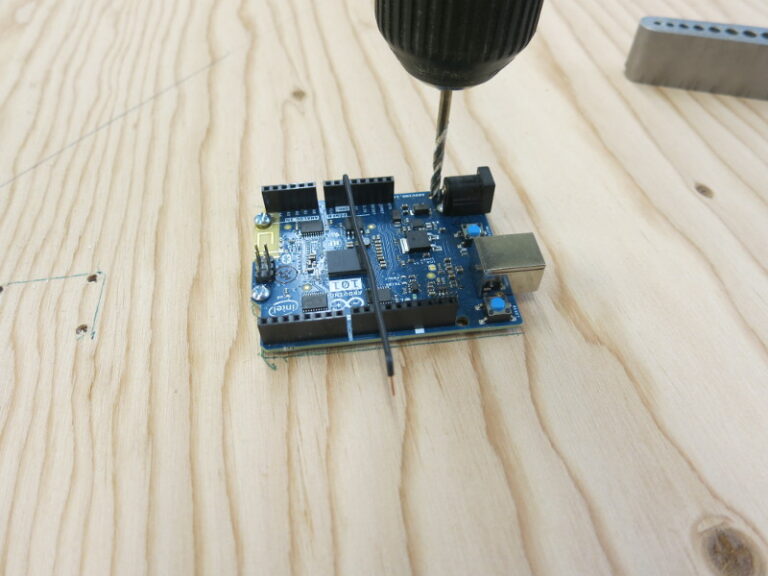
Now that I’m using 4 load cell amplifiers rather than 1, I can calibrate each load sensor separately. This in turn will let the Arduino calculate Pippa’s real weight accurately regardless of what part of her bed/scale she’s lying on.

Continue reading Dog Weight Scale Part 5: Center of Gravity and a Mounting Fail

Dog Weight Scale Part 4: Calibration and its Difficulties

In my previous post I finished assembling the Dog Bed Weight Scale, at least enough to allow testing it. In this post, I relate how I calibrated and tested it.

Using the Bogde HX711 Load Cell Amplifier library and examples, and the Sparkfun HX711 Example Arduino Sketches, I quickly wrote a little Sketch to output the raw value from the scale (SCALE = 1.0 and OFFSET = 0L). The library made talking to the HX711 trivial.

Continue reading Dog Weight Scale Part 4: Calibration and its Difficulties

My First Laser Cutting Order Ever

I’m delighted at how well the lunar clock is going! While waiting for stepper motors to arrive, I’ve been using Inkscape to create the laser-cutting pattern for the wheel that will contain images of the various phases of the moon. After a few hours of stumbling around (I’d never used Inkscape), I was drawing circles, arcs, and lines with abandon.

Continue reading My First Laser Cutting Order Ever

WiFi and Steppers and Slots! Oh, My!

The Lunar Clock project is starting to feel real!

After having no luck making the ESP8266 work with an Arduino Mega, I switched back to the wonderful Sparkfun CC3000 WiFi Shield. It is playing nice with the Mega now – with an interposed Sparkfun TransmogriShield to convert the Mega SPI pins to the Uno pins that many Shields expect. Update: I replaced both these retired boards in a later post.

Continue reading WiFi and Steppers and Slots! Oh, My!

The Robotic Glockenspiel is Complete!

After putting the finish on the wooden Glockenspiel case, I reassembled all the electronics, mechanics, and the box hardware (hinges, etc.). It works great! See my Arduino Robotic Glockenspiel Complete Demonstration video.

Ok, I still want to adjust the amount of silicone on each solenoid, to smooth out the sound, eliminating the clanking on all the chimes…but that’s for later.

As a reminder: the sources for the Glockenspiel are on the Glockenspiel Github site.

Putting Hinges, Lid on the Glockenspiel

Since fixing the sound of the chimes, I’ve been finishing the software for the glockenspiel. Now all the buttons work: on/off, play/pause, skip back, skip forward, and shuffle. Woohoo!

Today I made the lid, attached the molding on the edges of the lid, attached the piano hinge and attached the side hinges. It’s not fine furniture, but I’m learning a lot about how to make The Real Thing. For example, don’t sand the wood with the sandpaper you used to remove rust from your new scrollsaw (ouch!).

All the hardware (except the front latch and the feet, which should install easity) is now installed. So now I’ve taken all the hardware off so I can easily do the labels and spray the finish.

Next I plan to label the buttons – I plan to try woodburning – the end is in sight!