Now that the control buttons are in the circuit, I’ve tamed the clanking noise of the Robotic Glockenspiel! Hear it in this YouTube video.
In an earlier post I mentioned that I’d used a tube of silicone to put a drop of silicone on each solenoid, to reduce the loud ‘clank’ when the solenoid strikes the chime. I found out that a drop of silicone is way too much: the chimes hardly sounded at all.
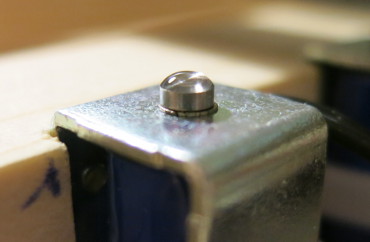
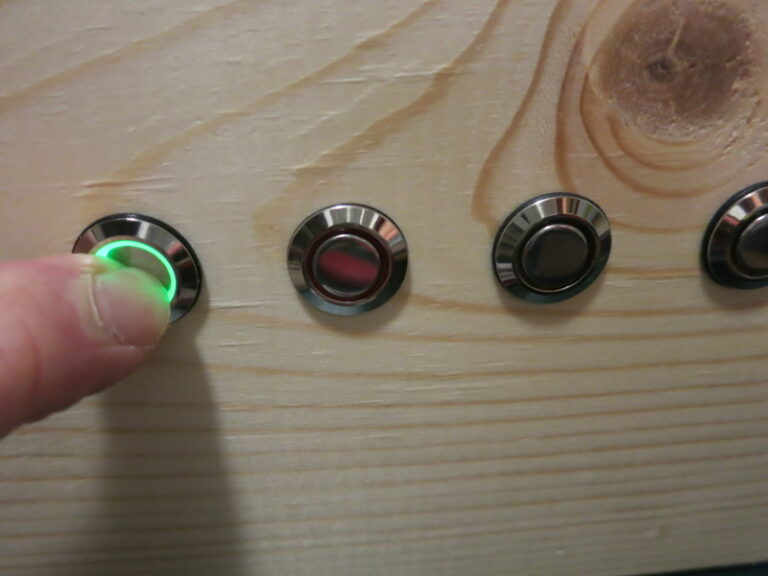
Since my last post about the glockenspiel, I’ve been taking a vacation from my vacation (aka working). Today I turned back to the glockenspiel and wired up the first of the 5 lighted switches.
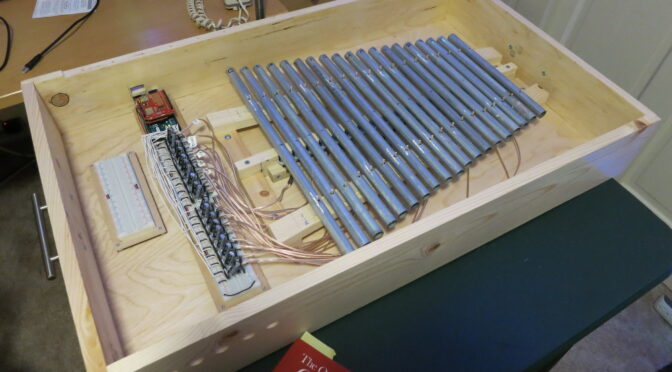
In my previous post, I started putting the glockenspiel case together. Now I’ve bolted the glockenspiel harp and circuit boards into the base of the box, and temporarily mounted the handles and buttons. I still need to wire up the buttons.
In an earlier post I tuned the chimes. In this post, I find one way not to make a frame for those chimes.
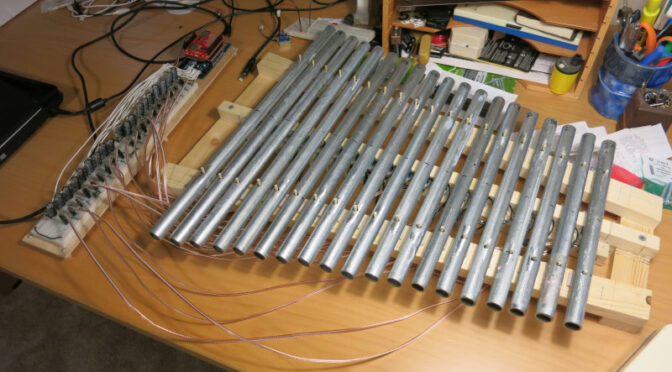
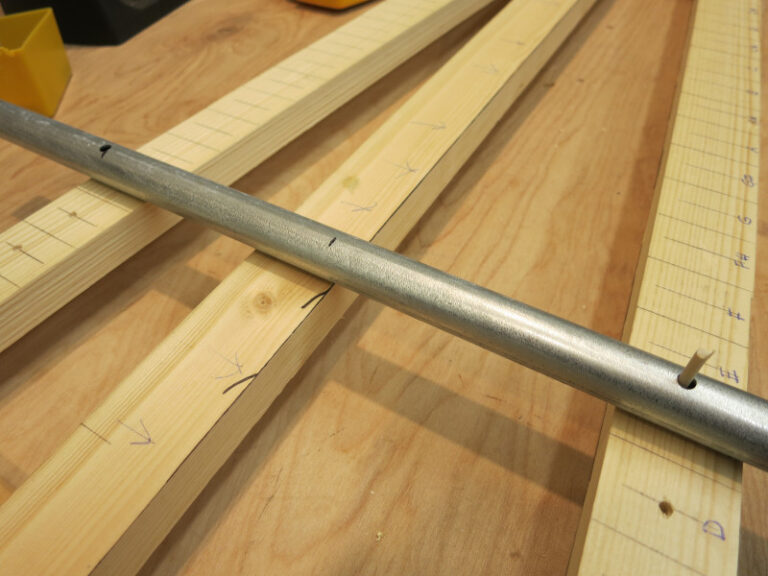
I created the frame for the glockenspiel, with a square frame on the outside so that I could mark the inner part of the frame with 1″ lines, one per chime.
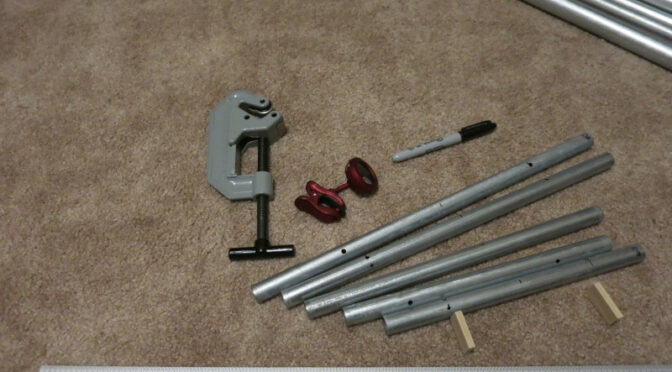
After a few weeks of experimentation, I think I can now write sensible notes on how to cut and tune the chimes for a glockenspiel (metal xylophone) out of metal conduit. This is the first step of my Robotic Glockenspiel project, which I hope to end with a network-connected, Arduino-controlled set of chimes that can play Christmas carols.