In my previous post I pointed to some sources of information about how to read Midi music files. I’ve now Open Sourced my working code.
I’m a total newbie at Git, but even so I’ve managed to create repositories for the Robotic Glockenspiel and the Arduino Midi File Reader library it uses. See My GitHub repositories for the current state of things.
In my previous post I covered the Arduino-based circuit I built to strike the chimes. I’ve also, with a little effort, gotten the Sparkfun MicroSD shield to work with the Arduino Mega 2560, so I’m now in the thick of writing the software to read music files for the Robotic Glockenspiel.
Earlier, I described how to build a frame for the glockenspiel. In this post, I cover the circuit that will strike each chime.
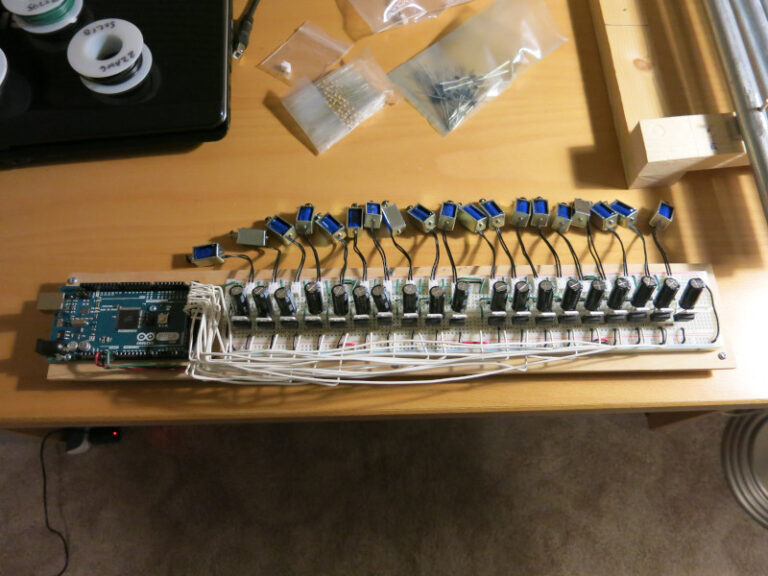
I’ve successfully tested the glockenspiel control circuit. It’s an Arduino Mega 2560, a Sparkfun Wifi Shield, and 19 repetitions of a simple solenoid control circuit.
When I described my robotic glockenspiel project, a co-worker pointed me to the musical performances of Pat Metheny, which led me to LEMUR (League of Electronic Musical Robots), which made his instruments.
Check out the videos on LEMUR’s site (which unfortunately may be gone). Some of them remind me of early 20th-century experimental music (especially the one with the siren). Love it!
In an earlier post I tuned the chimes. In this post, I find one way not to make a frame for those chimes.
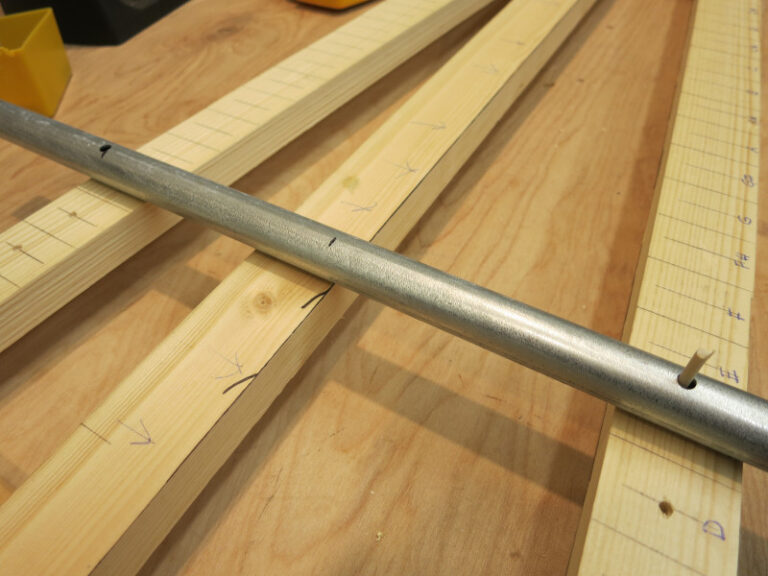
I created the frame for the glockenspiel, with a square frame on the outside so that I could mark the inner part of the frame with 1″ lines, one per chime.
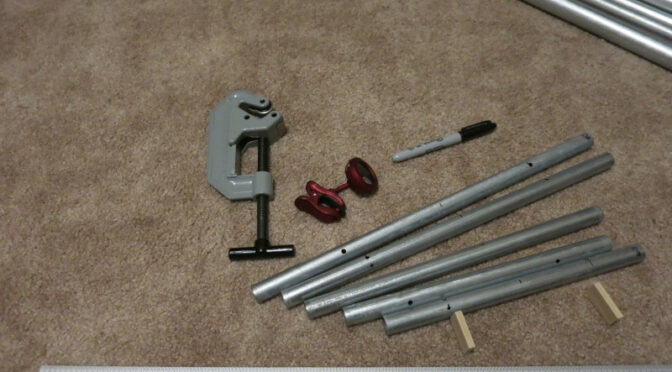
After a few weeks of experimentation, I think I can now write sensible notes on how to cut and tune the chimes for a glockenspiel (metal xylophone) out of metal conduit. This is the first step of my Robotic Glockenspiel project, which I hope to end with a network-connected, Arduino-controlled set of chimes that can play Christmas carols.