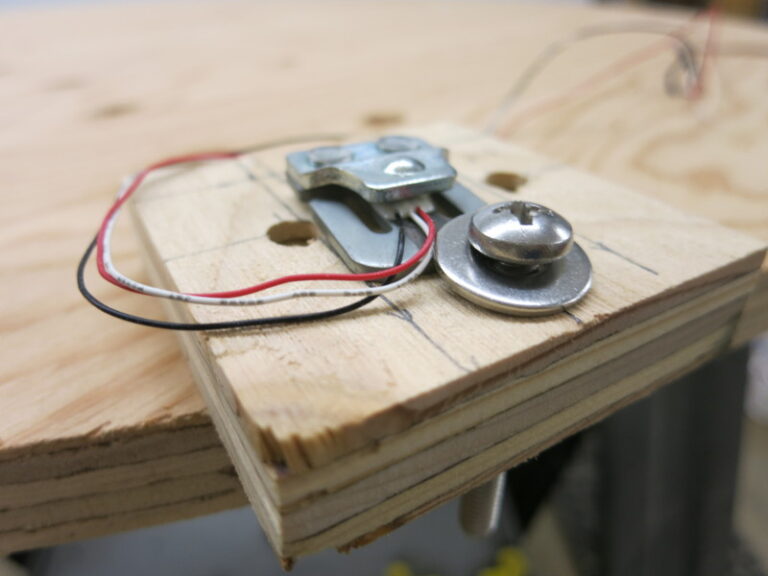
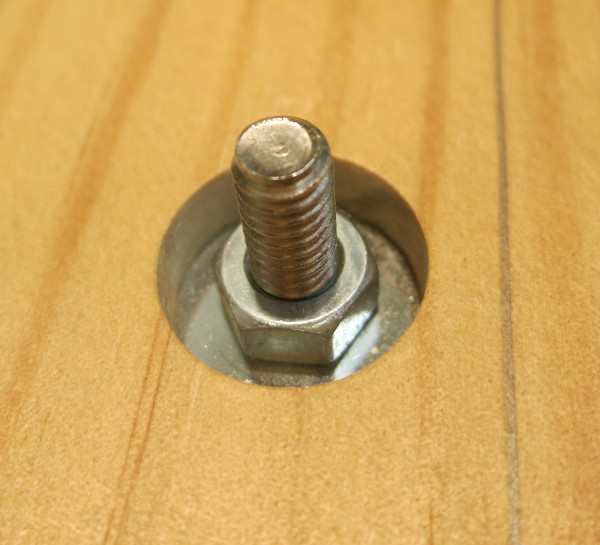
In my previous post I described how to calibrate a load sensor. This post shows how to measure center of gravity, and shows a failed attempt to mount the load sensors to the scale.
Now that I’m using 4 load cell amplifiers rather than 1, I can calibrate each load sensor separately. This in turn will let the Arduino calculate Pippa’s real weight accurately regardless of what part of her bed/scale she’s lying on.
In my previous post I described the electronics of the Dog Bed Weight Scale. In this post, I’m doing the final woodworking and assembly – at least enough assembly to test the thing.
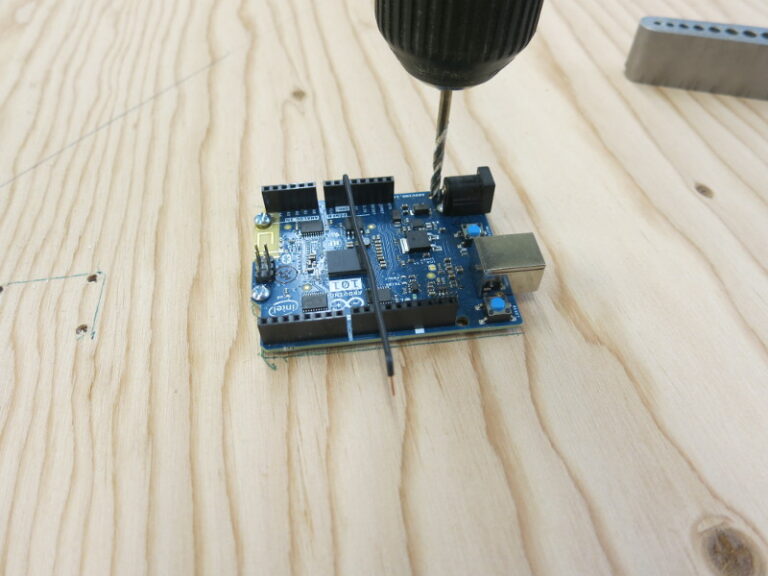
I want to learn how to use Load Sensors to continuously weigh stuff with an Arduino, so I thought it would be fun to continuously weigh our dog, Pippa, while she sleeps in her bed each night. The project is a little like Nate Seidle’s Beehive scale, but simpler.
The idea is to turn Pippa’s bed into a scale. Pippa’s in fine shape right now, but it’s always good to keep an eye on your dog’s weight, and a custom-made scale is a great way to do it.
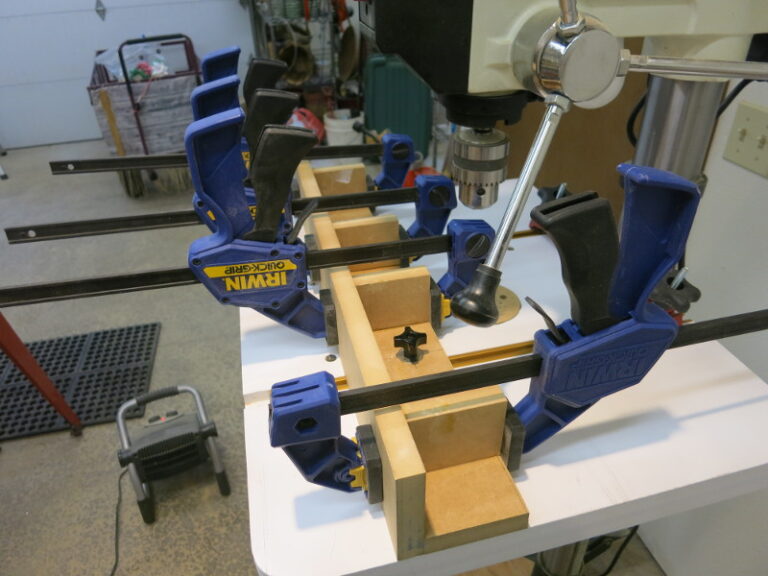
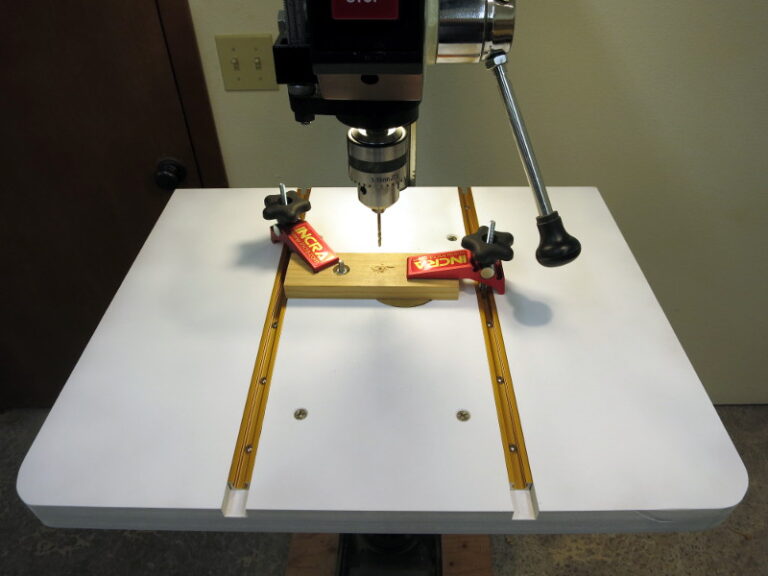
After completing my drill press table, I decided my next step would be to make a fence for it – so I can drill vertical holes in the sides of short boards.
First I cut a 3 1/2″ board of 3/4″ MDF, of a width to match the drill press table. This first piece will be the face of the fence.
As multiple woodworkers have mentioned, a drill press as-is is poorly suited to doing woodworking: the cast iron table can transfer grease to the wood; the table is small; the table has limited places to fasten clamps to hold the wood down.
Formula 409 turned out to be, as people had suggested, a fine way to clean the packing grease (likely Cosmoline) from the drill press parts. It’s necessary to clean this goo off so that 1) you don’t get it on the wood you’re working with, and b) the drill chuck doesn’t fall off while working (!)
I’ve never assembled a machine tool before, so I was put off by the rust-preventive coating that needs to be cleaned off, through mysterious and inadequately-explained means.
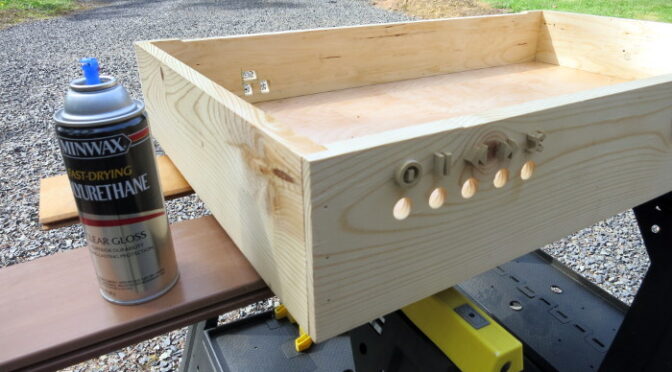
Previously I finished the labels for the glockenspiel. In this post I literally Finish the case.
Last weekend and this weekend are nicely warm enough, so I’ve put a few coats of Minwax gloss polyurethane finish on the Robotic Glockenspiel case. In a few days the finish will be dry, and I can do the final fine-sanding (to remove dust captured in the Finish) and assemble the thing.
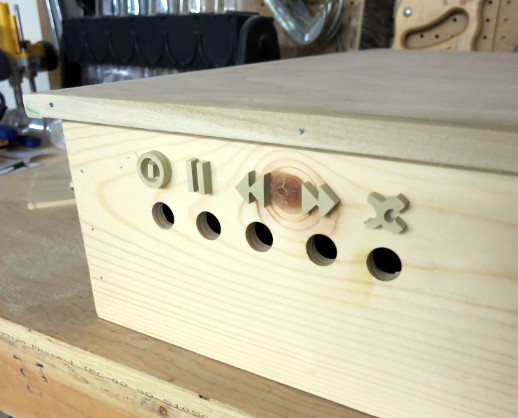
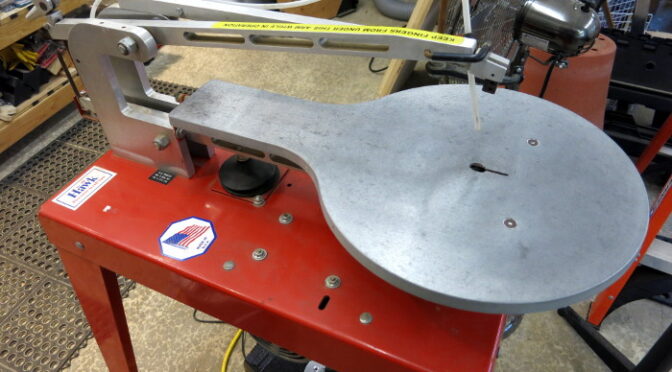
Since trying out woodburned labels, I made another attempt at scrollsawing the button labels for the Robotic Glockenspiel, and am happy enough with the results that I’ve glued the labels to the glockenspiel box. I’m so happy to have finally made up my mind – whew!
So this blog is a sort of “How to Scrollsaw” in a nutshell.
Since putting a lid on the glockenspiel case, I’ve been wrestling with exactly how to label the robotic glockenspiel buttons: If I had a laser engraver I probably would have engraved (woodburned) the labels on; sticking paper labels on could look pretty sloppy; decals sounded like a production of their own, with the risk of gumming up my printer; painting the labels would require a steady hand; woodburning by hand is another option; so is gluing on scroll-sawn raised labels.