

In my previous post, I finished the Web Service that the ESP8266 uses to upload well tank temperatures (and eventually a depth estimate) to a cloud database. In this post, I turn to the mechanical design of the case for the RJ45 jacks for the 1-wire interface.
Continue reading Well Depth Sensing: Mechanical DesignTag Archives: Maker
Well Depth Sensing: Temperatures Are In the Database
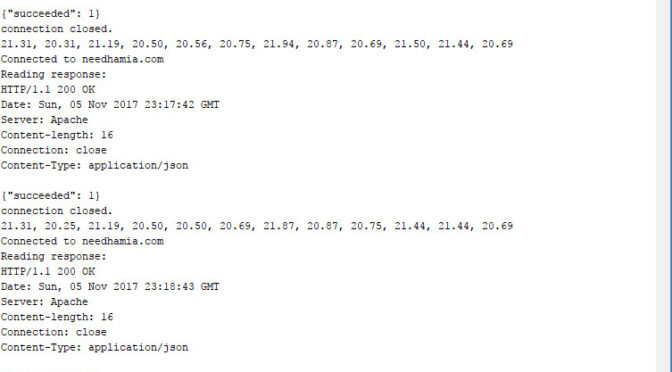
In my previous post, the ESP8266 Arduino Sketch was reading 12 temperature sensors. In this post, I describe the progress on the web side of things: the PHP web service that stores temperatures in an SQL database.
I’m really happy with the ESP8266 so far: it reliably connects to a given WiFi access point, and now it’s reliably doing an HTTPS POST of data to my PHP web service.
Continue reading Well Depth Sensing: Temperatures Are In the Database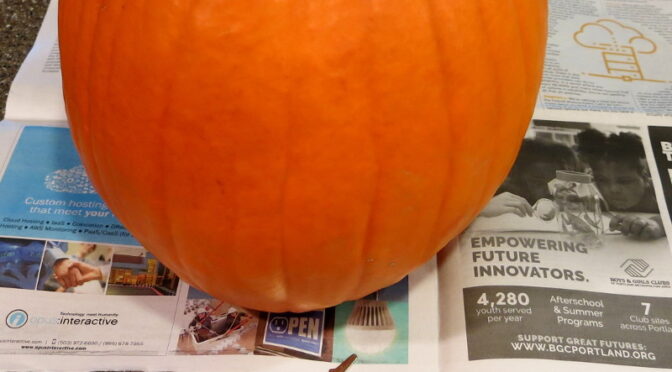
Making a Jack O’ Lantern (Old School)
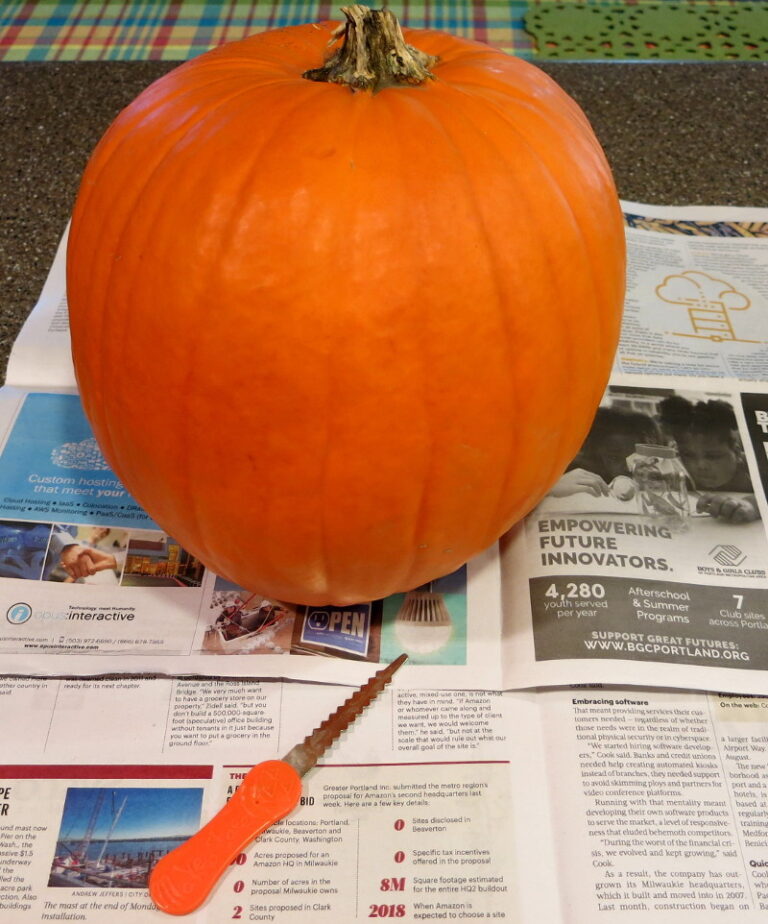
At this time of year when Sparkfun, AdaFruit, and Arduino tweets are filled with high-tech Jack O’ Lanterns, I thought I’d document the making of an Old School Jack O’ Lantern.
Well Depth Sensing: Measuring the Tank
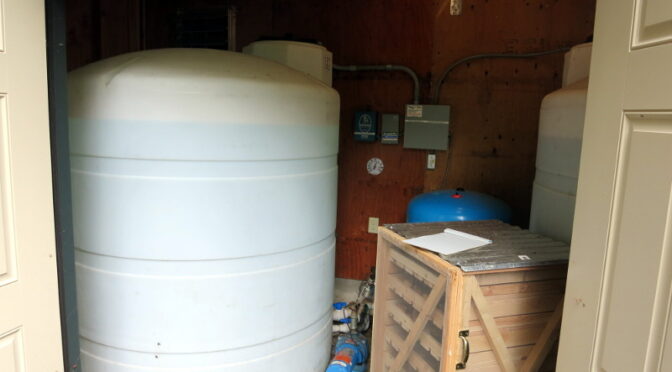
In my previous post I started the electronics and software for an Arduino Sketch for an ESP8266 WiFi microprocessor and several MAX31820 temperature sensors, that will eventually estimate and upload the level of water in our well water tank.
Since my last post I’ve updated the WellDepthTemperature github repo for the project to read 12 temperature sensors and to do a better job of reporting WiFi errors. That code now successfully identifies and reads the temperature from 12 MAX31820 sensors via a Sparkfun ESP8266 Thing Dev board, all on a breadboard for now.
Continue reading Well Depth Sensing: Measuring the Tank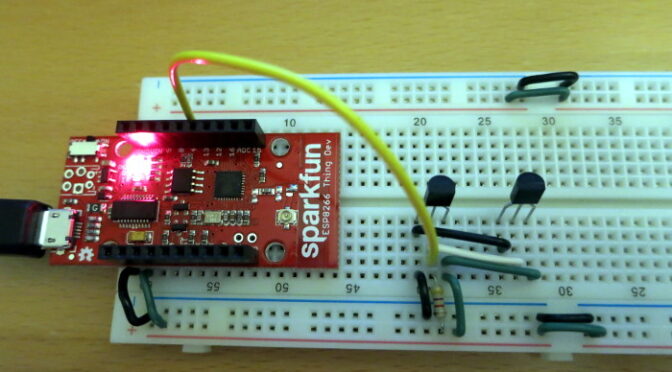
Well Depth Sensing: It Begins
I’ve begun another Arduino/ESP8266 project: reporting the level of water in our well tank. This project will involve the ESP8266, MAX31820 temperature sensors, some mechanical work, sending data to a web-based database, and interpreting the temperature data to estimate the well water level.
Continue reading Well Depth Sensing: It Begins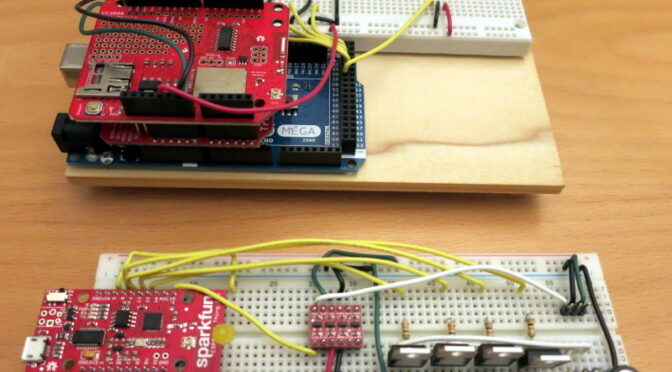
Cost-Reducing the Lunar Clock: IoT Really is Here
I have to confess that sometimes I need a push to make the right design choice.
It’s been a long time – way too long – since I worked on my Lunar Clock project. In the meantime, Sparkfun has introduced new, inexpensive microcontrollers aimed at Internet-of-Things applications. I knew one of those new microcontrollers would be perfect for the Lunar Clock, but I dragged my feet.
Then one day, a Github user pointed out that one of the boards I was using has been obsoleted.
Continue reading Cost-Reducing the Lunar Clock: IoT Really is Here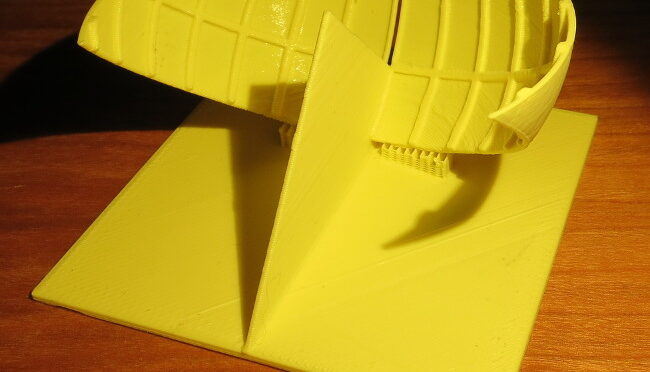
My First 3D Printed Sundial
I’ve been interested in sundials for ages. Tracking the sun’s path by observing the shadow of a stick is an ancient form of astronomy, and a gateway into geometry (literally “land measurement”).
A sundial often marks the solstices and equinoxes, and enables measurement of the cardinal directions of north, south, east, and west: at the peak of its daily journey through the sky, the sun throws a north-south shadow; on the equinoxes, the shadow of the sun draws an east-west line. Ancient sundials acted as calendars, showing precisely when the sun returned to a given spot in its annual journey from south to north and back again.
Continue reading My First 3D Printed Sundial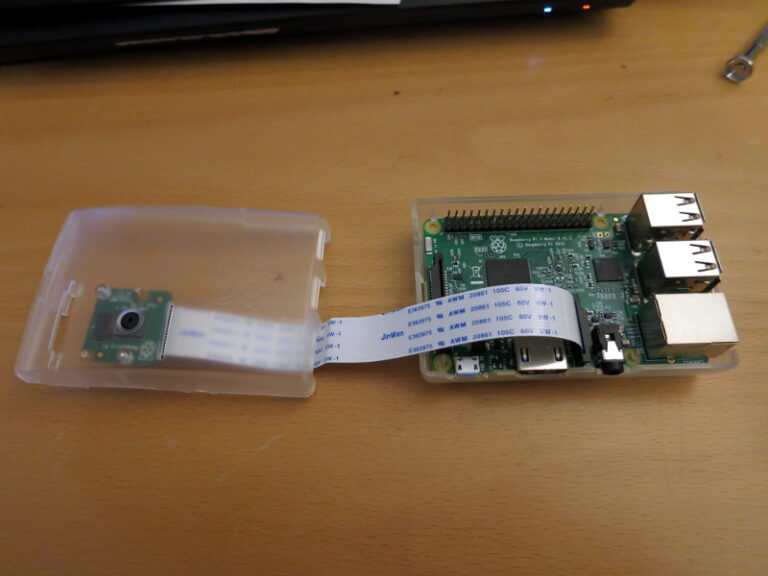
Chinchilla Cam: Installing the Raspberry Pi Camera Module and OpenCV
For some time we’ve caught rare glimpses of small, rabbit-like animals who seem to be living under our front porch. We’ve seen little, round ears bobbing past the window, footprints in the snow, and during one hot summer I found a dead chinchilla in the garage – the poor thing couldn’t take the heat.
So I’ve decided to capture photos of the little fellows – or at least try – using a Raspberry Pi, motion-detecting Webcam. The project as it unfolds is stored on my ChinchillaCam Repository on github.
Continue reading Chinchilla Cam: Installing the Raspberry Pi Camera Module and OpenCV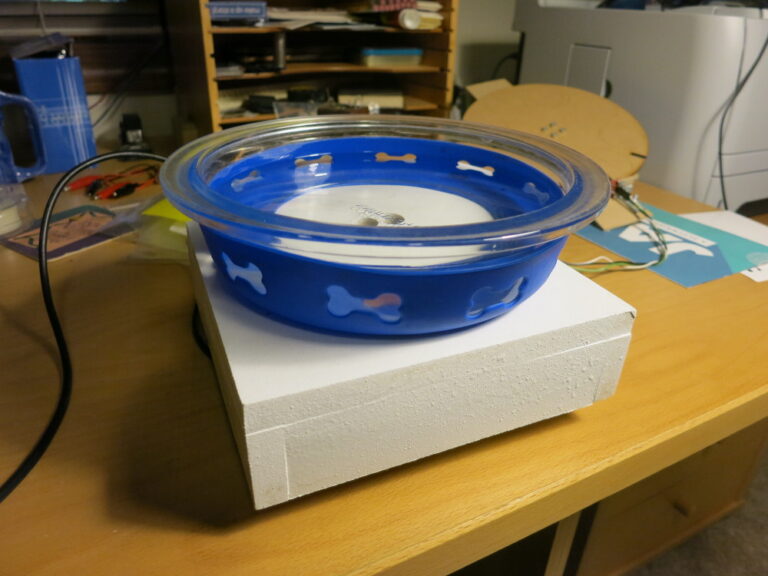
Dog Water Bowl Scale Part 3: Final Assembly and Installation
In my previous post, I covered the mechanical construction of the scale. In this post, I finish assembling the scale, calibrating it, and installing it.
After painting I put feet on the scale so it won’t soak in water spilled on the floor.
Continue reading Dog Water Bowl Scale Part 3: Final Assembly and Installation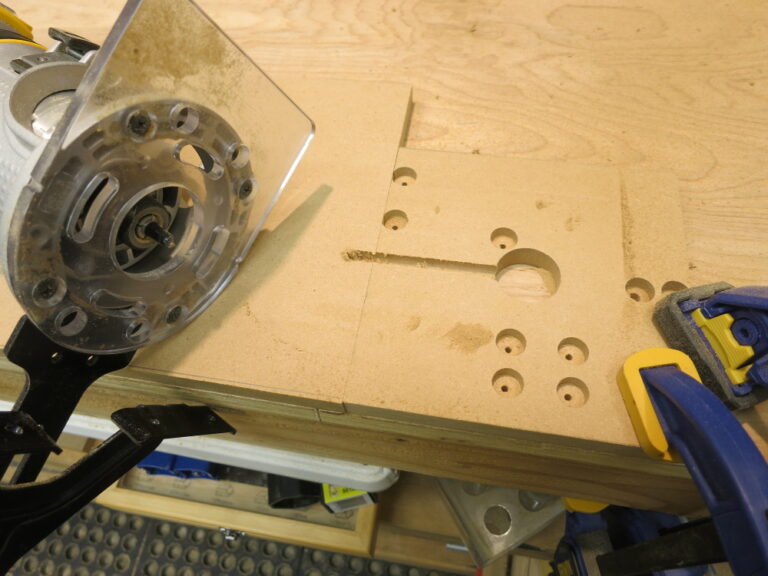
Dog Water Bowl Part 2: Measure Twice, Cut Once
In my previous post, I started working on the scale. In this post, I finish the woodworking, and painfully re-learn the woodworker’s adage: “Measure twice; cut once”.
I was so excited about the progress I’d made, and so eager to finish the drilling that I carefully measured, drilled the holes for one half of the Load Cell, then counterbored the hole for the first Load Cell nut… then discovered in my haste I’d counterbored the wrong side, and ruined the bottom plate of the scale.
Continue reading Dog Water Bowl Part 2: Measure Twice, Cut Once